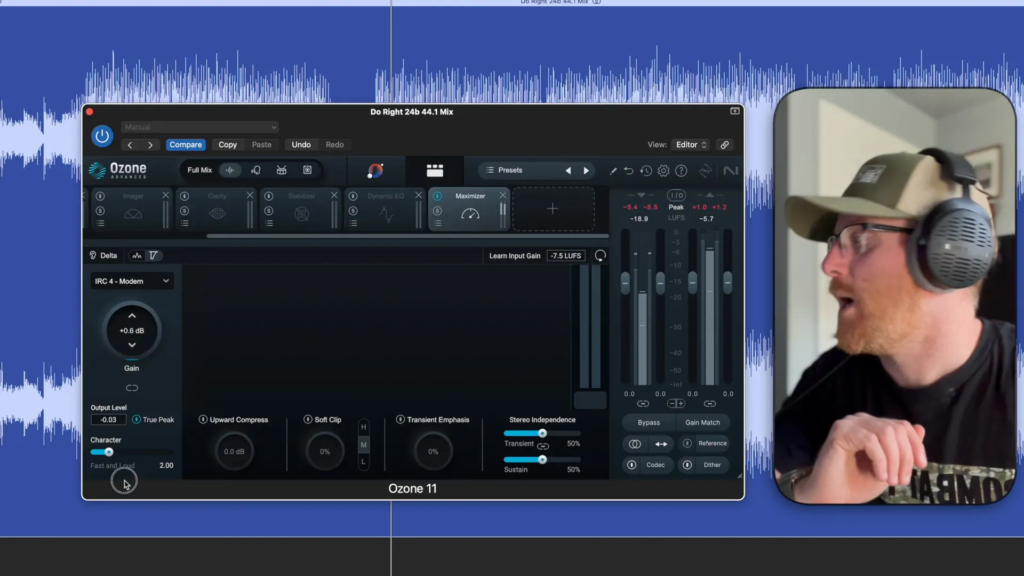
In this blog, we will explore the essentials of mastering your music using Izotope Ozone, a powerful tool for achieving professional sound quality. Whether you’re distributing your tracks on platforms like SoundCloud or Spotify, mastering is a crucial step in your music production process.I curated this article using insights from this video: The Basics of Mastering Your Music With Izotope Ozone by the Warrior Sound Uders YouTube channel. For more in-depth tutorials on music mastering and production, be sure to check out their channel!
Table of Contents
Introduction to Mastering
Mastering is the final step in the music production process, where the goal is to prepare and transfer the final mix of a song to a data storage device. This is where all the elements come together to create a polished, professional sound. The mastering process ensures that your track sounds great across all playback systems, whether it’s on a high-end stereo or a pair of earbuds.
Utilising tools like Izotope Ozone, you can enhance the clarity, depth, and loudness of your music. Mastering isn’t just about making your track louder; it’s about making it cohesive and ensuring that it translates well in any listening environment.
Scott’s Background in Music Production
With nearly two decades of experience in music production, Scott has a wealth of knowledge to share. He has worked on various projects, from personal releases to collaborations with other artists. His practical experience with mastering for radio and personal projects provides a solid foundation for understanding the intricacies of the process.
Scott’s approach revolves around the belief that mastering is an art form that requires a keen ear and an understanding of dynamics. His insights can help aspiring producers navigate the complexities of preparing their tracks for release.
The Importance of Headroom
Headroom is a crucial aspect of mastering that many overlook. It refers to the amount of space between the peak level of your audio and the maximum level before clipping occurs. Maintaining headroom allows for adjustments during the mastering process without distorting the audio.
Ideally, your mix should peak around -1 dB to -3 dB, providing enough space for mastering effects without losing the dynamics of the track. This practice ensures that your final product retains its quality and clarity, making it more enjoyable for listeners.
Preparing Your Track for Mastering
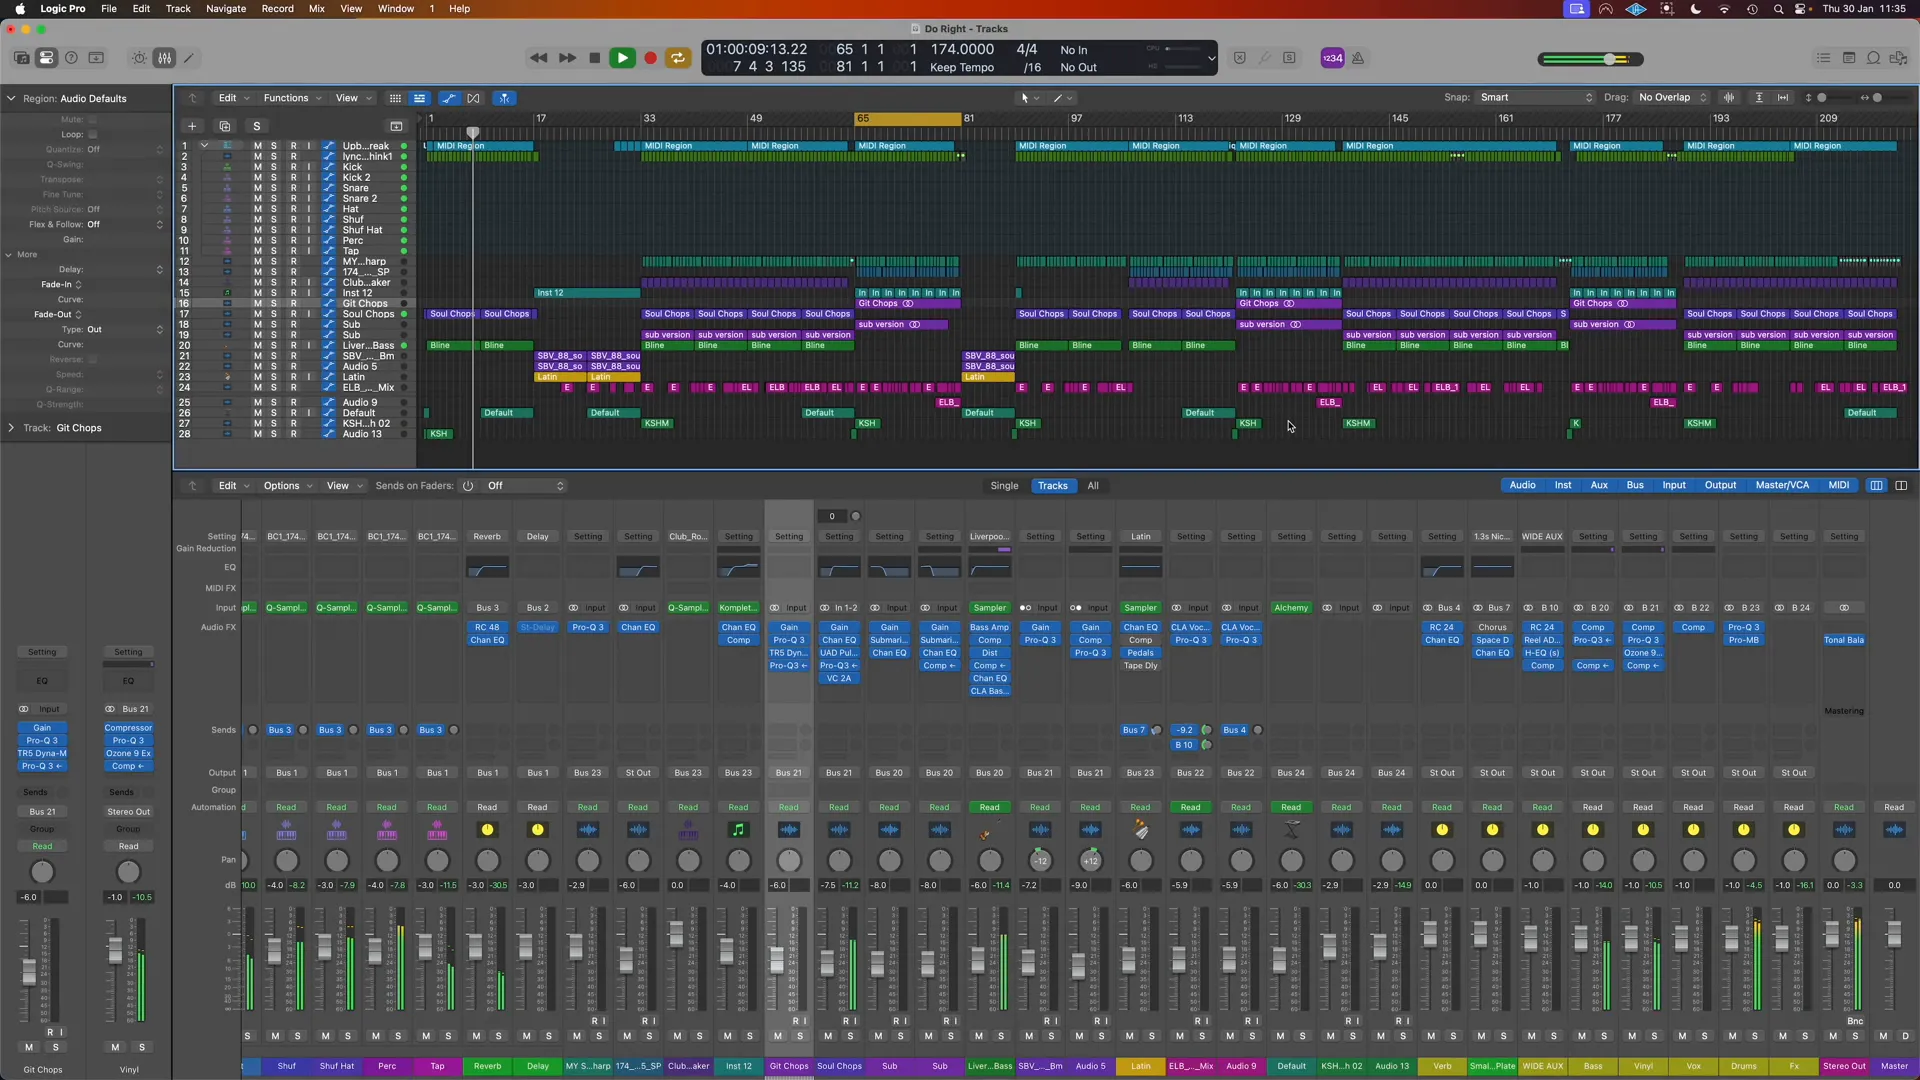
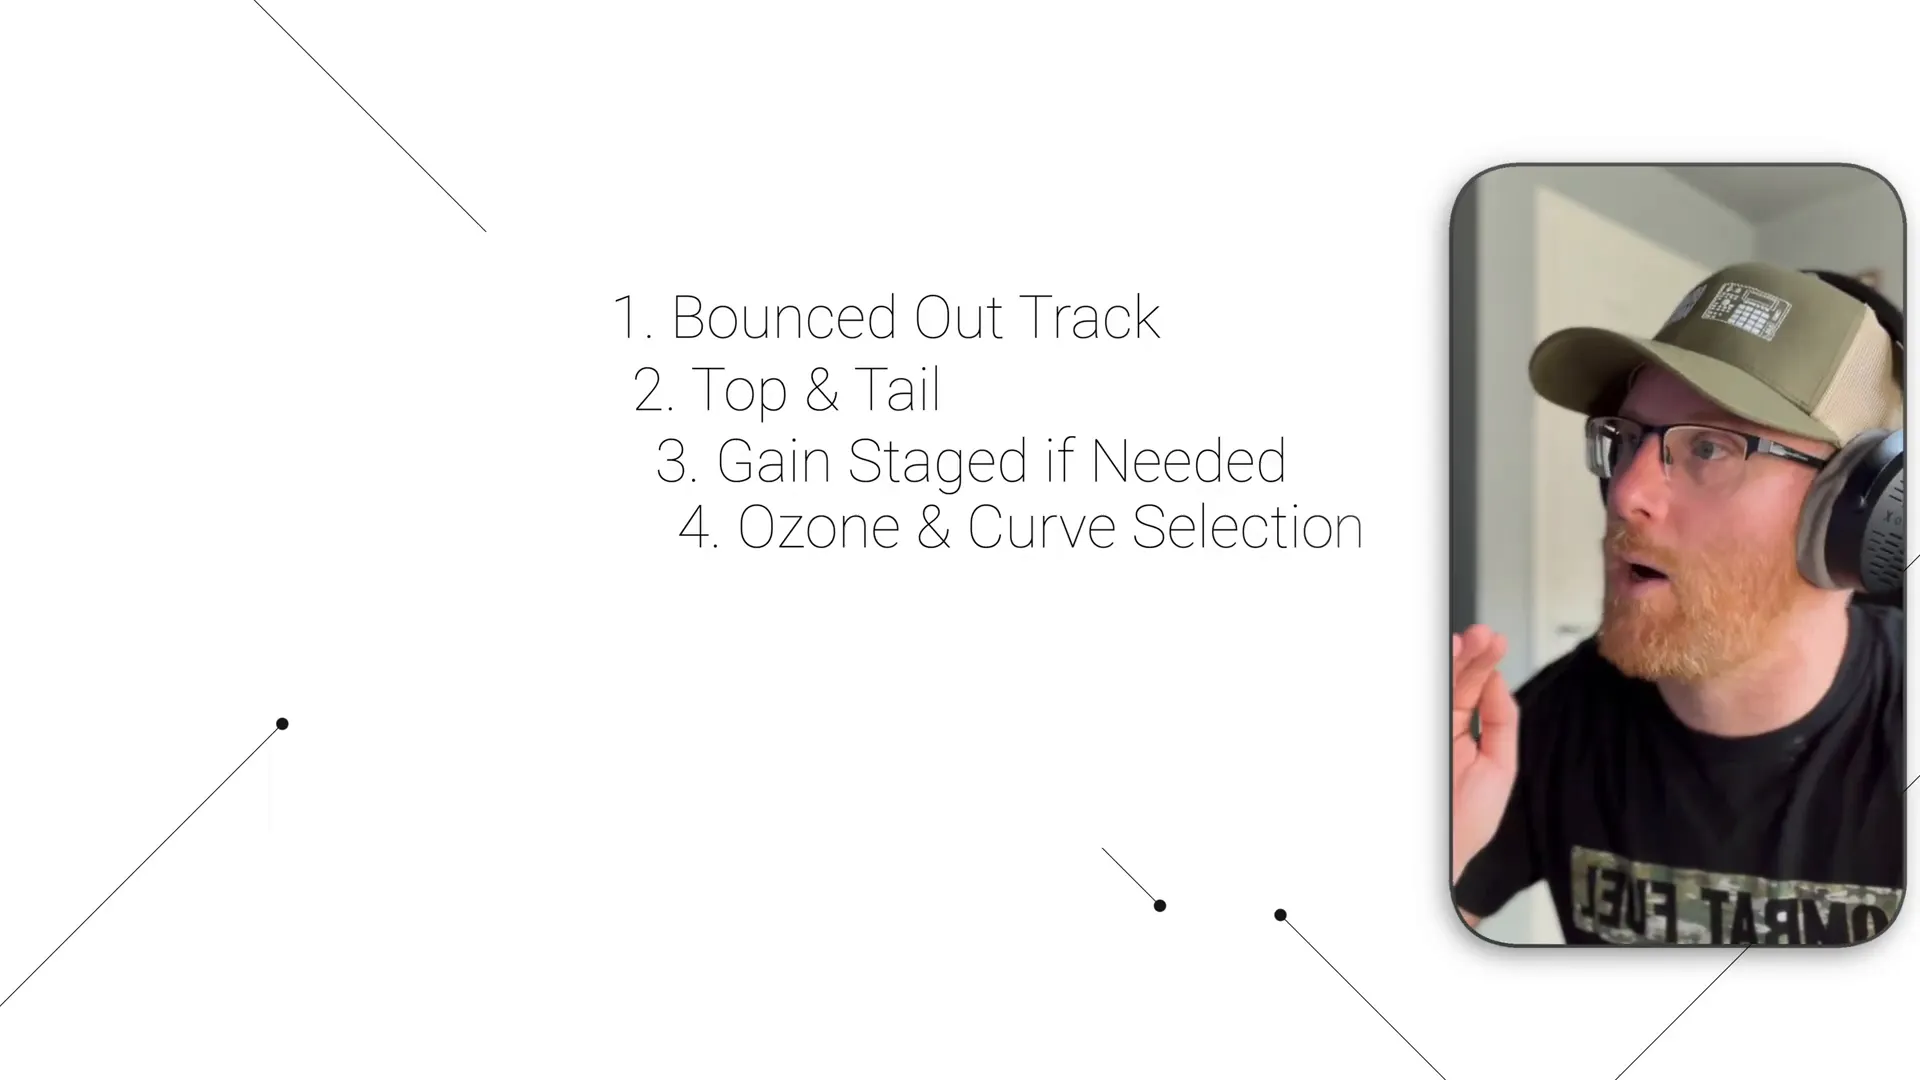
Before you start the mastering process, it’s essential to prepare your track properly. This involves bouncing your mix to a stereo file that doesn’t clip and has good dynamics. The preparation stage sets the foundation for effective mastering.
Here are some key steps to prepare your track:
- Check Levels: Ensure that your mix does not exceed the maximum level to avoid clipping.
- Export a Clean Mix: Export your mix as a high-quality WAV or AIFF file, maintaining the best audio fidelity.
- Listen Critically: Take time to listen to your mix on different speakers and headphones to identify any issues.
Top and Tail: Removing Pops and Clicks
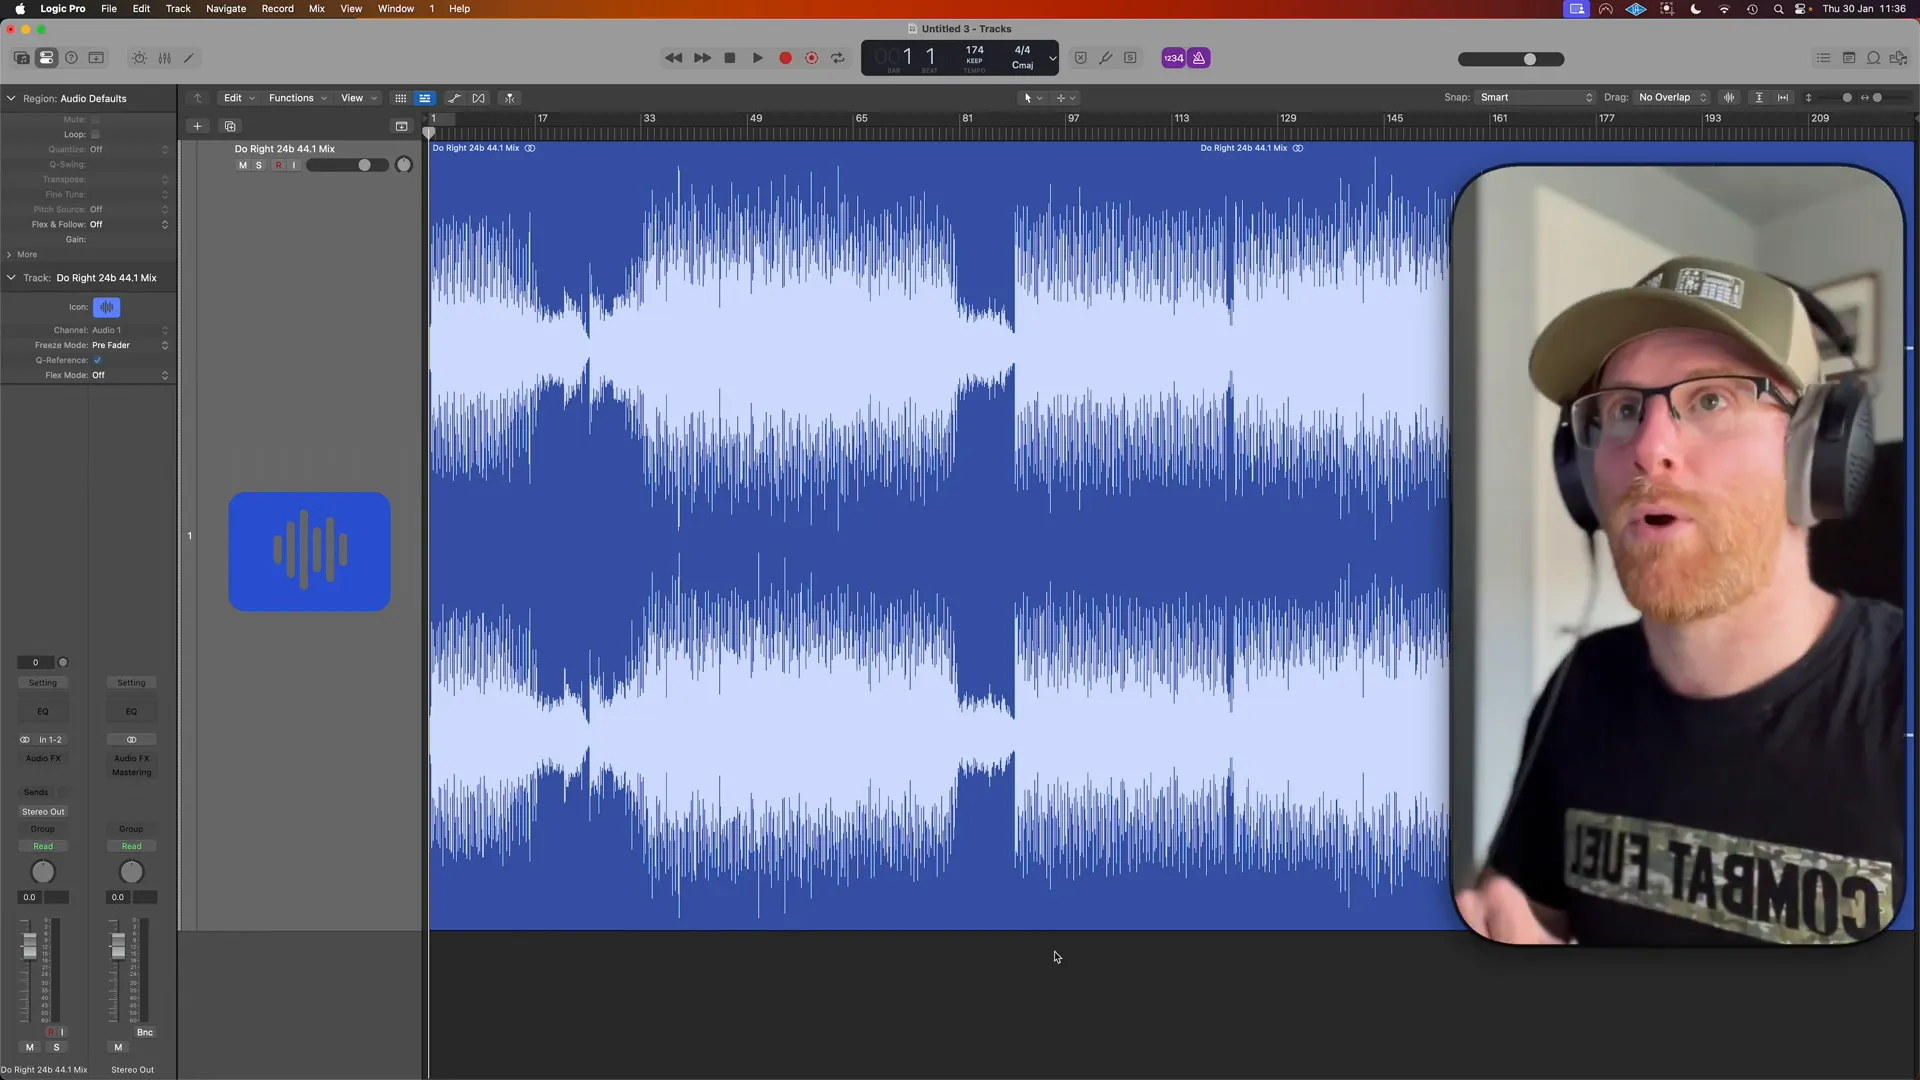
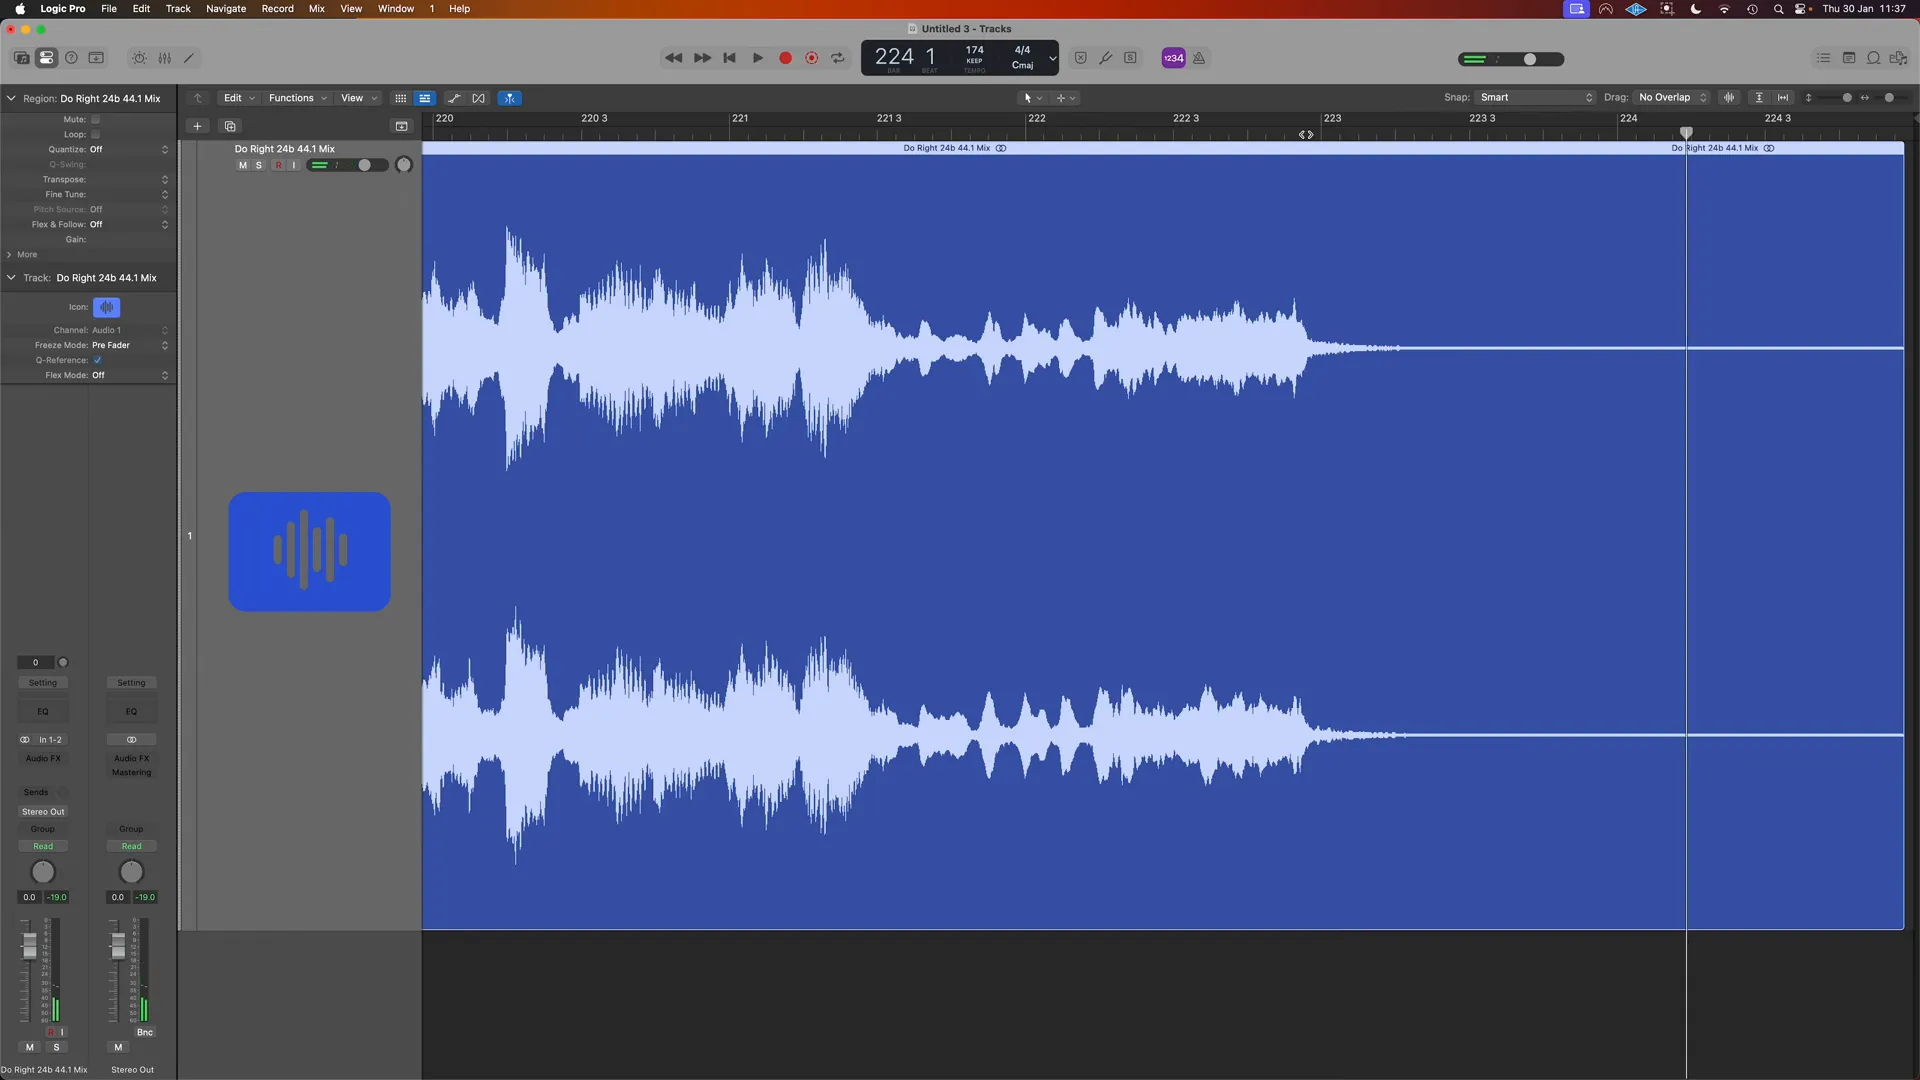
One of the first tasks in the mastering process is to “top and tail” your track, which means trimming the start and end to remove any unwanted pops or clicks. This step is crucial for creating a smooth listening experience.
To effectively top and tail your track, follow these steps:
- Zoom In: Get a close look at the waveform at the beginning and end of your track.
- Trim Silence: Remove any silence or noise at the start, ensuring a clean entry.
- Apply Fades: Use a slight fade-in at the beginning and fade-out at the end to prevent abrupt starts and stops.
This meticulous attention to detail ensures that your track flows seamlessly from the first note to the last.
Loading Izotope Ozone
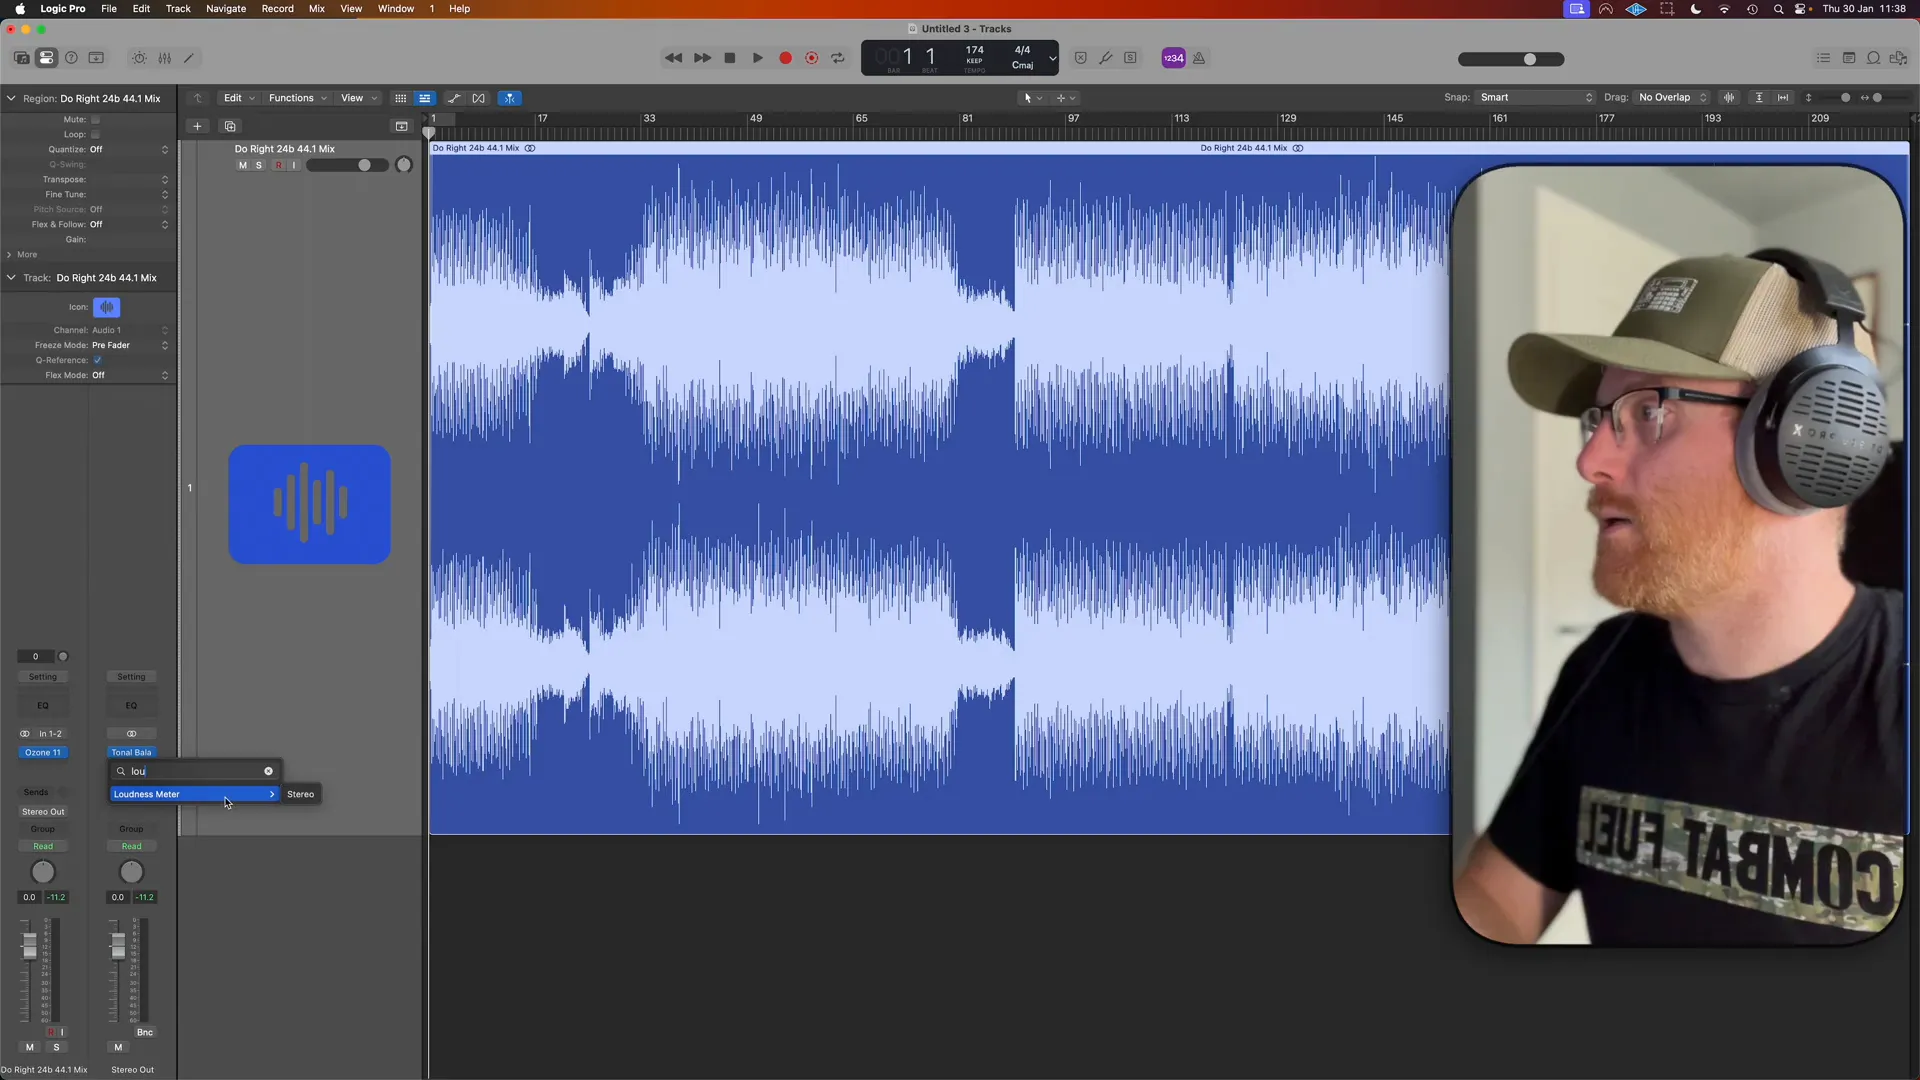
To start mastering your track, the first step is to load Izotope Ozone onto your channel. In your DAW, navigate to the channel strip where you want to apply the mastering effects, and select Izotope Ozone 11. This is the latest version, ensuring you have access to all the newest features and improvements.

Once Ozone is applied, consider adding the Tonal Balance tool and a separate loudness meter. These tools can help you monitor the loudness levels and frequency balance of your track as you make adjustments.
Setting Up Your Gain Structure
Establishing a proper gain structure is vital for effective mastering. Start by checking the waveform of your track. You want to ensure that it doesn’t clip, which can lead to distortion. Ideally, your mix should peak around -1 dB to -3 dB to maintain headroom.
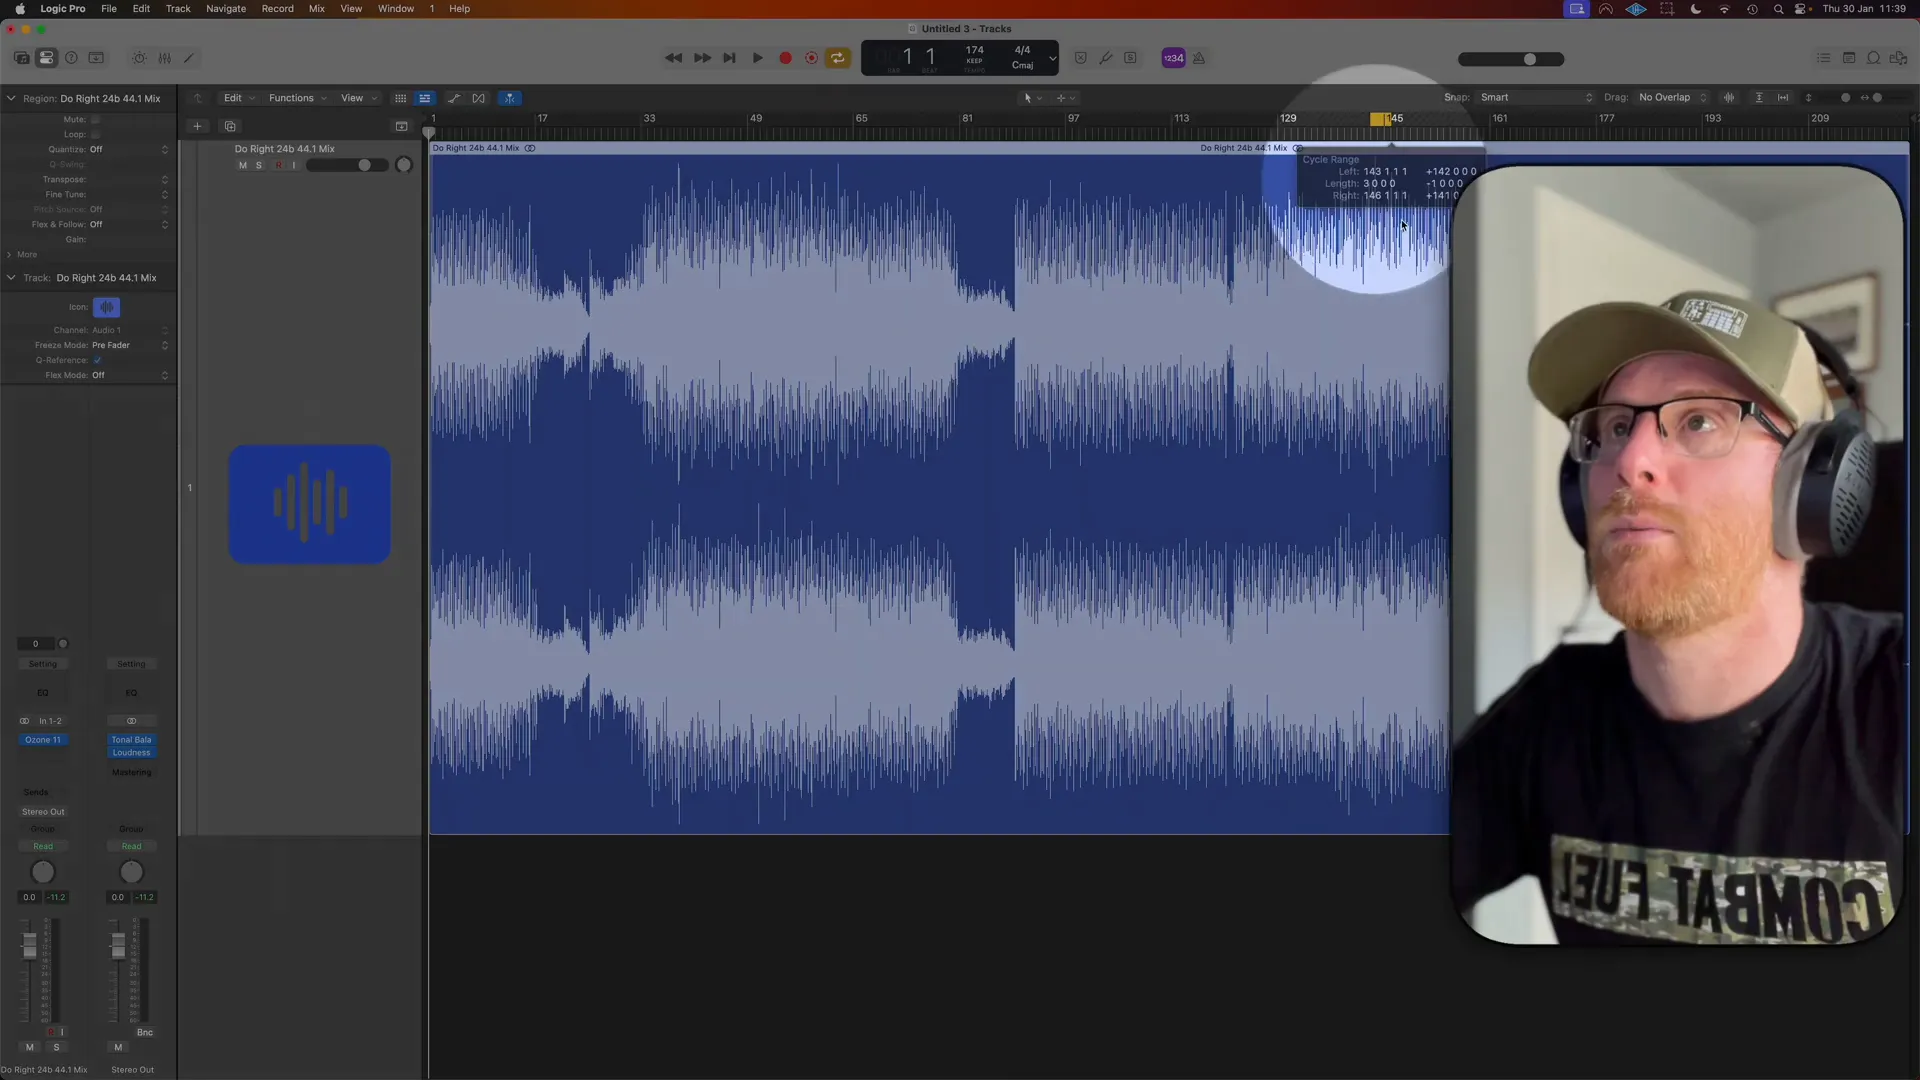
In Izotope Ozone, you can adjust the input gain to create a buffer. Rather than lowering the fader, you should decrease the gain to maintain clarity in your sound. For instance, lowering the gain by 3 dB can provide the necessary headroom.
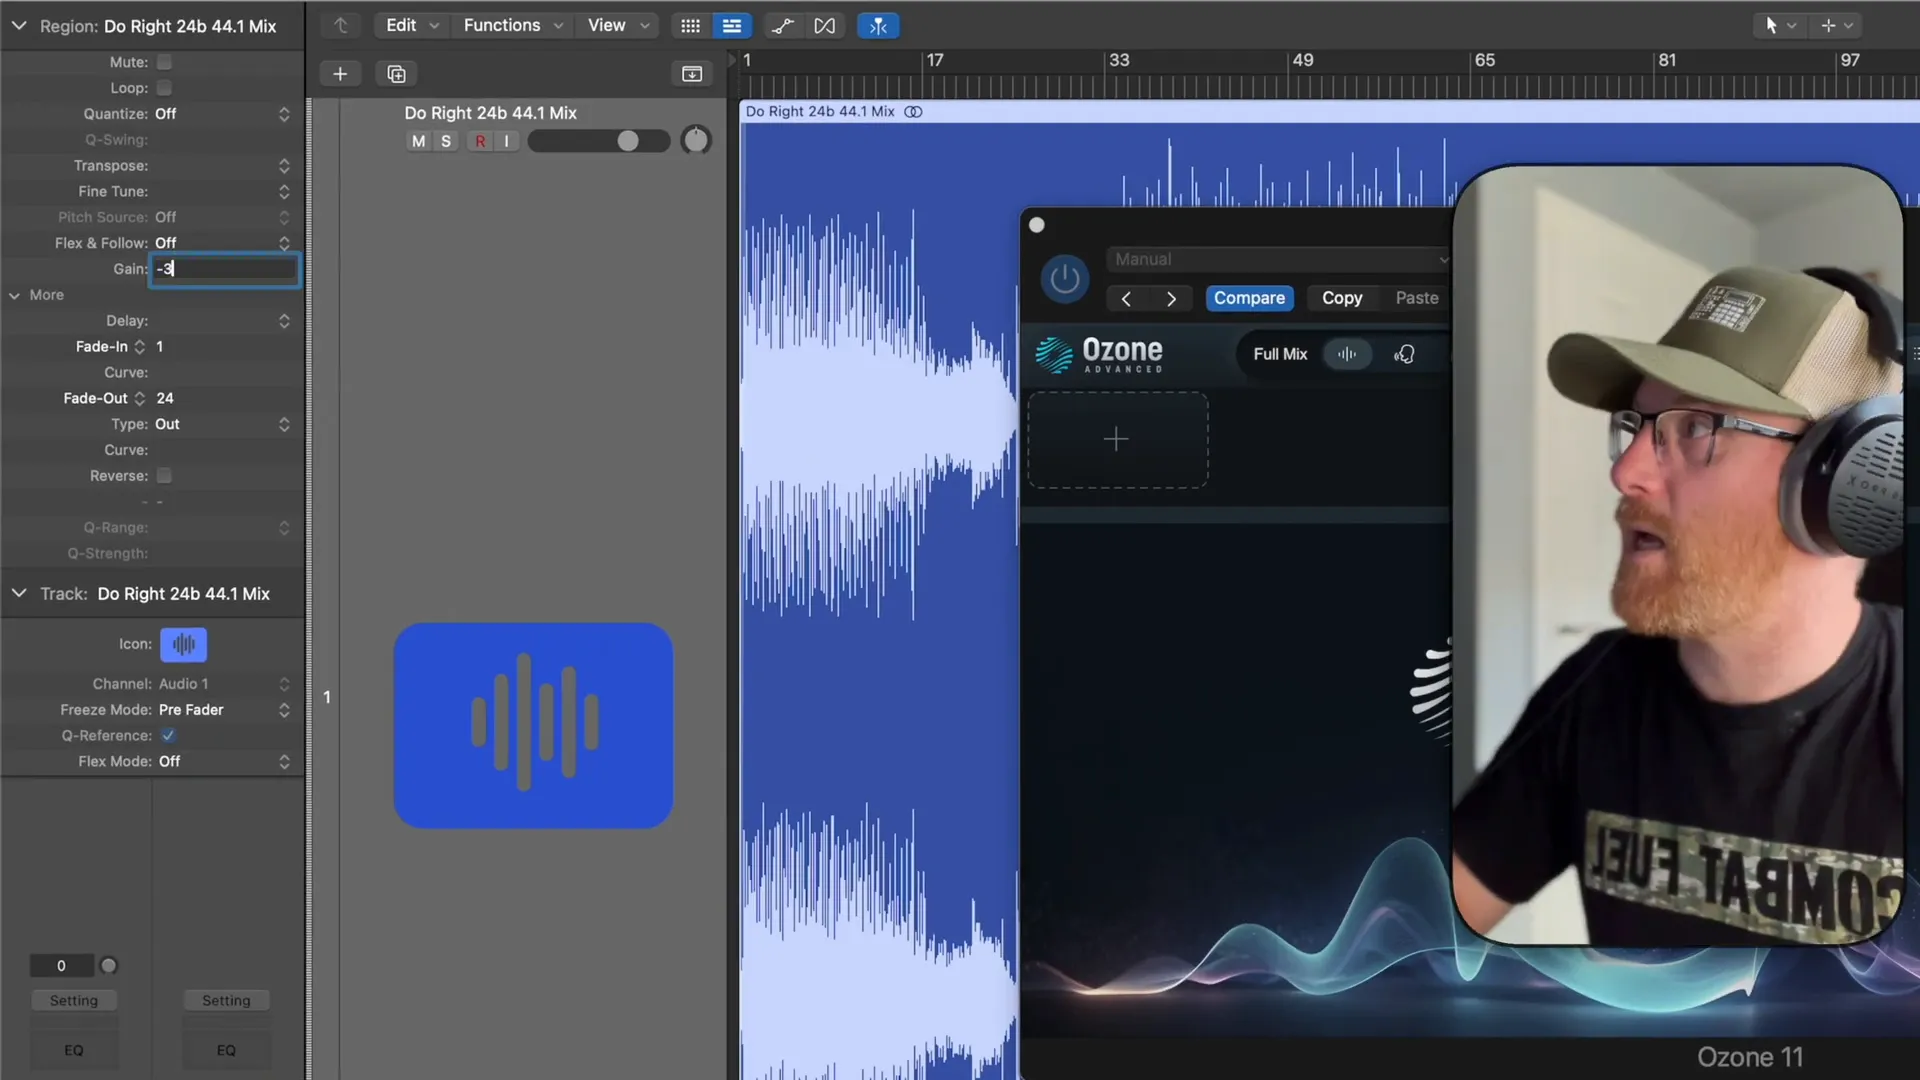
Having this headroom is essential, especially if you plan to add EQ boosts or other effects later in the mastering chain. Without it, you risk clipping and losing dynamic range.
Using Ozone’s Maximizer
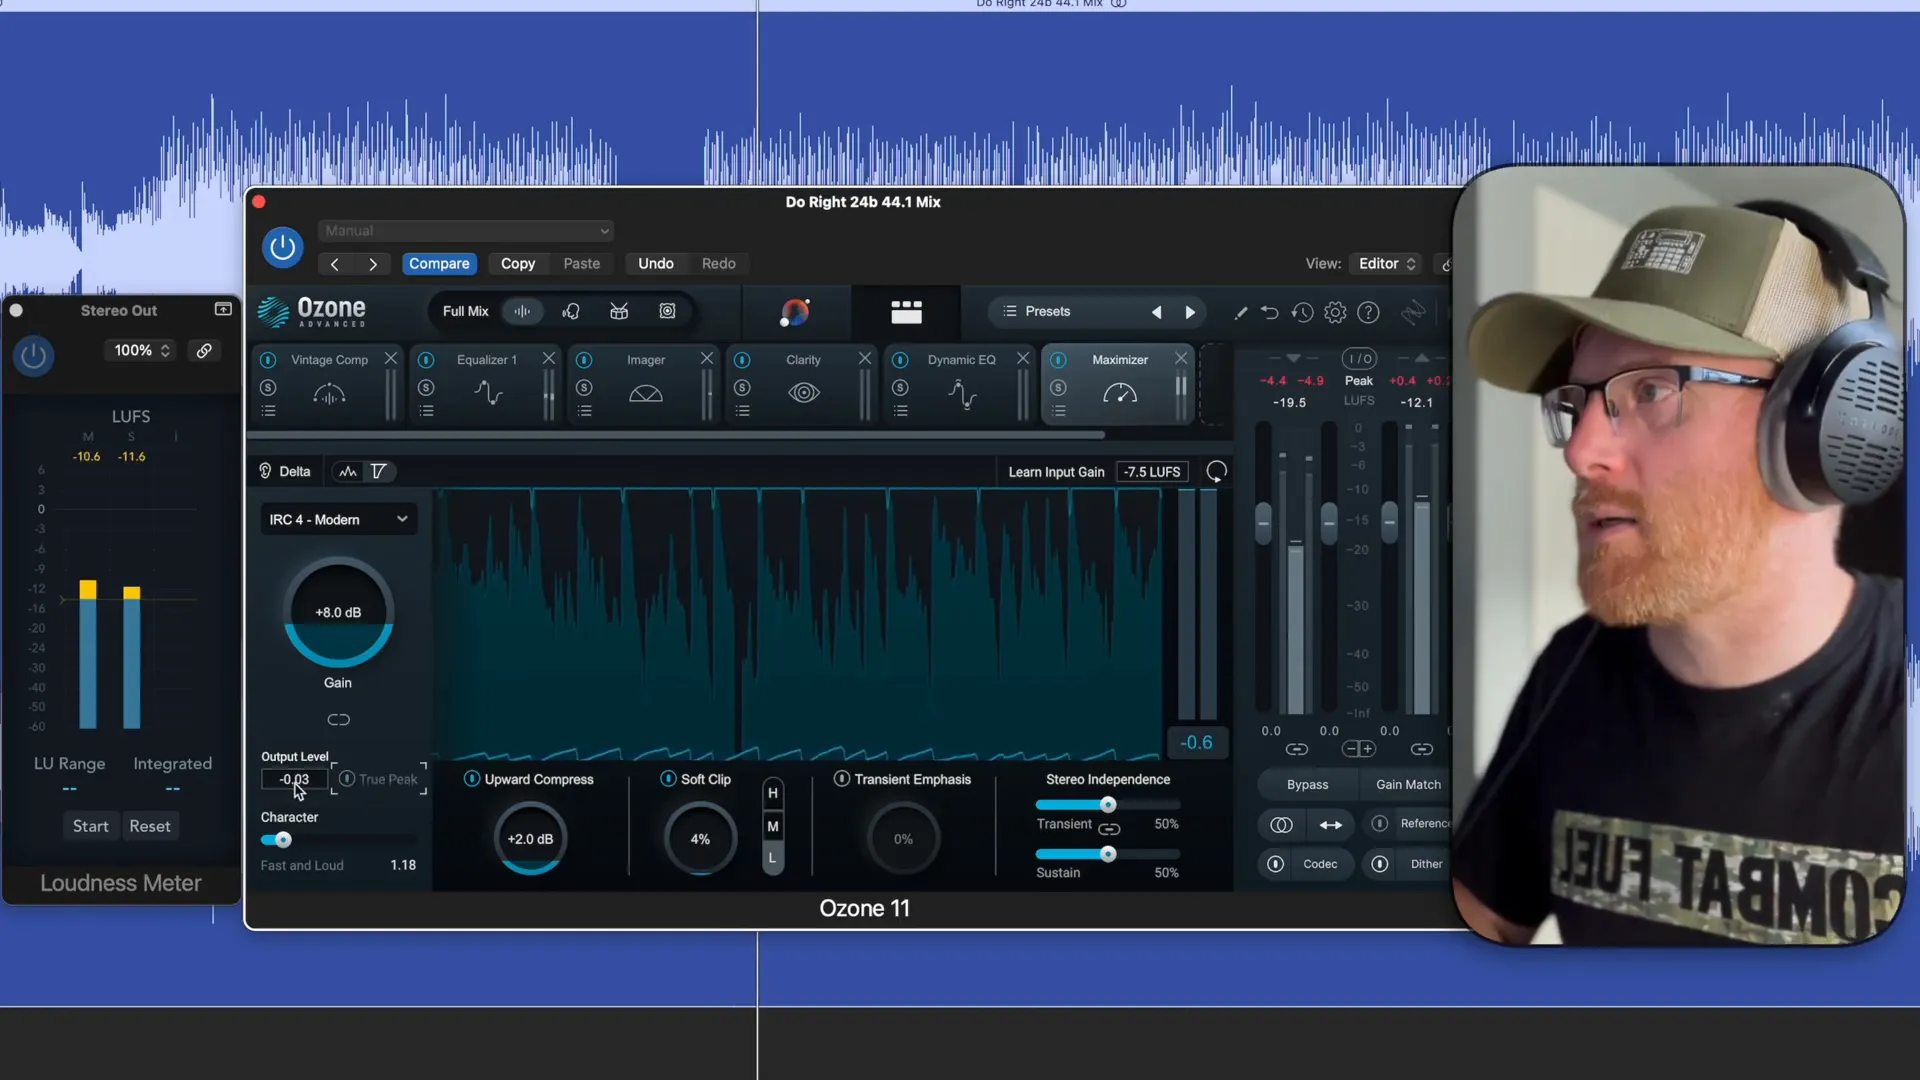
The Maximizer is one of the most powerful tools in Izotope Ozone. It allows you to increase the loudness of your track without sacrificing quality. Start by enabling the Maximizer and adjusting the output level to find the sweet spot where loudness is maximised without distortion.

It’s advisable to turn off upward compression initially to assess the loudness levels accurately. You can gradually increase the level until you reach the desired loudness, keeping an eye on the True Peak settings to avoid clipping.
As you increase the loudness, ensure that the compression remains subtle. A good rule of thumb is to aim for around 8 dB of gain before you start to hear any significant compression. This helps maintain the integrity of your mix while achieving that professional loudness.
Understanding EQ Adjustments
EQ adjustments are crucial in mastering to enhance the clarity and balance of your track. Start by rolling off unnecessary low frequencies, typically below 20 Hz, to eliminate any muddiness. This step will help free up headroom within your mix.
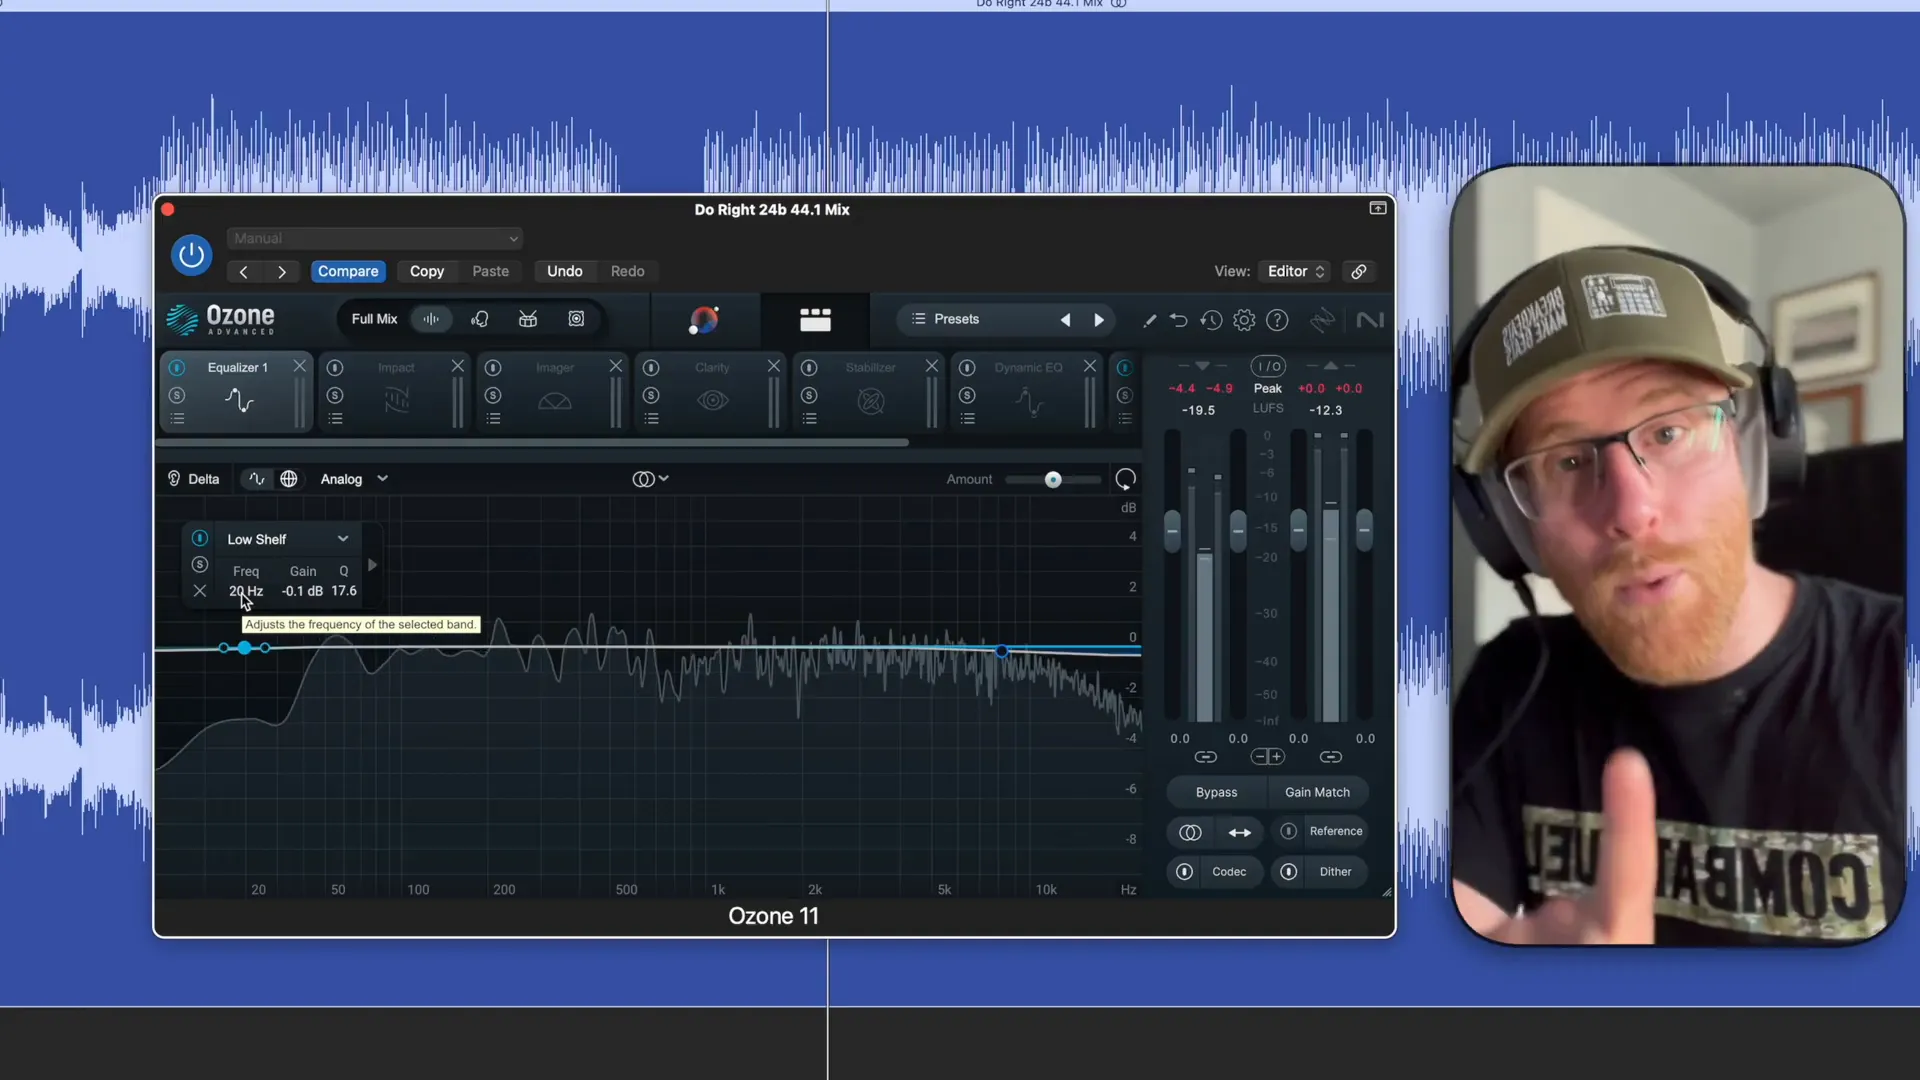
Utilising the Tonal Balance tool can assist you in identifying frequency ranges that need attention. For instance, you might find that boosting around 800 Hz can enhance the presence of your mix. Make subtle adjustments and continuously reference the overall sound.
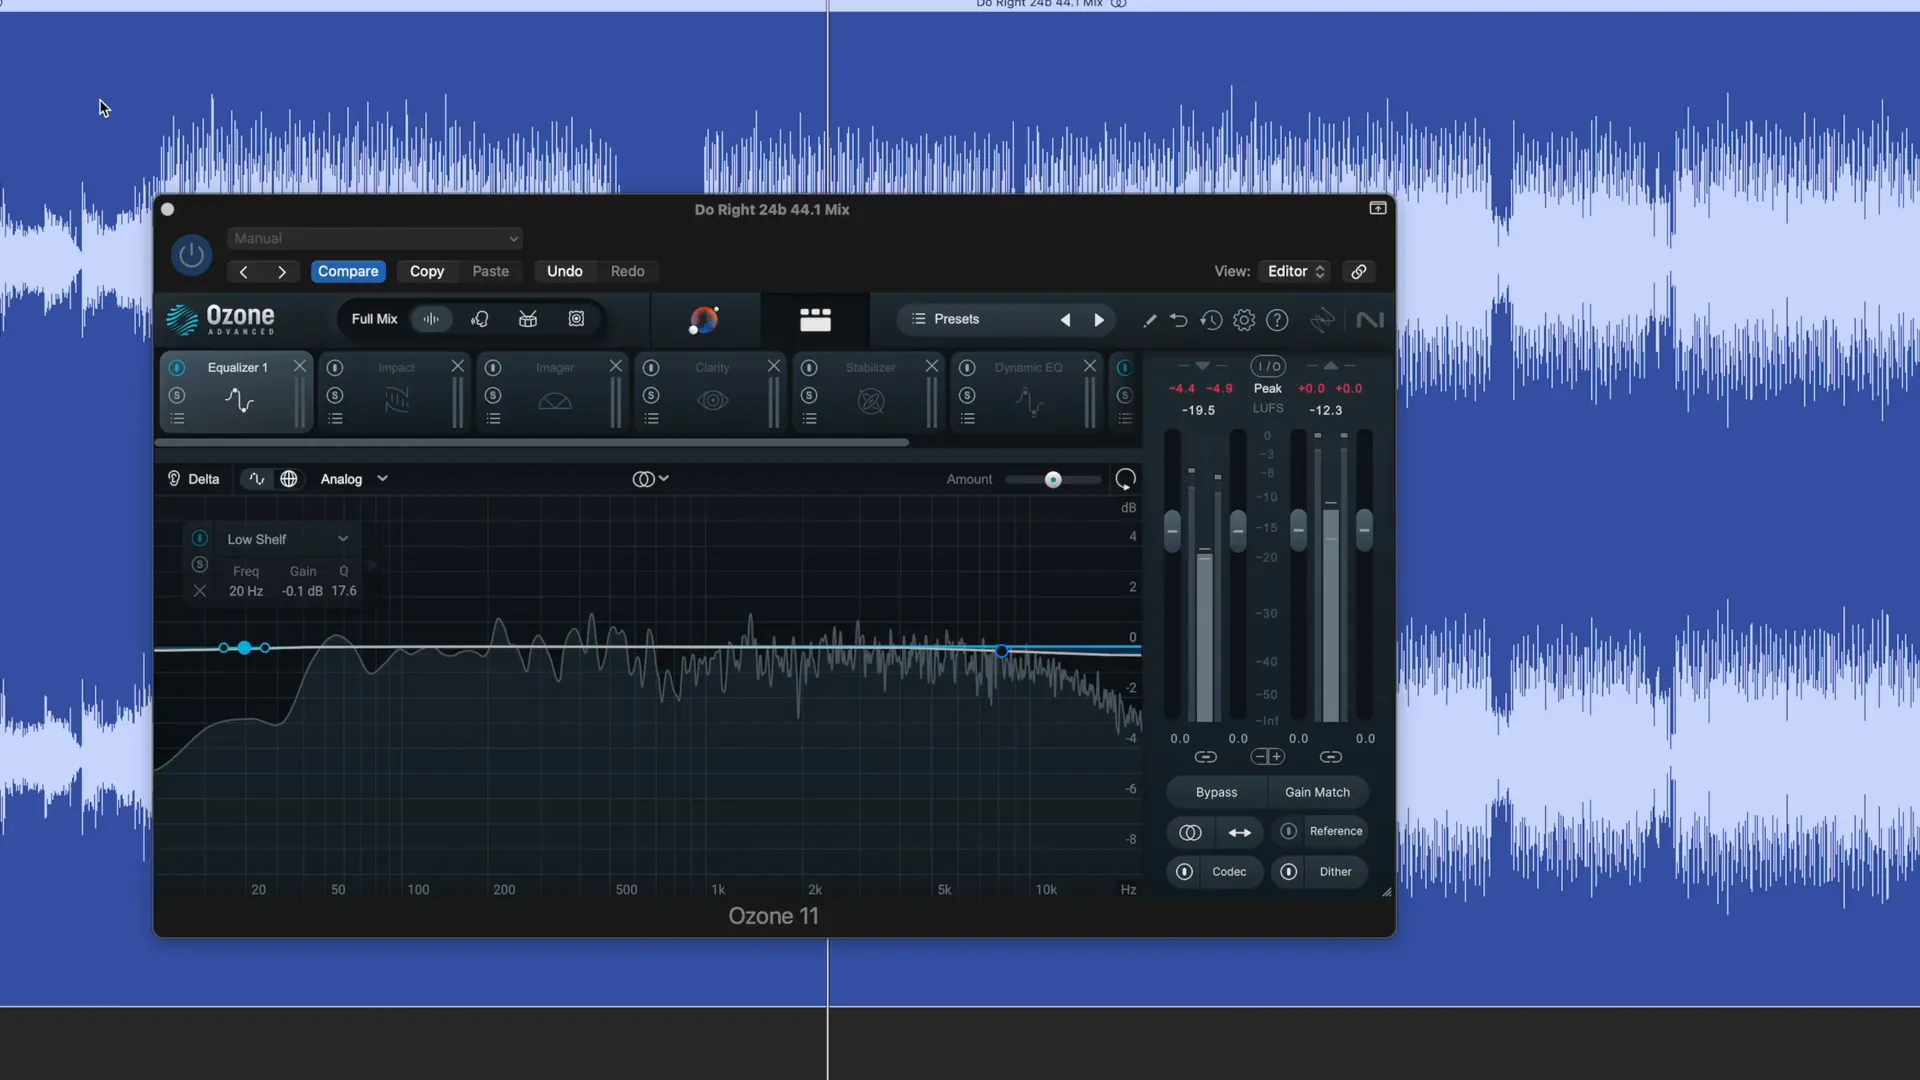
As you make EQ changes, regularly toggle the EQ on and off to hear the differences. This practice allows you to ensure that your adjustments are genuinely enhancing the track rather than introducing unwanted coloration.
The Role of Dynamic EQ
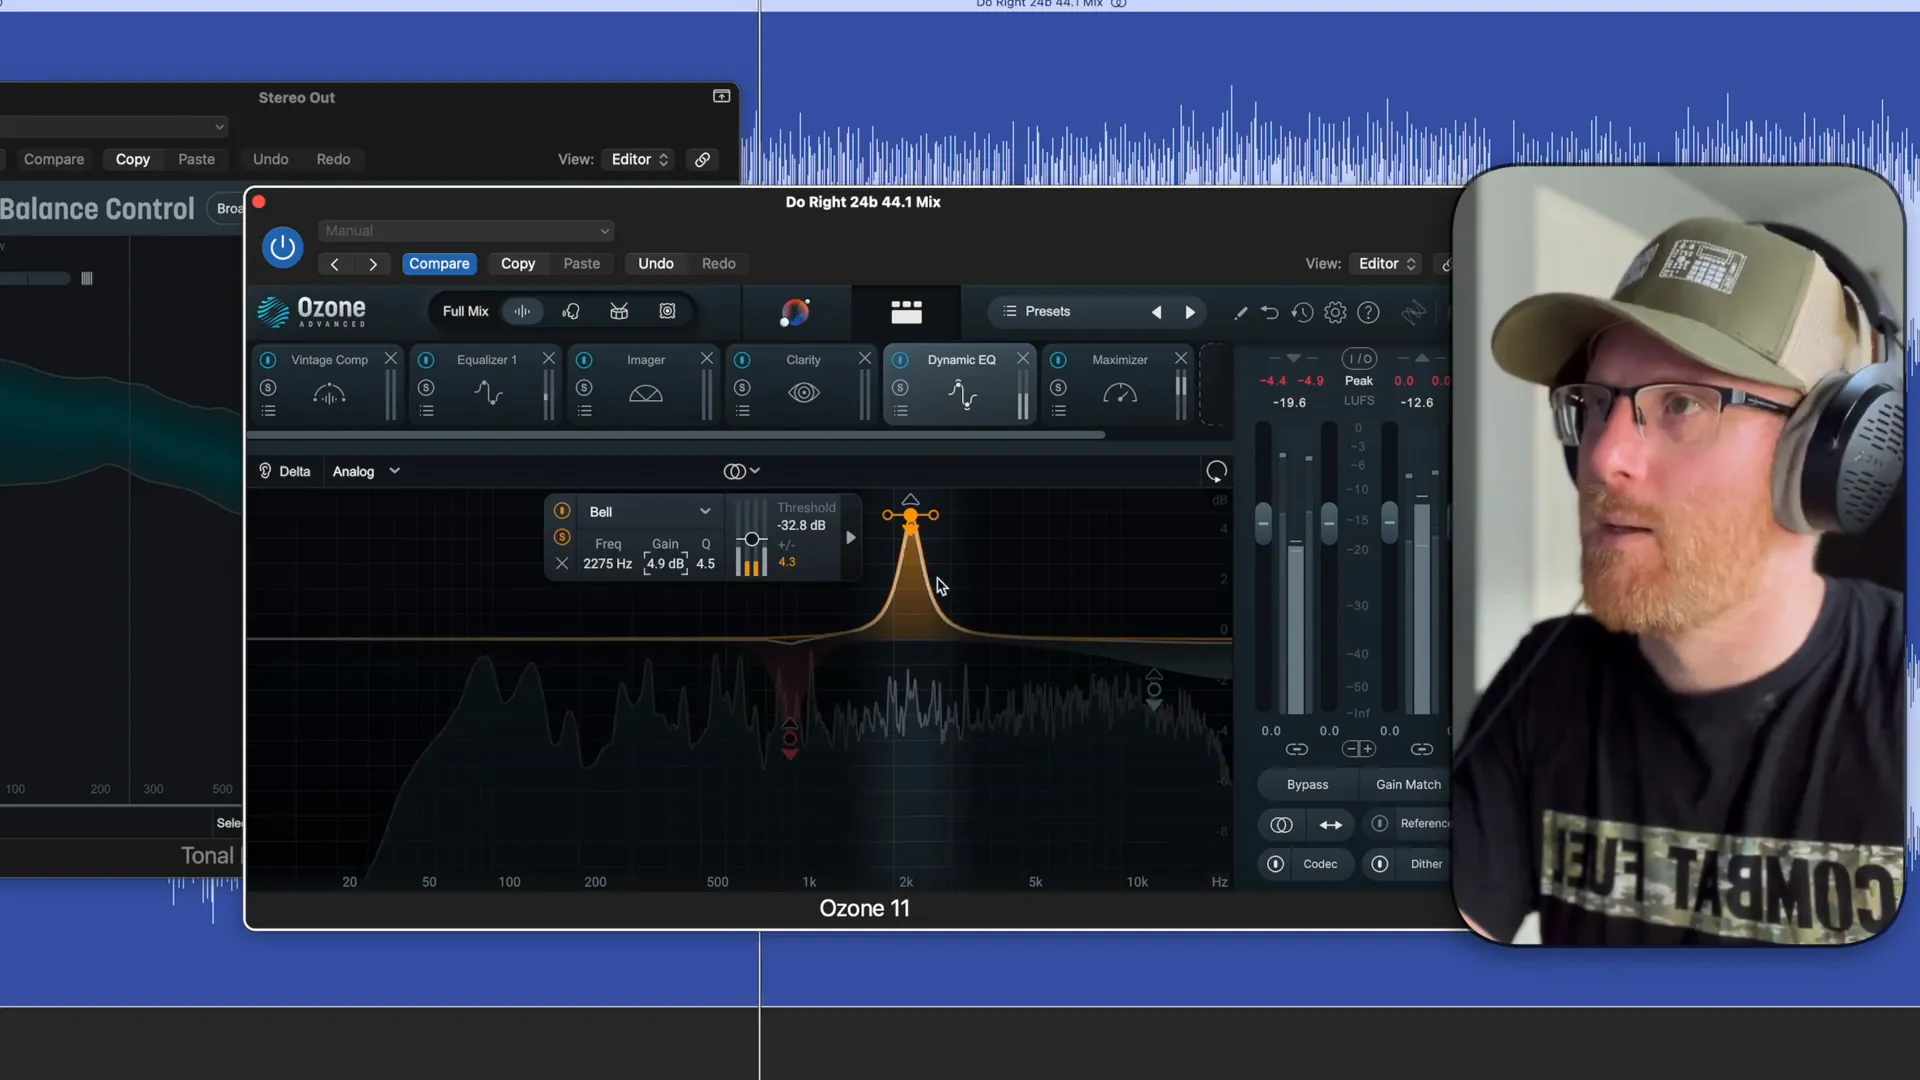
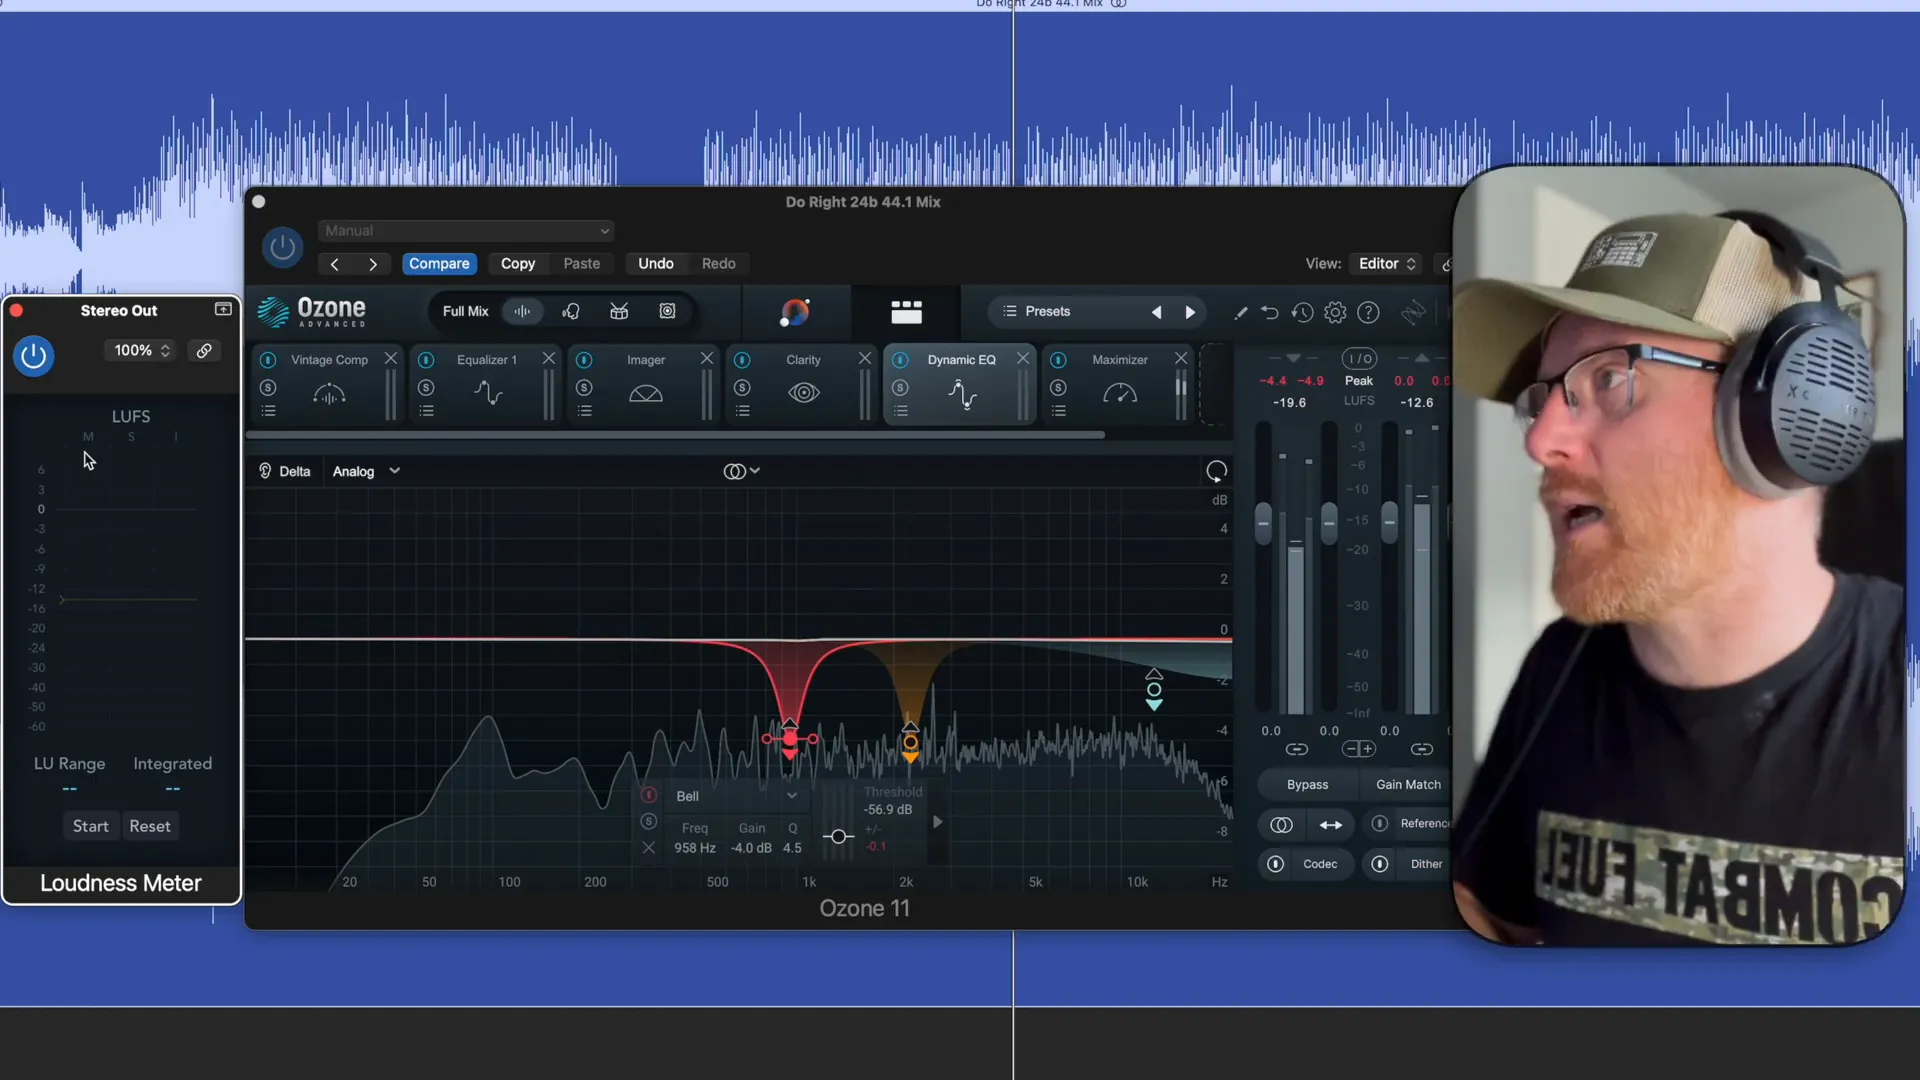
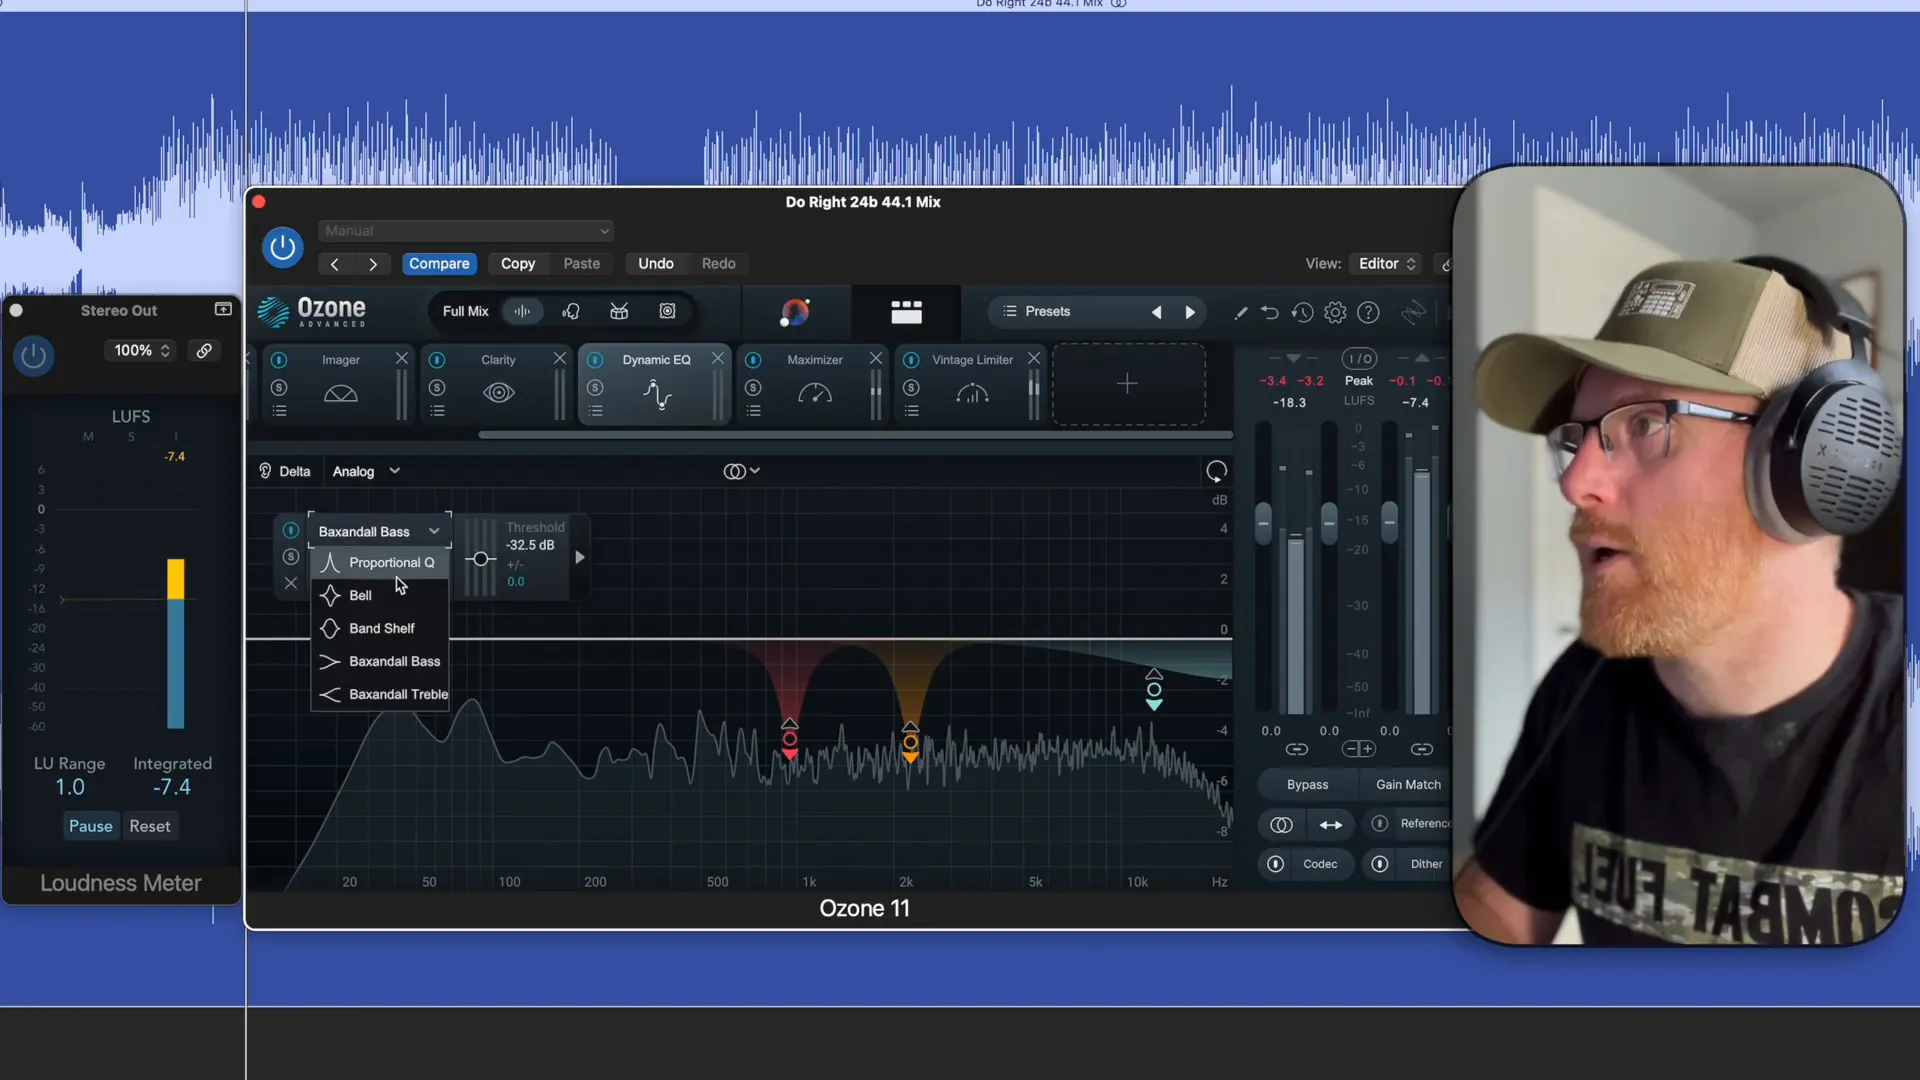
Dynamic EQ is a powerful feature in Izotope Ozone that allows for frequency control without static adjustments. It helps to manage troublesome frequencies that may become prominent during louder sections of the track. For example, if a frequency peaks at a certain point, the dynamic EQ can reduce it only when it exceeds a specified threshold.
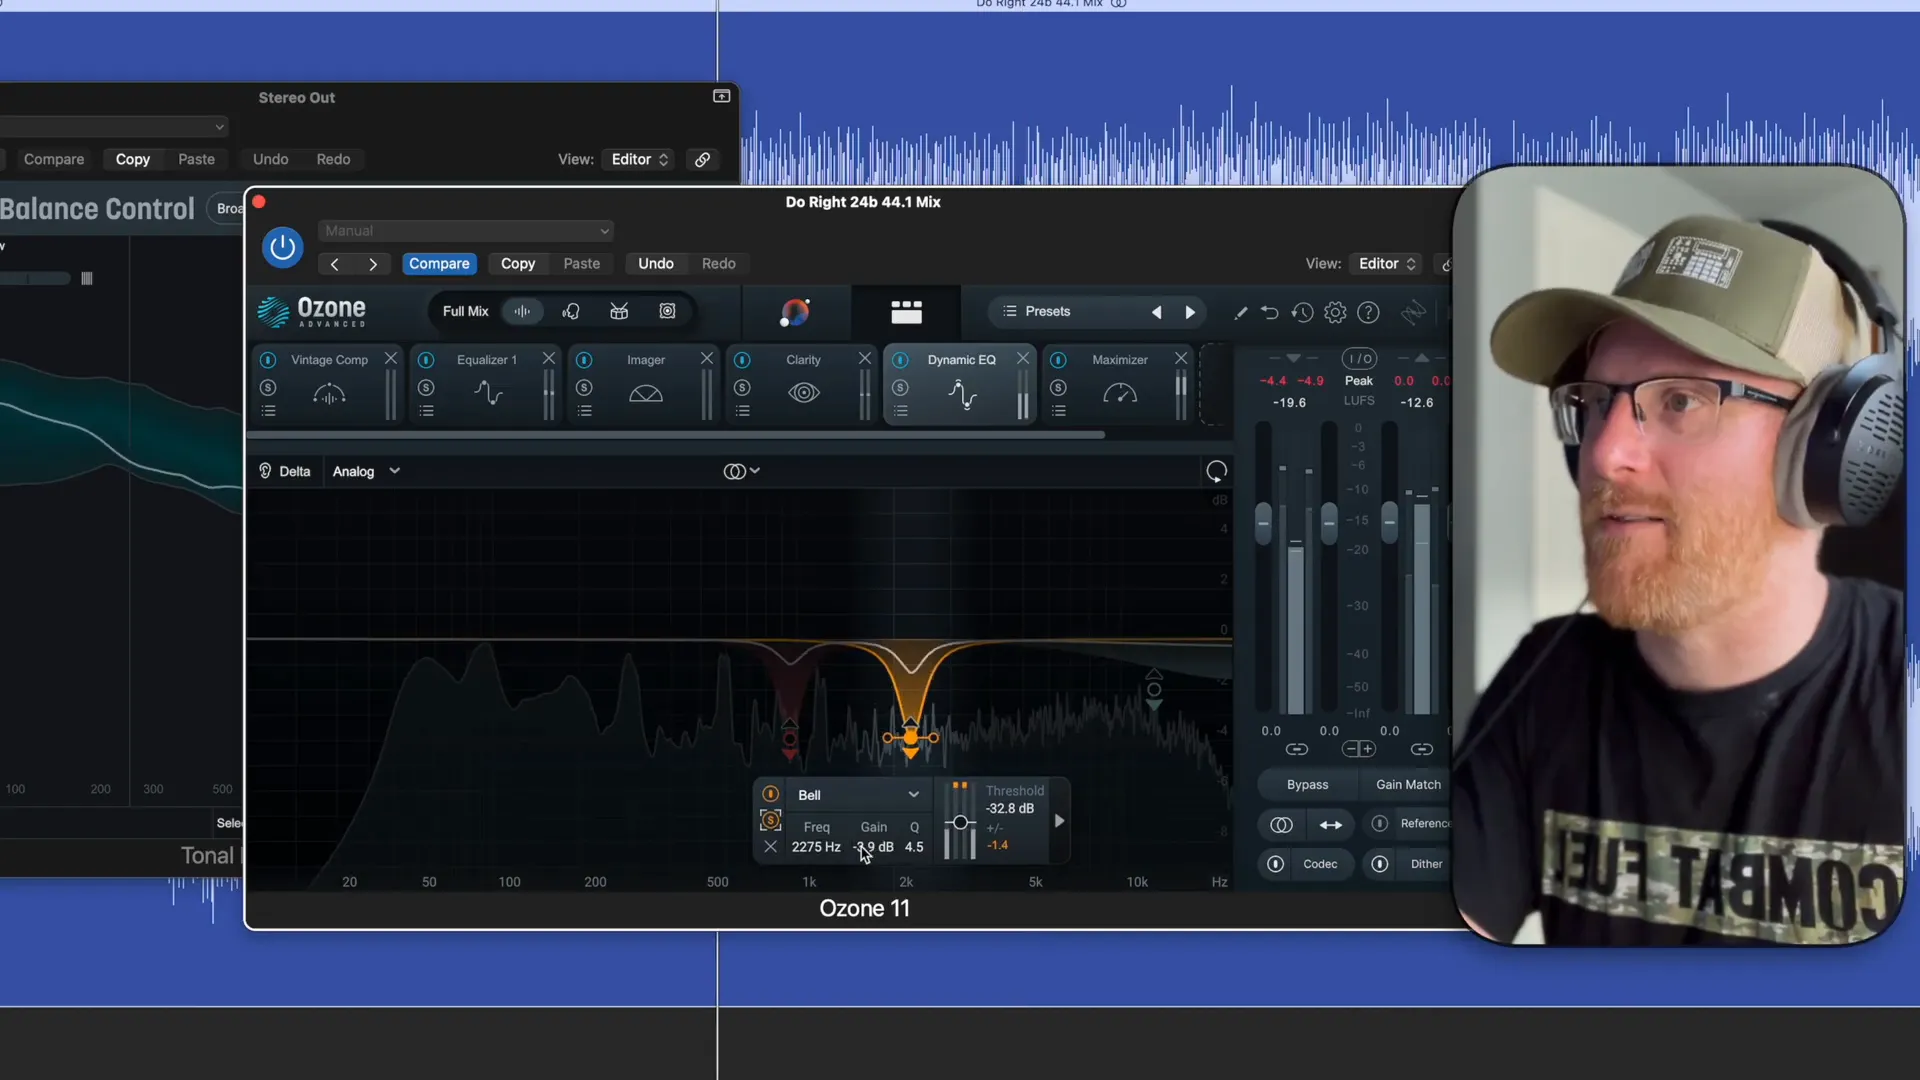
This feature can be particularly useful for smoothing out harshness in the midrange or controlling low-end frequencies that may overpower the mix. It adds a level of precision that static EQ cannot achieve, allowing for a more polished final product.
To use dynamic EQ effectively, set the frequency you want to control, adjust the threshold, and listen for the improvements in the mix. This approach ensures that your track maintains its energy while also sounding balanced.
In summary, mastering with Izotope Ozone involves a series of strategic steps. Loading the plugin, setting up your gain structure, using the Maximizer, and making precise EQ adjustments are all key components. Understanding and utilising dynamic EQ further enhances your ability to achieve a professional sound.
Balancing Loudness and Clarity
Achieving the right balance between loudness and clarity is crucial in the mastering process. You want your track to hit hard while retaining its dynamic range and clarity. Start by monitoring your loudness levels using the loudness meter in Izotope Ozone.
For instance, aim for a momentary loudness around -6 dB, which can help your track stand out. However, be cautious not to push levels too hard, as this can lead to distortion and loss of detail in your mix.
Utilise upwards compression to enhance the impact of your drops. This technique can help maintain the energy of your track without overwhelming it. Consider using a soft clipper set to low levels to manage peaks effectively.
As you adjust the loudness, ensure that other elements, such as vocals and instruments, remain clear. Regularly listen through your track and make adjustments as necessary to maintain a balanced sound.
Finalizing Your Mastering Chain
Your mastering chain is a series of effects that shape the final sound of your track. Start with the EQ to address any frequency imbalances. Follow this with compression to control dynamics, and then use the Maximizer to increase loudness.
Incorporate a vintage limiter for a warm, punchy sound. Set it to modern mode, and adjust the True Peak to around -0.1 dB to ensure there’s no clipping. This approach helps in achieving a polished and professional sound.
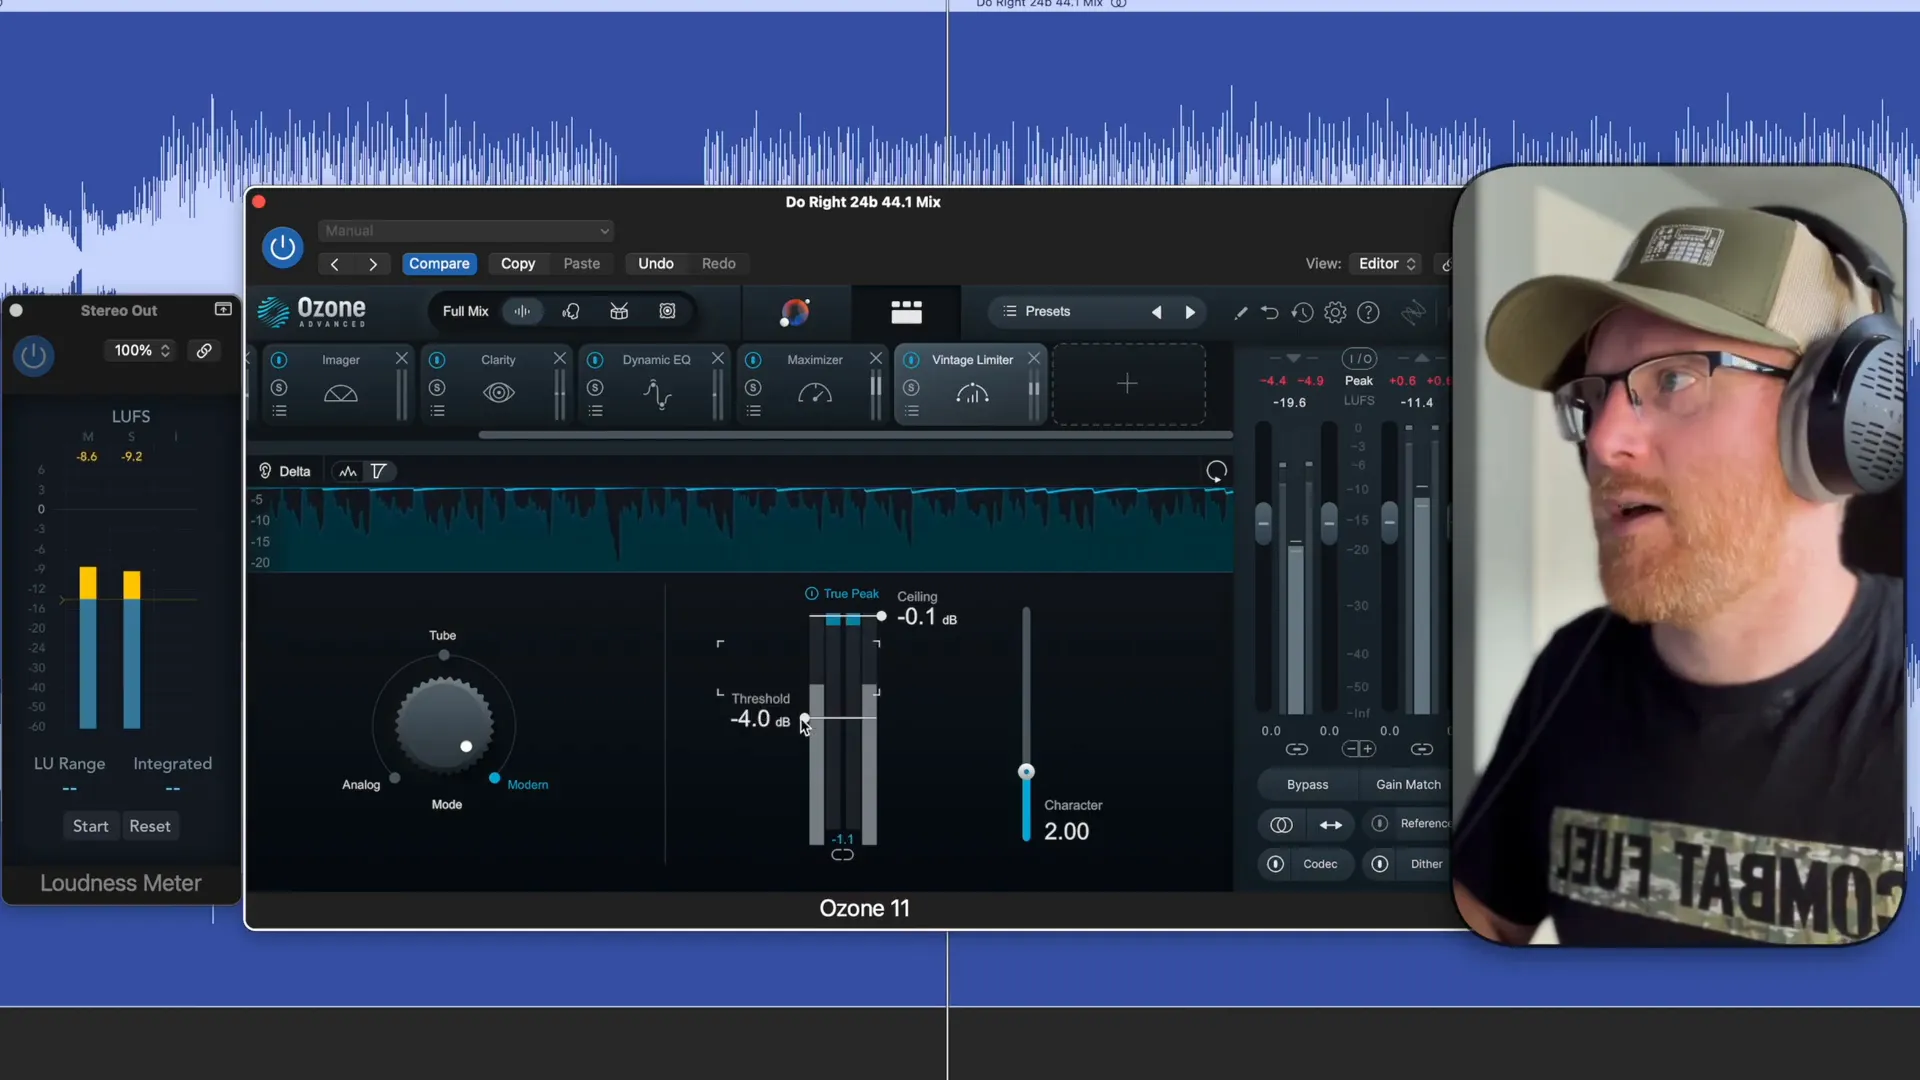
Monitor your integrated loudness and adjust your chain as needed. If the low end begins to distort, consider using a dynamic EQ or multiband compressor to manage it without sacrificing overall loudness.
Finally, listen through your entire track to ensure that all elements are cohesive and well-balanced. Making small tweaks at this stage can make a significant difference in the final product.
Exporting Your Mastered Track
Once you are satisfied with your mastering chain, it’s time to export your track. Choose a high-quality format, such as 16-bit WAV at 44.1 kHz, which is standard CD quality. This will ensure your final product sounds great across all platforms.
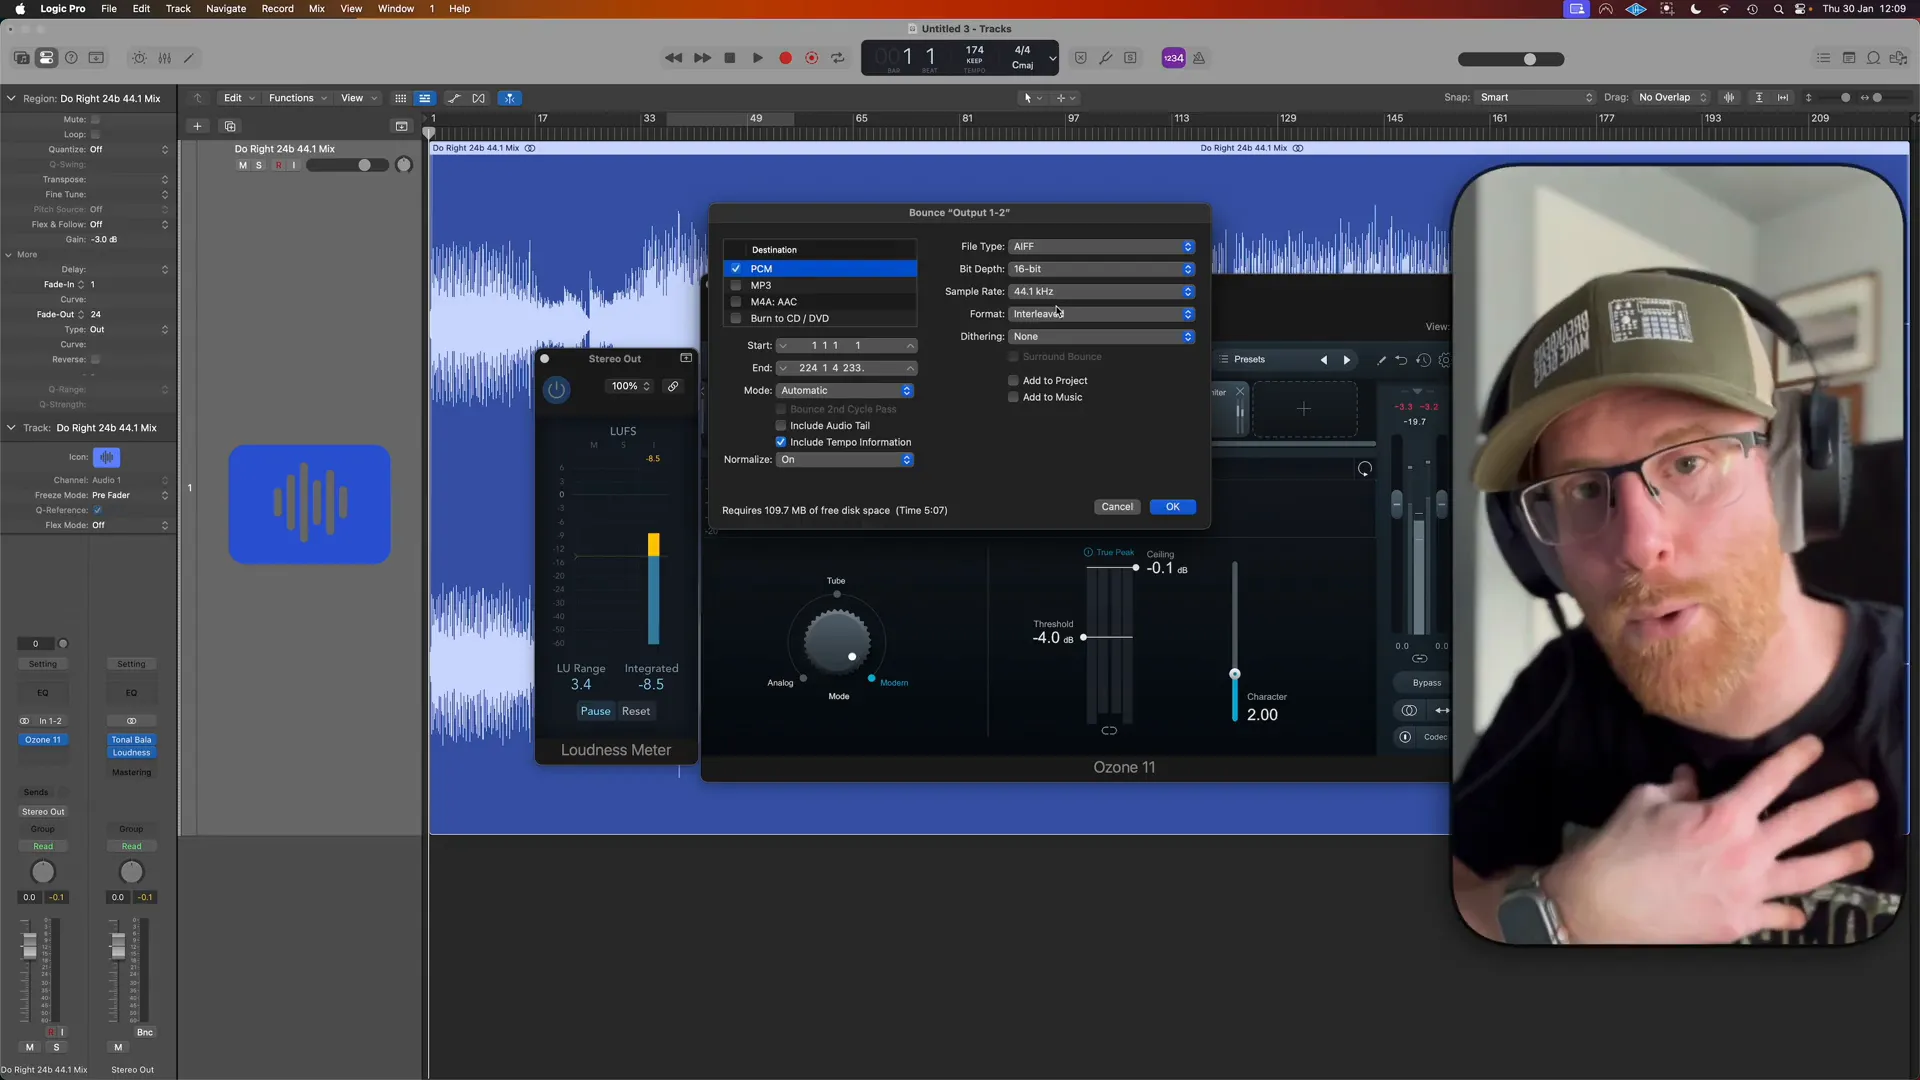
When exporting, it’s important to leave a ceiling of about 1 dB. This practice is particularly crucial for streaming platforms like SoundCloud, where low bit rates can introduce issues if levels are too high.

After exporting, listen to the track on various playback systems to confirm that it translates well. This step is essential for catching any discrepancies that may have been missed during mastering.
Frequently Asked Questions
What is the best loudness level for mastering?
A good target for loudness is around -6 dB momentary. However, it varies depending on the genre and the desired impact of the track. Always ensure clarity and avoid distortion.
How can I improve the clarity of my track?
Utilising EQ effectively can help improve clarity. Roll off unnecessary low frequencies and make subtle boosts in the midrange to enhance presence. Regularly toggle your EQ on and off to hear the difference your adjustments make.
Is Izotope Ozone suitable for beginners?
Absolutely! Izotope Ozone offers a user-friendly interface with powerful tools that can help both beginners and experienced producers achieve professional-sounding masters.
Where can I learn more about music production?
For more insights into music production, check out Curated Videos & Articles On How To Make Beats and discover helpful resources to elevate your music production skills.

