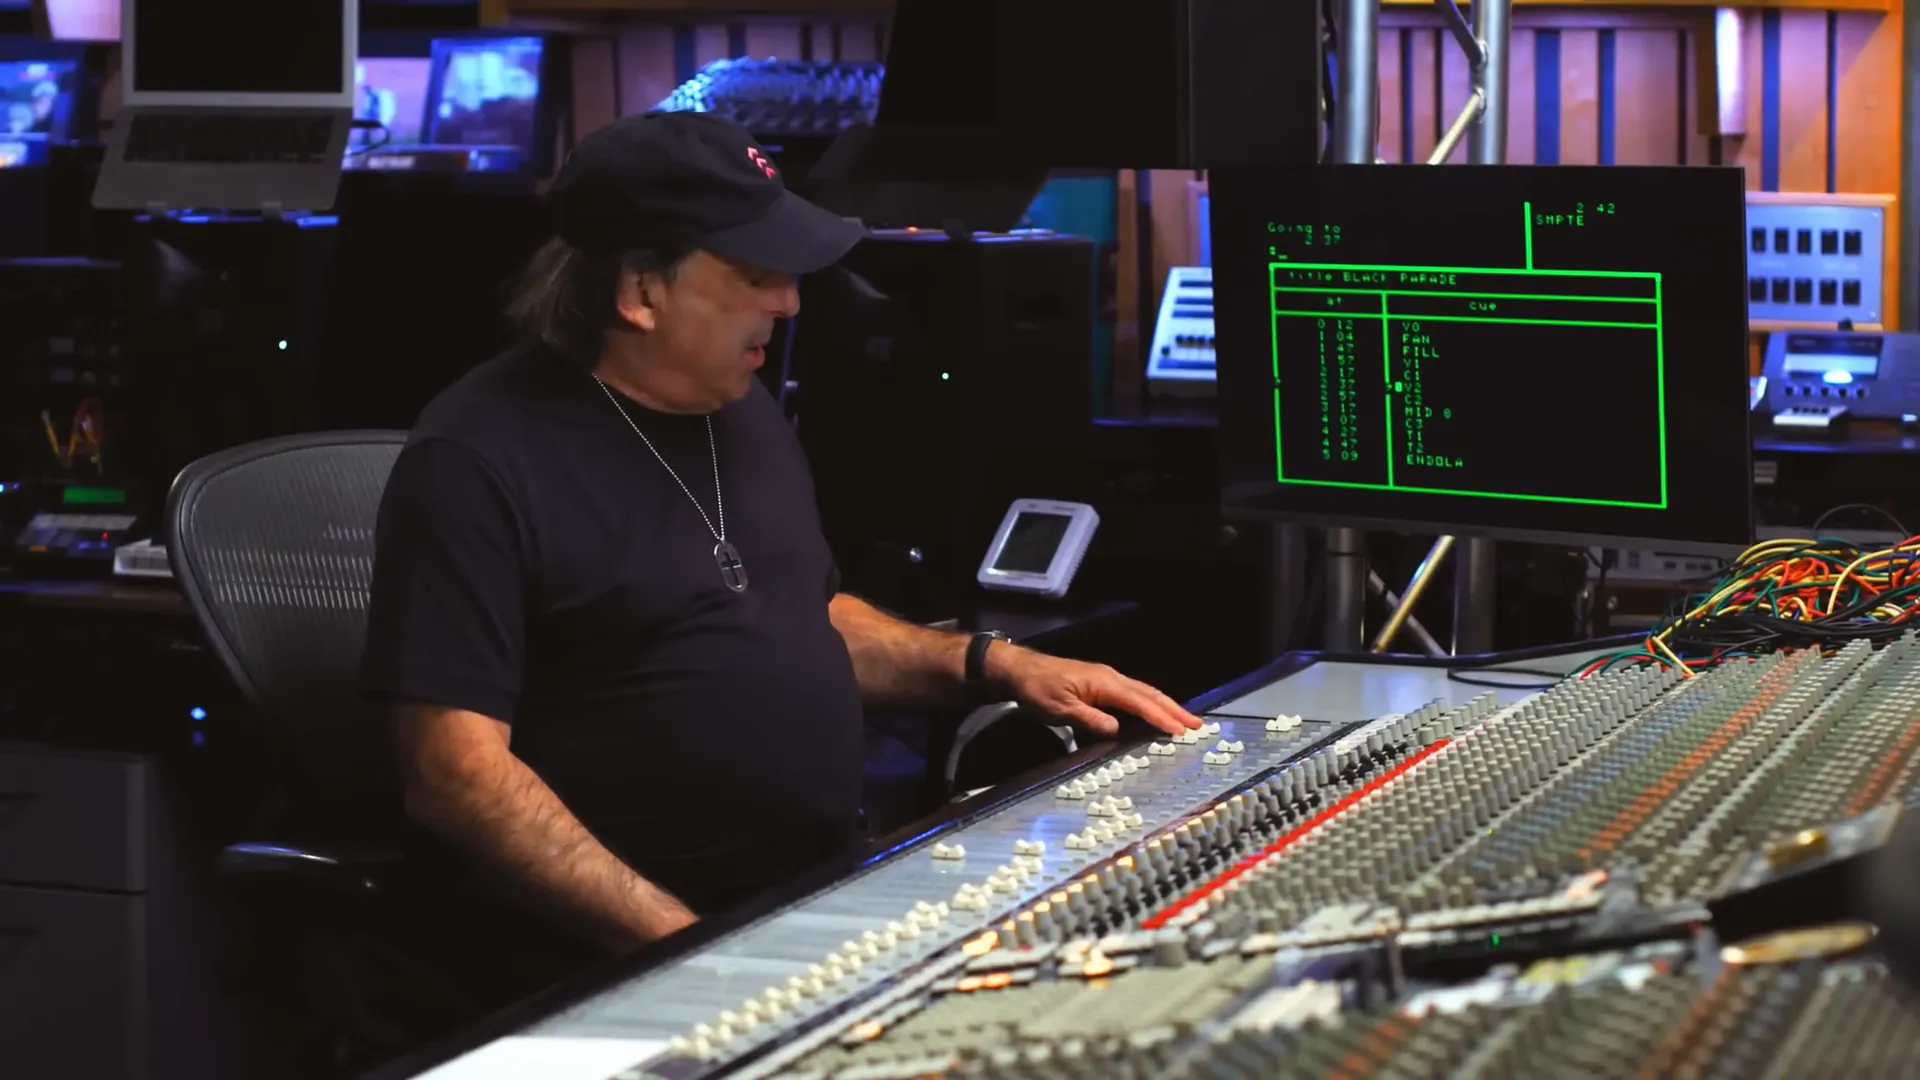
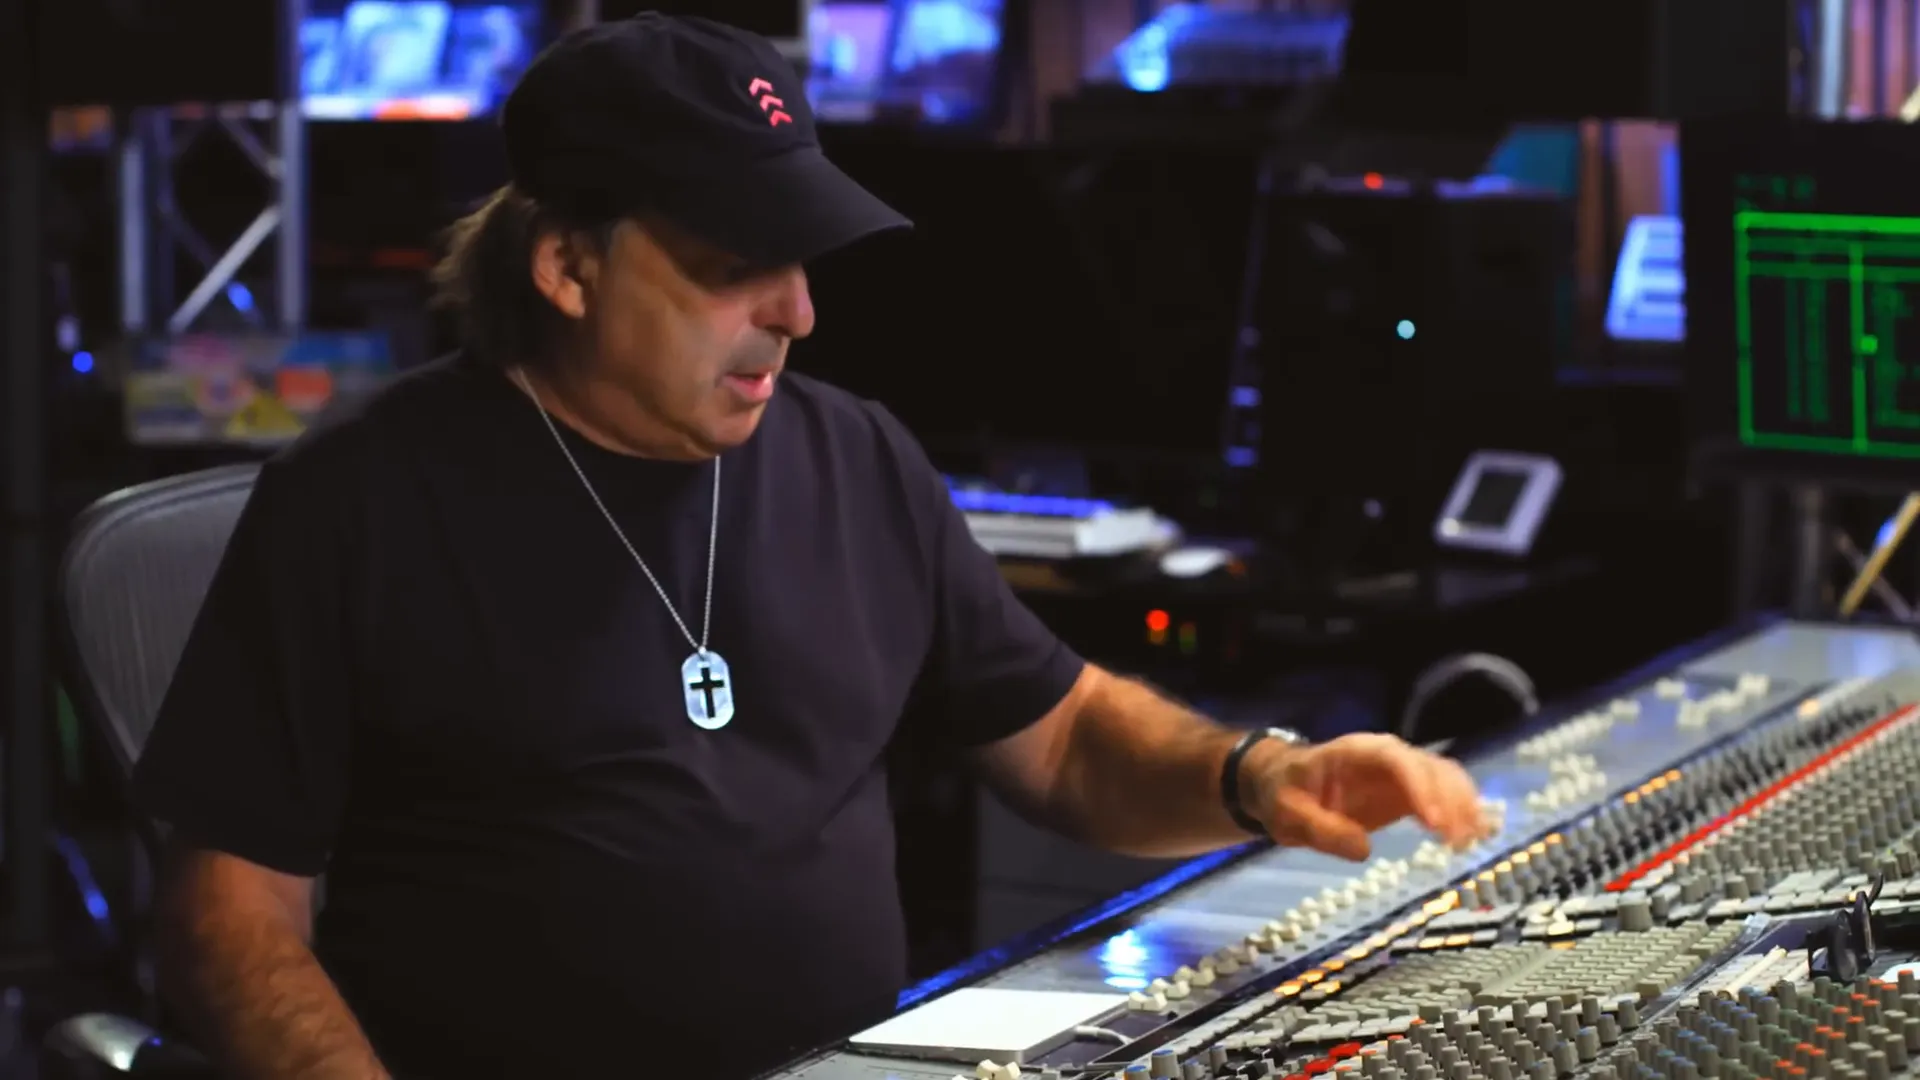
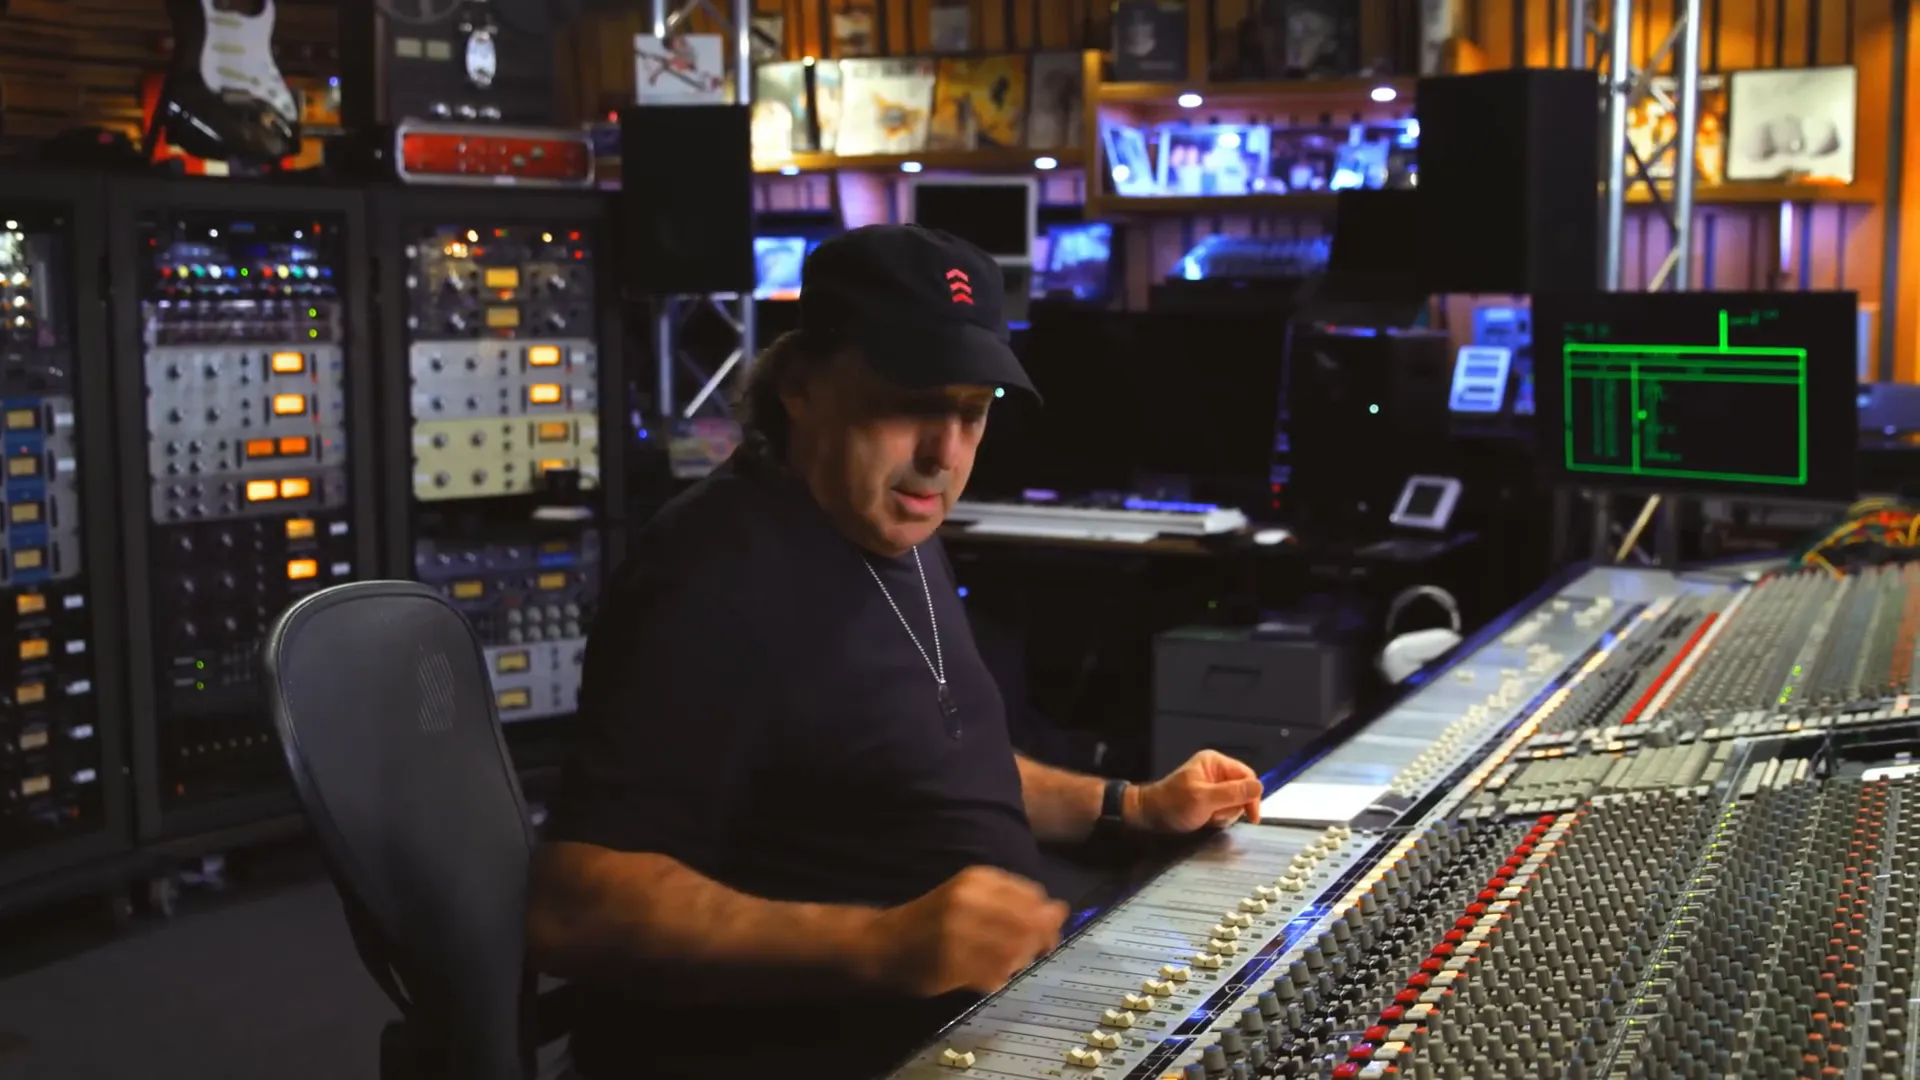
Mixing drums for My Chemical Romance is an art that combines technical skill with a deep understanding of the band's unique sound. In this guide, Chris Lord-Alge walks us through the essential steps and techniques used in the mixing process, ensuring that the integrity of the music is maintained while enhancing its overall impact.Chris Lord-Alge reveals the drum and vocal chains from ‘Welcome To The Black Parade’ and explains his approach to EQ, compression and effects. Let’s dive into the world of mixing drums, focusing on the specific methods that make My Chemical Romance's sound so iconic.
Table of Contents
- Step 1: Setting the Stage
- Step 2: Understanding the Mix Characteristics
- Step 3: Reverb Selection
- Step 4: Creating a Vocal Reverb Palette
- Step 5: Layering Drum Reverbs
- Step 6: Fine-Tuning EQ for Clarity
- Step 7: Incorporating Delay Effects
- Step 8: Bringing It All Together
- Step 9: Testing in Different Environments
- Step 10: Final Touches and Bounce
- FAQ
Step 1: Setting the Stage
Before diving into the mixing process, it's crucial to set the stage correctly. This involves preparing your workspace and ensuring all your equipment is ready. Start by organizing your session in a digital audio workstation (DAW) with all the drum tracks clearly labelled.
Once you have your session set up, you can begin by soloing the drum tracks to hear them in isolation. This helps identify the strengths and weaknesses in each track.
Step 2: Understanding the Mix Characteristics
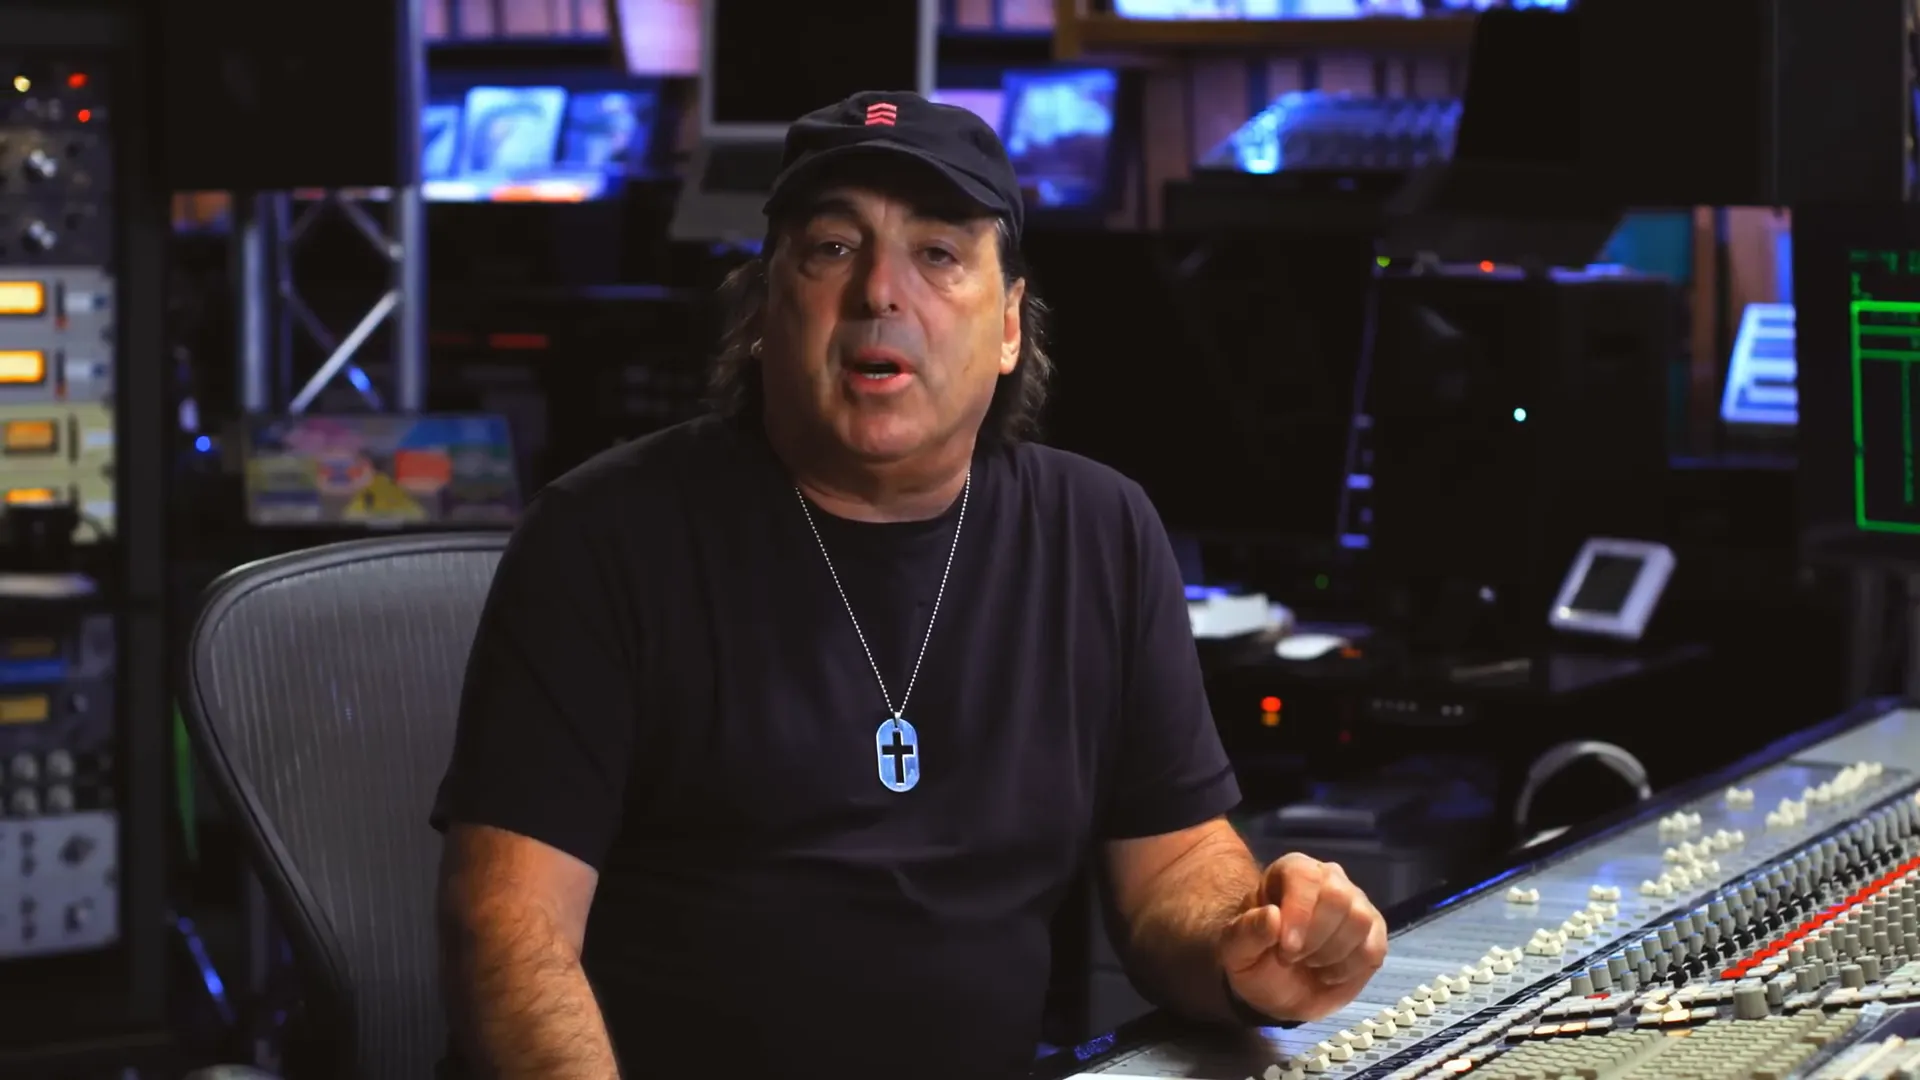
My Chemical Romance's music is known for its dynamic range and emotional depth. It's important to understand the characteristics of the mix before applying any effects. The goal is to maintain clarity while adding character. As noted, the song we are working with isn't super wet; it needs just a little bit of character to keep its fast pace without losing definition.
Step 3: Reverb Selection
Reverb is a crucial element in creating the right atmosphere for vocals and drums. For the vocals, a go-to choice is a four eighty plate reverb with a little pre-delay. This provides a solid foundation without overwhelming the mix. The pre-delay helps maintain clarity, allowing the vocal to shine through the mix.
For additional depth, a quick slap delay can be added from a tape eliminator, which enhances the vocal's presence in the mix. Feather this in carefully to ensure it complements rather than competes with the vocal performance.
Step 4: Creating a Vocal Reverb Palette
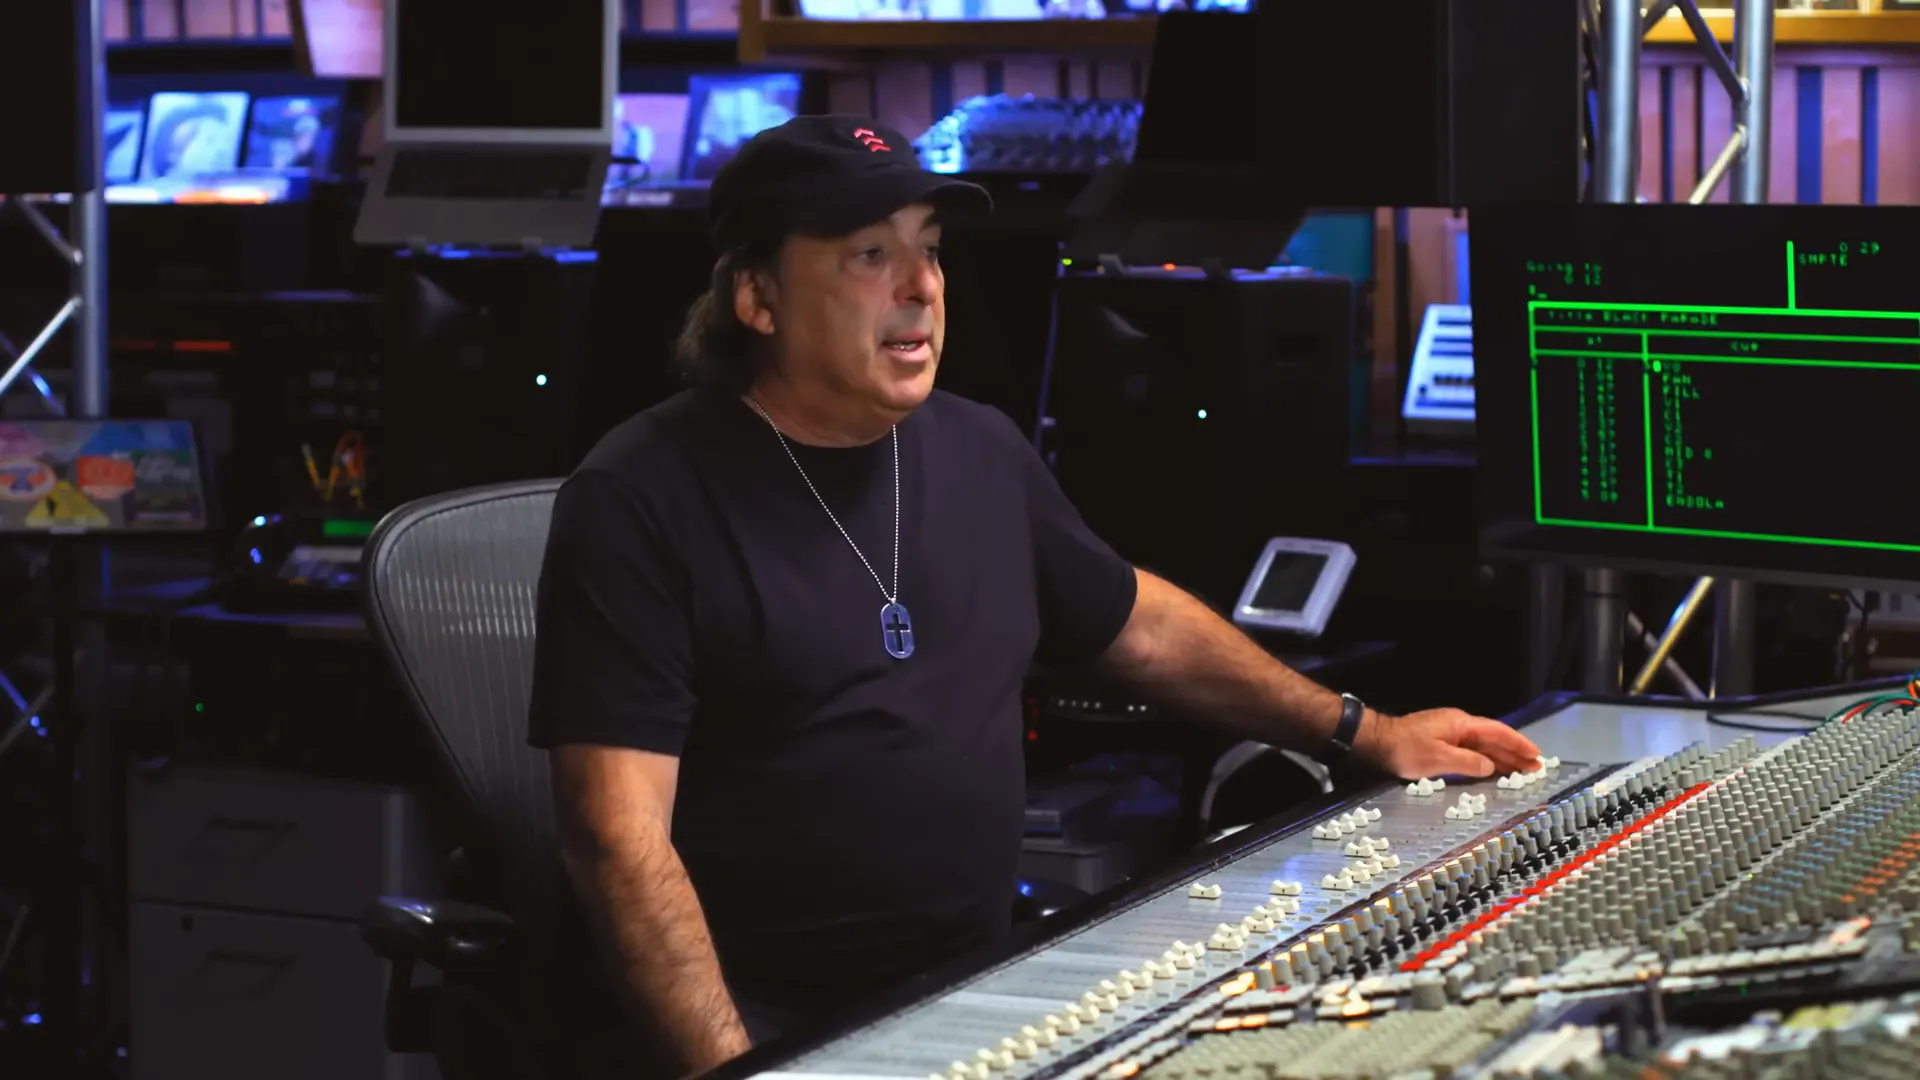
Once the main reverb is set, consider adding more elements to the vocal reverb palette. For instance, the Ursa Major Space Station can be used for short delays that simulate a live ambiance. This adds life to the mix, especially during the fast parts of the song.
Utilizing multiple reverb types allows for a richer sound. For example, combining a plate reverb with a room simulator creates a unique character that can’t be achieved with just one type of reverb.
Step 5: Layering Drum Reverbs
Next, we focus on the drums. Start by selecting a few different types of reverb for the drums. Each reverb should serve a different purpose. For example, a short room reverb can be used to add character, while a bright, ringy plate reverb can catch the snare and enhance its presence in the mix.

Combining different reverbs allows you to create a fuller, more exciting drum sound. Utilize the EMT 240, which adds a little character, alongside a brighter percussion plate reverb. The combination of these elements will create a dynamic and engaging drum sound.
Step 6: Fine-Tuning EQ for Clarity
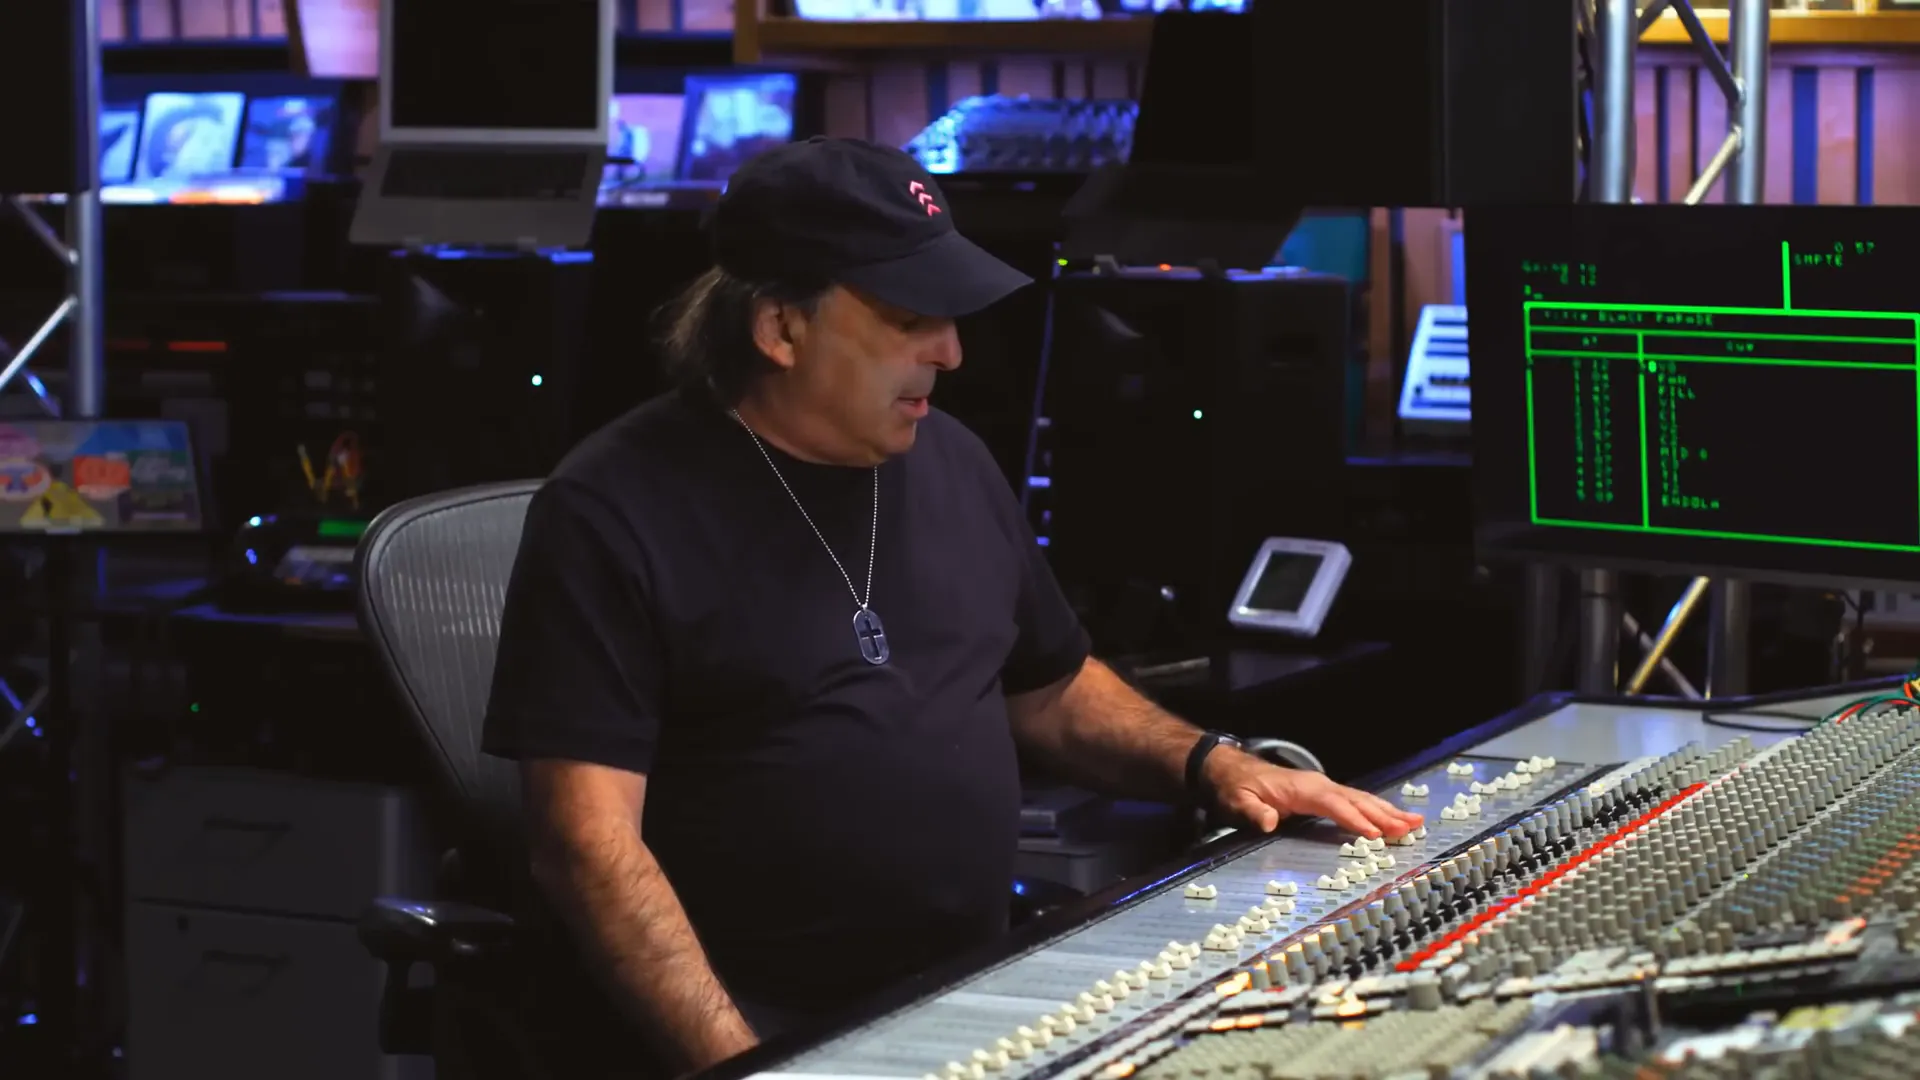
Once the reverbs are in place, it’s time to fine-tune the EQ settings for both the drums and vocals. Start by cleaning up any unwanted frequencies in the drum tracks. Pay special attention to the cymbals and toms. Pulling back on certain frequencies can help avoid muddiness and ensure that each element has its own space in the mix.
WEBSITE RESOURCES FOR MUSICIANS
Step 7: Incorporating Delay Effects
Delays can add a nice touch to both vocals and instruments. For instance, short delays can be effective in the fast parts of the song, creating a sense of urgency and excitement. Make sure to adjust the timing of your delays to match the tempo of the track, ensuring they enhance rather than distract from the performance.
Step 8: Bringing It All Together
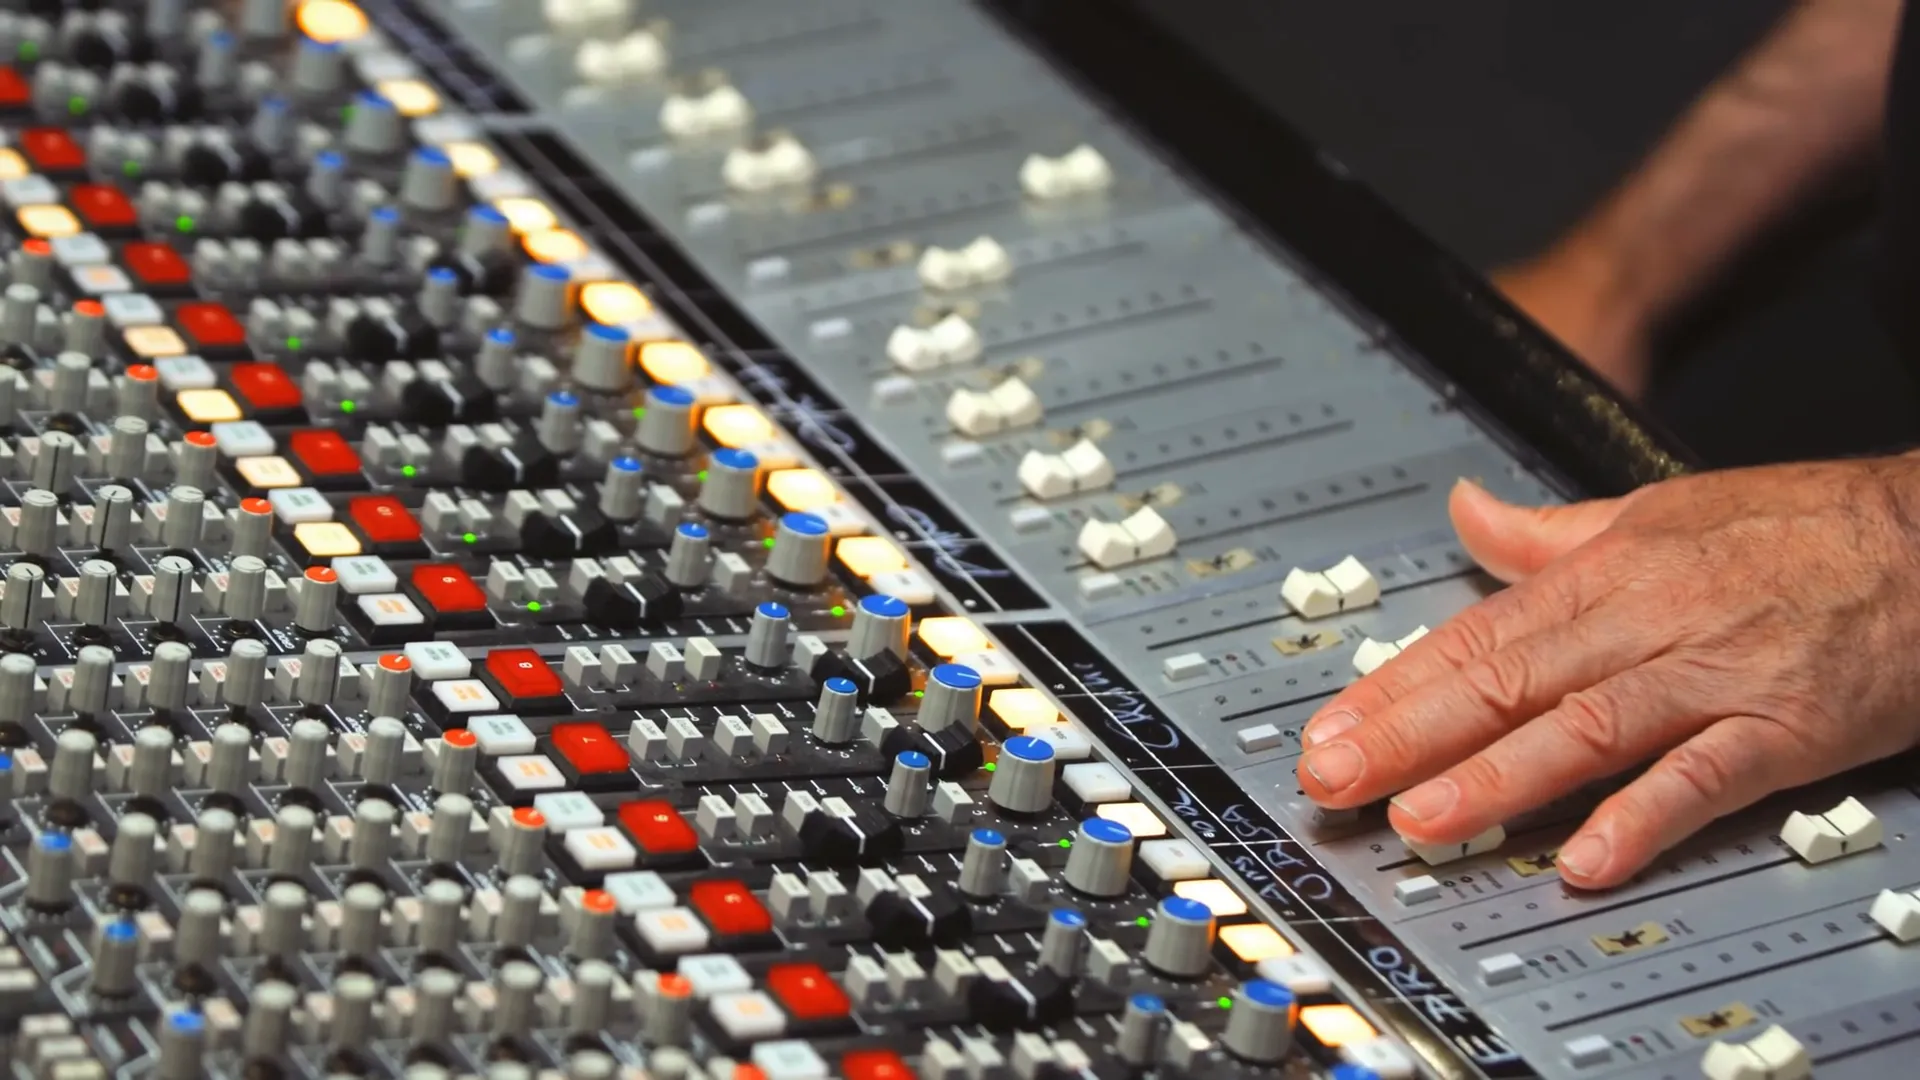
After layering your reverb and delay effects, it’s time to bring everything together. Play the song from the beginning and listen to how all the elements interact. Make adjustments as needed, ensuring that the drums and vocals complement each other while maintaining clarity and punch.
Step 9: Testing in Different Environments
Once you’re satisfied with your mix, it’s important to test it in different listening environments. This could include headphones, studio monitors, and even car speakers. Each environment will give you a different perspective on how the mix translates, ensuring that your work sounds great no matter where it's played.
Step 10: Final Touches and Bounce
Finally, after all adjustments are made and you’re happy with the mix, it’s time to bounce the track. Ensure that you export the track in the highest quality possible, so it retains all the nuances of your mixing process.
FAQ
What are the common reverb types used in mixing drums?
Commonly used reverb types include plate, room, hall, and chamber reverbs. Each type serves different purposes and can be layered for a richer sound.
How important is EQ when mixing drums?
EQ is crucial in mixing drums as it helps carve out space for each element, ensuring clarity and preventing muddiness in the mix.
What is the best way to test a mix?
Testing a mix in various environments, such as different speakers and headphones, is essential to ensure it translates well across different listening scenarios.
How can I achieve the My Chemical Romance sound in my mixes?
To achieve the My Chemical Romance sound, focus on dynamic range, emotional depth, and careful layering of effects, particularly reverb and delay.
Where can I learn more about mixing techniques?
Check out our curated videos and articles on how to make beats for more insights into mixing techniques.


