!Let Us HELP YOU!
We have a lot of curated content on this blog.
Take this simple 20 second Quiz to Help You
Find The Exact Content You Are Looking For!
Intrigued by the dreamy, atmospheric vibes of Rufus Du Sol? This comprehensive tutorial dives into the essential techniques for creating authentic deep house tracks inspired by their signature sound. We'll cover everything from building chords and basslines to sidechaining, reverb effects, and adding those iconic rhythmic element
Navigating FL Studio 20: A Step-by-Step Guide to Deep House Mastery
- DAW: FL Studio 20 is used in the tutorial, but the principles apply to any DAW.
- Plugins: You can achieve similar results with these types of plugins:
- Basic piano plugin (like FL Keys)
- Bass samples/synth
- Sidechain plugin (Kickstart is an option, or use Fruity Balance)
- Reverb plugin (Waves R-Verb or one with EQ control)
- Delay plugin (Waves H-Delay or similar)
- Filter plugin (Fruity Free Filter works well)
- Sample Pack: Download the free pack from the video description for ready to use sounds.
Dive into the World of Deep House Production with FL Studio 20
- Building the Chords
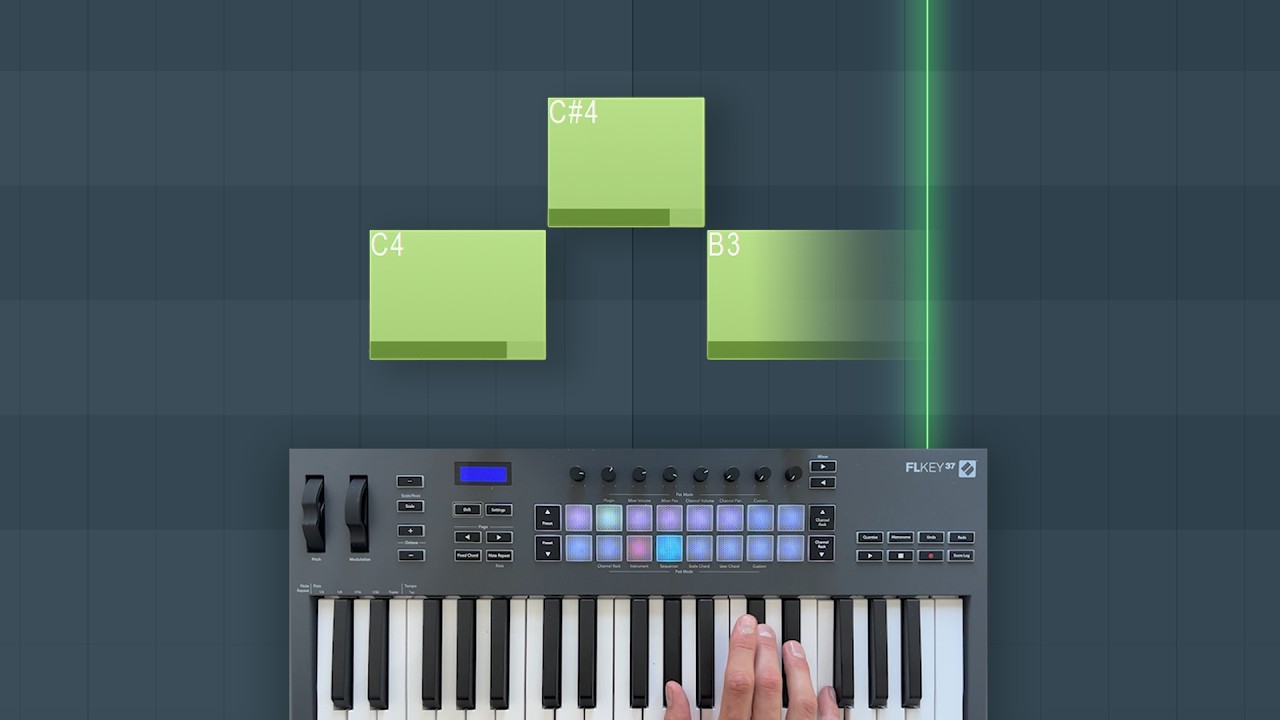
- FL Keys: Start with a basic piano plugin
- Customization: Experiment to find a sound that resonates with you. Adjust hardness, release, overdrive, and sensitivity as needed.
- Chords: Refer to the score in the sample pack or create your own. Pay attention to timing and velocity variations for a natural feel.
Crafting a Groovy Bassline
- Sample Selection: Use "base number one" from the provided sample pack.
- Envelope Shaping: Adjust attack, sustain, decay, hold, and release for a smooth, flowing bass sound.
- Modulation: Apply modulation (Mod X) to the filter to create a dynamic bass movement.
- Duplicate and Experiment: Clone the bassline and try a different sample (like "base number two") with reverb for a layered effect.
- The Magic of Sidechaining
- Link and Unlink: Link the bass and piano tracks to a dedicated "sidechain" mixer channel. This allows for unified sidechain control.
- Fruity Balance for Sidechaining: Load Fruity Balance on the "sidechain" channel and create a volume automation clip. This will mimic the pumping effect common in deep house.
- Further Exploration: For a deeper dive into this technique, check out our article on Sidechain Compression Masterclass: Advanced Mixing Tutorial:
- Introducing the Kick Drum
- Kick Selection: Choose a suitable kick from the sample pack.
- Simple Routing: Link the kick to its own mixer channel for individual processing.
- Building the Structure
- Arrangement: Use the playlist to arrange sections of your track.
- Drum Build: Incorporate the drum build sample from the pack for a dynamic transition.
- Enhancing Piano with Reverb
- Reverb Plugin: Load a reverb plugin on the piano channel (Reverb 2 is a good starting point).
- Sculpting the Reverb: Adjust high-cut, low-cut, dampening, reverb size, and decay for a lush, atmospheric tail.
- Automation: Create an automation clip for the reverb's mix level to add a dramatic build-up effect.
- Spicing Up the Build-Up
- Riser Sample: Choose a riser from the sample pack and link it to its own mixer channel.
- Reverb and Automation: Apply the same reverb treatment as the piano, automating the mix level for a controlled crescendo.
- Additional Elements: Experiment with impact samples and downlifters for extra build-up energy.
- Atmospheric Textures
- Atmosphere Sample: Introduce an atmospheric layer to fill out the sonic space.
- Subtlety is Key: Keep it quiet in the mix for that background ambiance.
- Pre-Drop Filtering
- Fruity Free Filter: Create a "filter sweep" effect for a dramatic transition into the drop. Route the piano and riser through an effects channel, then automate a high-pass filter.
- The Drop: Rhythmic Elements
- Percussion Samples: Import the provided percussion samples and route them to individual mixer channels.
- Create a Pattern: Experiment with different combinations of the perc sounds and the kick.
- Delay for Dimension: Use a delay plugin (like H-Delay) with ping-pong settings and feedback for added depth.
- Finishing Touches
- Second Drop: Introduce a hat and clap combo to create energy in the second half of the drop.
- Vocal Inspiration: Looking to add a vocal element similar to Trippie Redd? Discover the techniques in our dedicated Trippie Redd Vocal Effect Tutorial: https://howtomakebeatsblog.com/trippie-redd-vocal-effect-tutorial/.
- Fine-tuning and Balance: Pay close attention to the mix and adjust volumes as needed for a cohesive sound.
Get the Tutorial Resources
- Sample Pack and Project File: Download from the video description.
- Relevant Articles:
- Understanding Sidechaining Techniques https://en.wikipedia.org/wiki/Sidechain_compression
Any release for commercial rights, please contact me directly on facebook.com/JarnoMusic
~Jarno Source https://www.youtube.com/watch?v=9Gk_5OM60zE


