Join Adam as he dives into the creative process of making a Playboi Carti instrumental, specifically his track “EVIL J0RDAN.” In this blog, he”ll guide you through each step of the remake, from selecting samples to mixing the final beat, ensuring you get a comprehensive understanding of the techniques involved. Before we get into the crux of the content here our team curated the content for this blog from this video: lets make “EVIL J0RDAN” by Playboi Carti. Adam from iamaMusicMogul breaks down how to make “EVIL J0RDAN” by Playboi Carti, offering top-tier Logic Pro tutorials along with project files and samples. If you’re a Logic user, his channel is hands down one of the best resources out there—definitely worth checking out!
Table of Contents
- Introduction to the Remake
- Building the Drum Pattern
- Adding Gunshot FX
- Finalising with Open Hats
- Mixing and Final Beat Arrangement
- Conclusion and Download Links
- FAQ
Introduction to the Remake
In this section, we’ll explore the essence of creating a Playboi Carti instrumental, specifically focusing on the track “EVIL J0RDAN.” The vibe is all about capturing that distinct sound that makes Carti’s music so captivating. It’s not just about replicating a beat; it’s about understanding the intricacies that go into the production.
As we dive in, remember that the goal is to capture the energy, the rhythm, and the overall feel of the original track while adding your own flair. This journey will take us through sample selection, sound manipulation, and crafting melodies that resonate. Let’s get started!
Setting the Tempo and Sample Selection
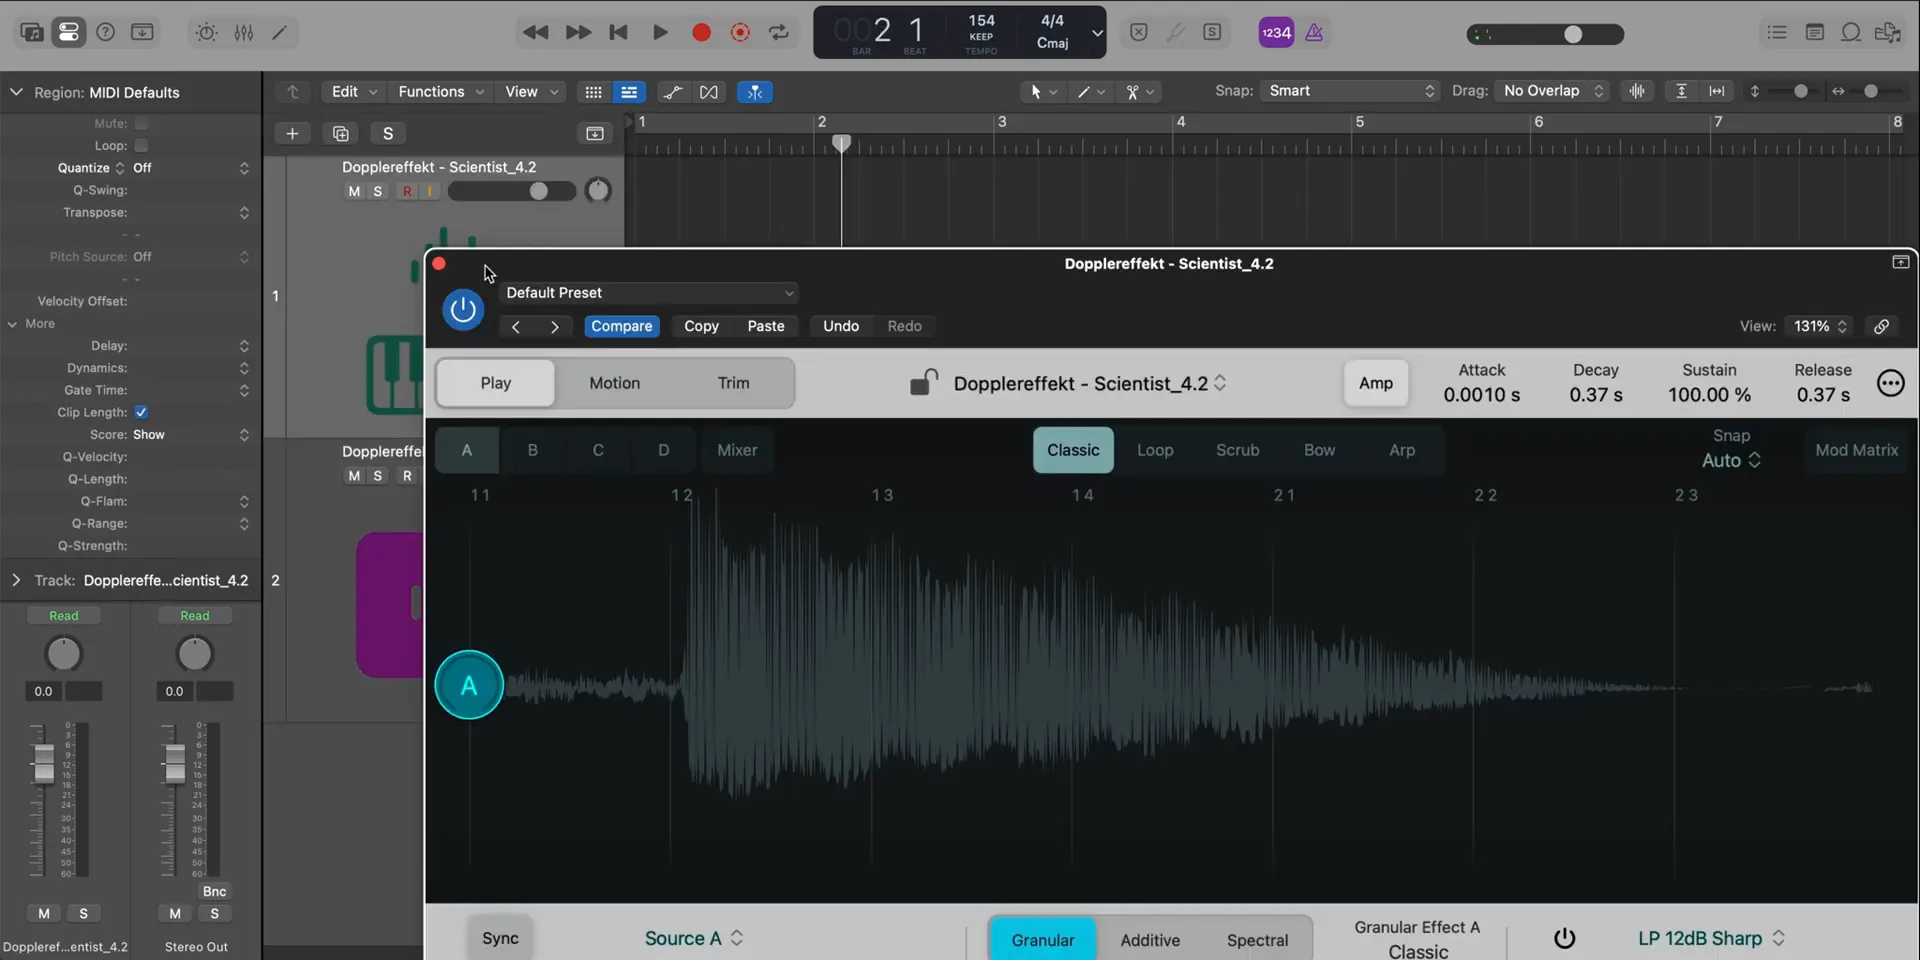
The first step in our process is setting the right tempo, which for “EVIL J0RDAN” is 154 BPM. This tempo is crucial as it dictates the overall energy of the track. Once we have our tempo locked in, we can move on to selecting the samples.
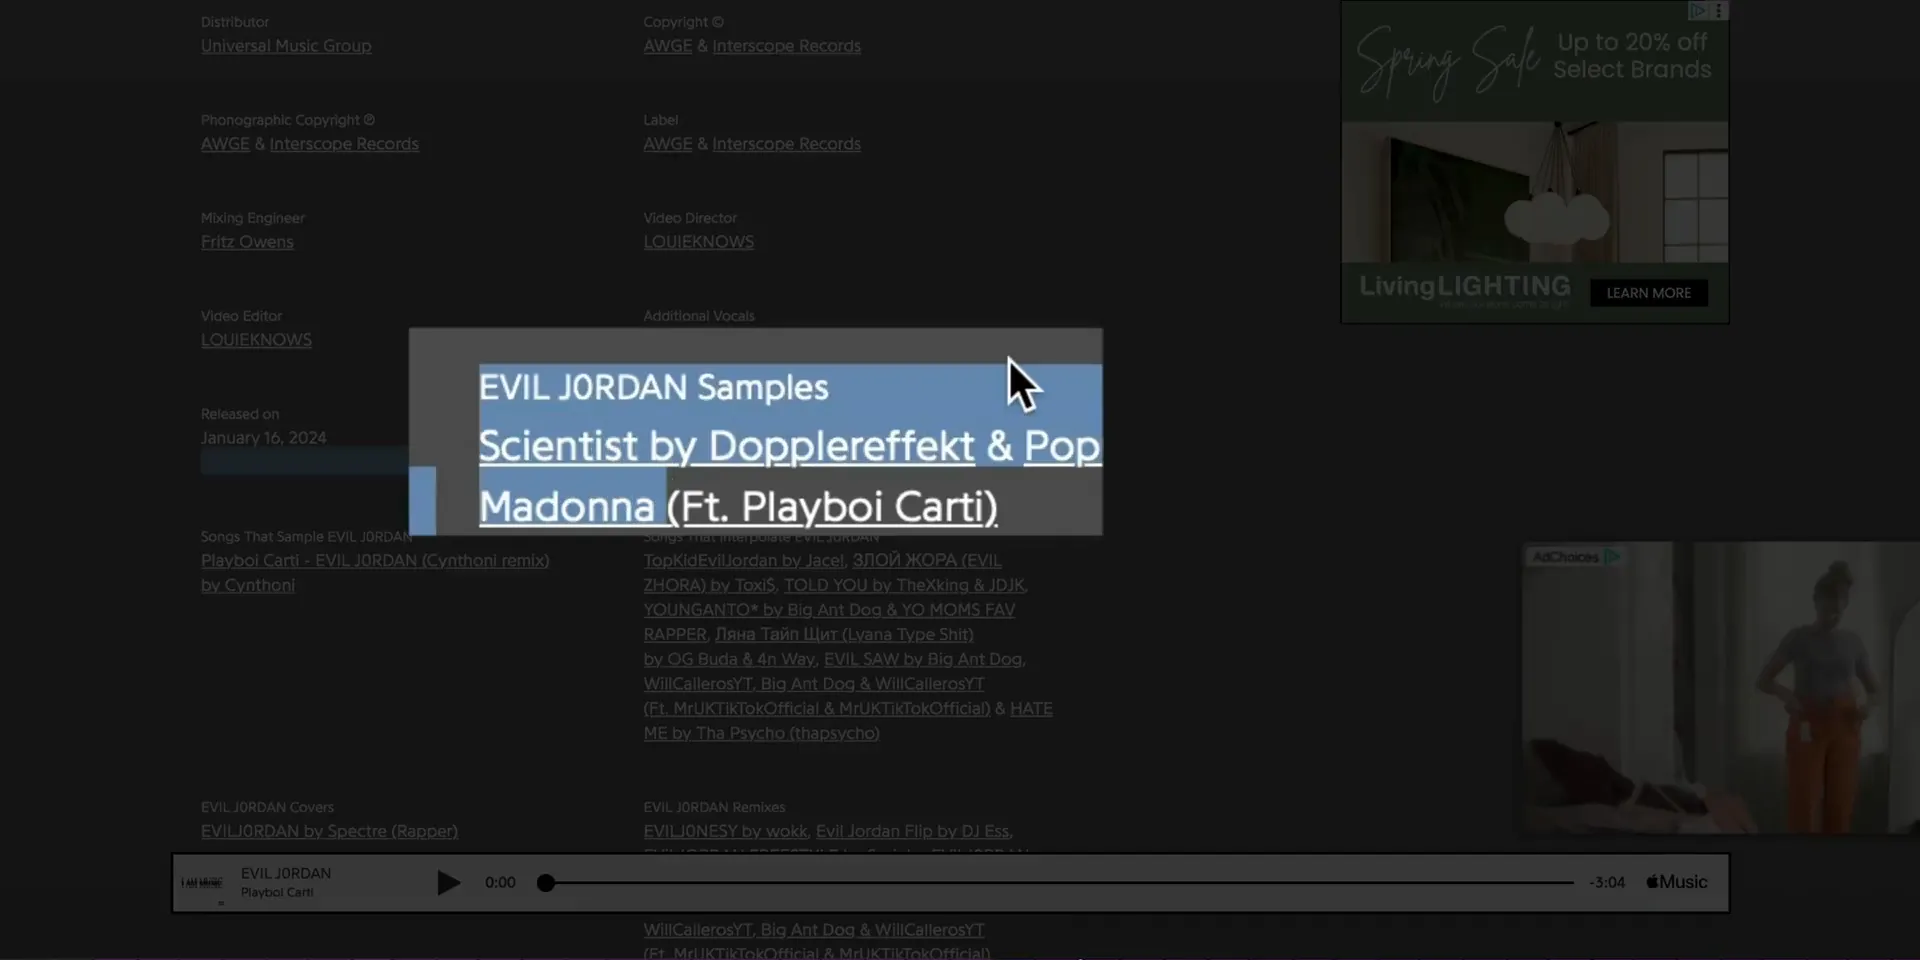
For this track, we’ll be using a key sample known as “Scientist” by Doppler Effect. This sample is recognized for its unique, bubbly sound reminiscent of a phone ringing. It’s essential to choose samples that not only fit the vibe but also enhance the overall atmosphere of the track.
Manipulating the Main Sample
Once we have our sample in place, the next step is manipulation. This is where the magic happens. Start by chopping the sample down to its core elements. We want to isolate that signature sound to make it stand out.
Using the sample alchemy tool, adjust the starting point and apply some scrubbing to stretch the sound. This technique allows us to play with the sample, giving it a unique twist that will make it our own. Don’t forget to boost the gain to ensure it sits well in the mix.
Crafting the Melody
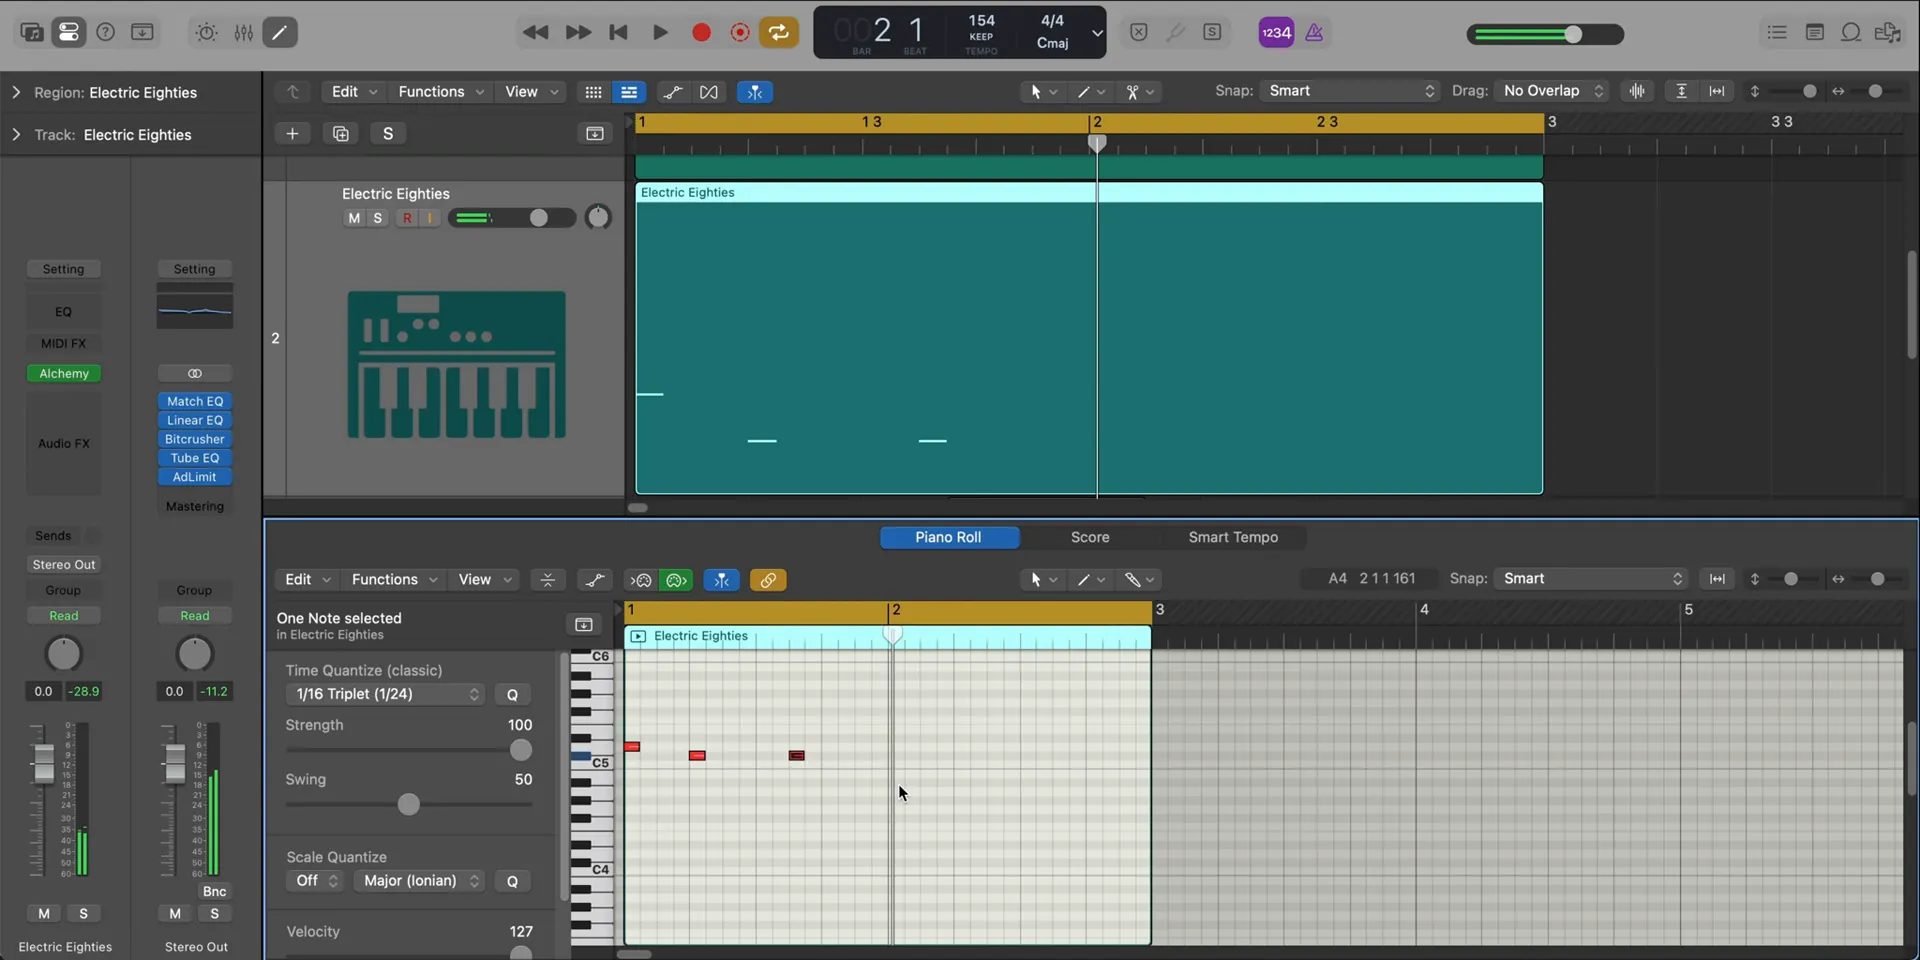
Now that we have our main sample, it’s time to build the melody. This involves layering additional sounds that complement our main sample. For this, we’ll use Logic’s Alchemy to access various presets, particularly “Electric 80s.” This preset will provide a rich, underlying melody that supports our main sound.
When crafting the melody, it’s vital to keep it simple yet effective. A repetitive pattern can create a hypnotic feel that captures the listener’s attention. Adjust the dynamics of each note to add depth and emotion, ensuring some notes are softer and others stand out.
Adding Voice Synths
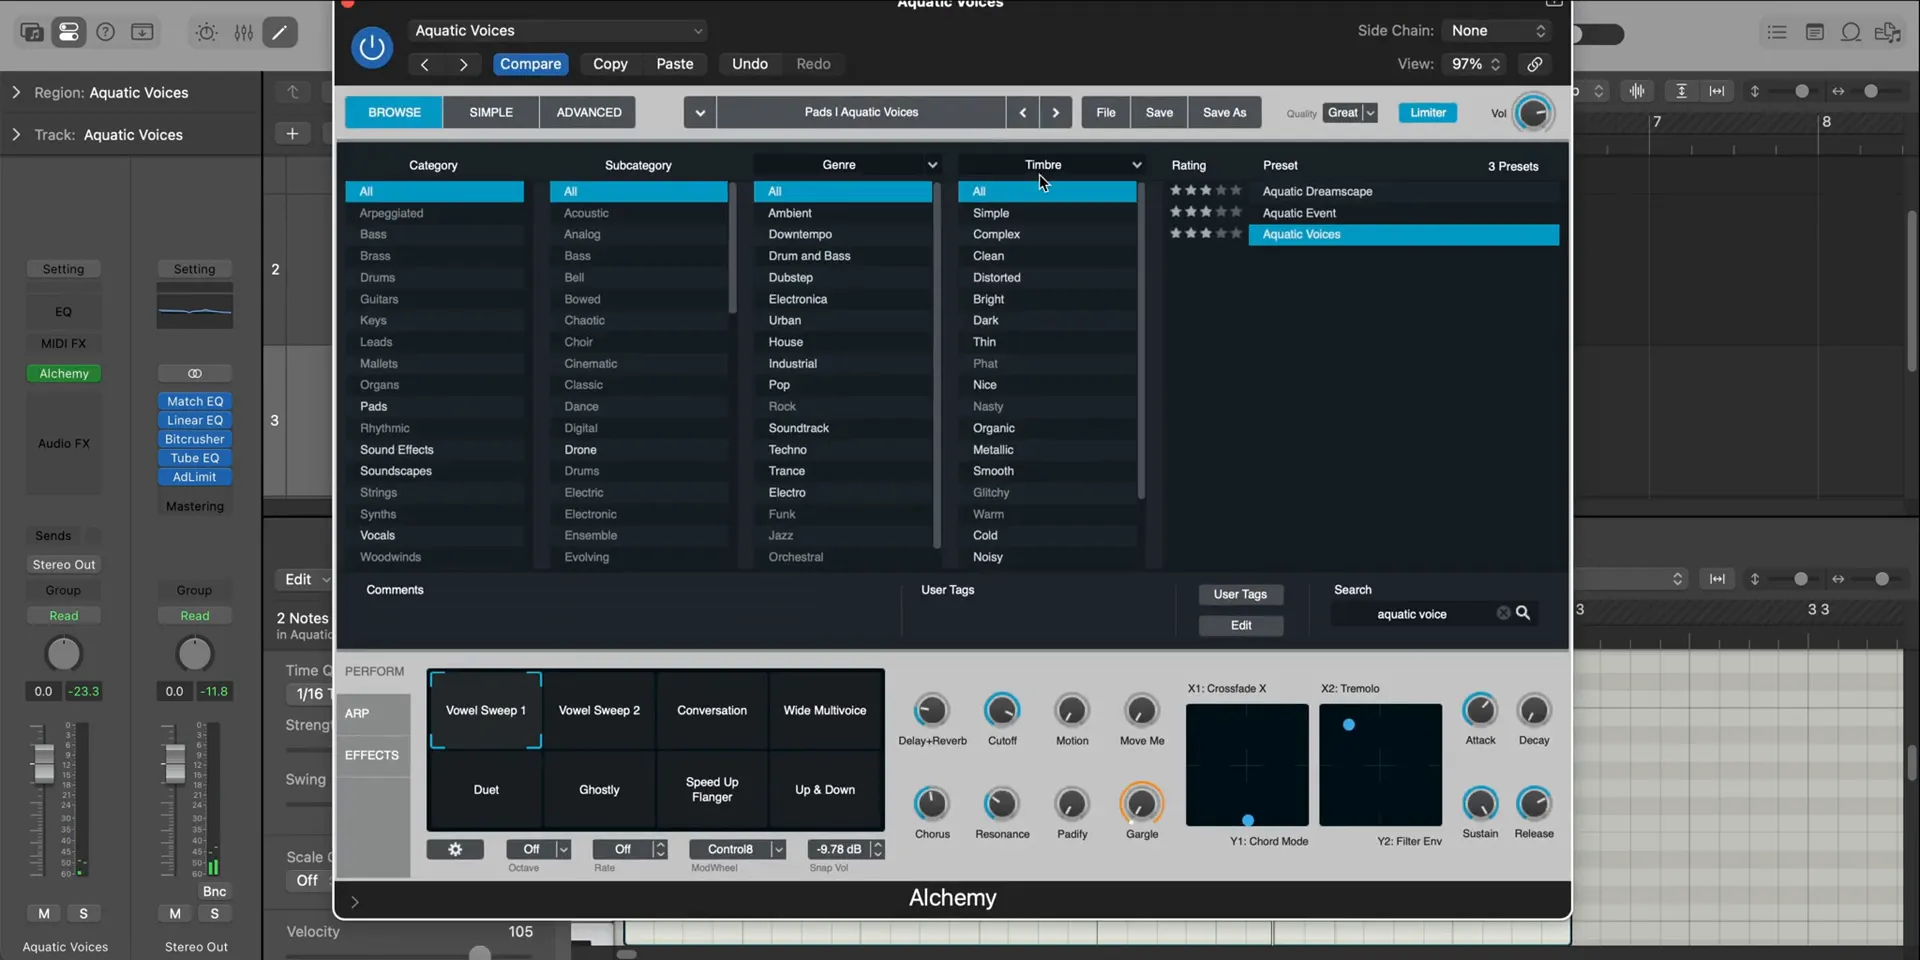
Next, we’ll integrate voice synths into our production. This step adds a unique texture that further enhances the instrumental’s overall vibe. Using another preset from Logic’s Alchemy, “Aquatic Voices,” we can achieve that ethereal quality that’s often present in Carti’s tracks.

Once the synth is in place, create a simple pattern that harmonizes with the existing melody. Adjust the sustain and release settings to ensure it blends seamlessly into the mix while still being distinct enough to stand out.
Incorporating Keys and Cowbell
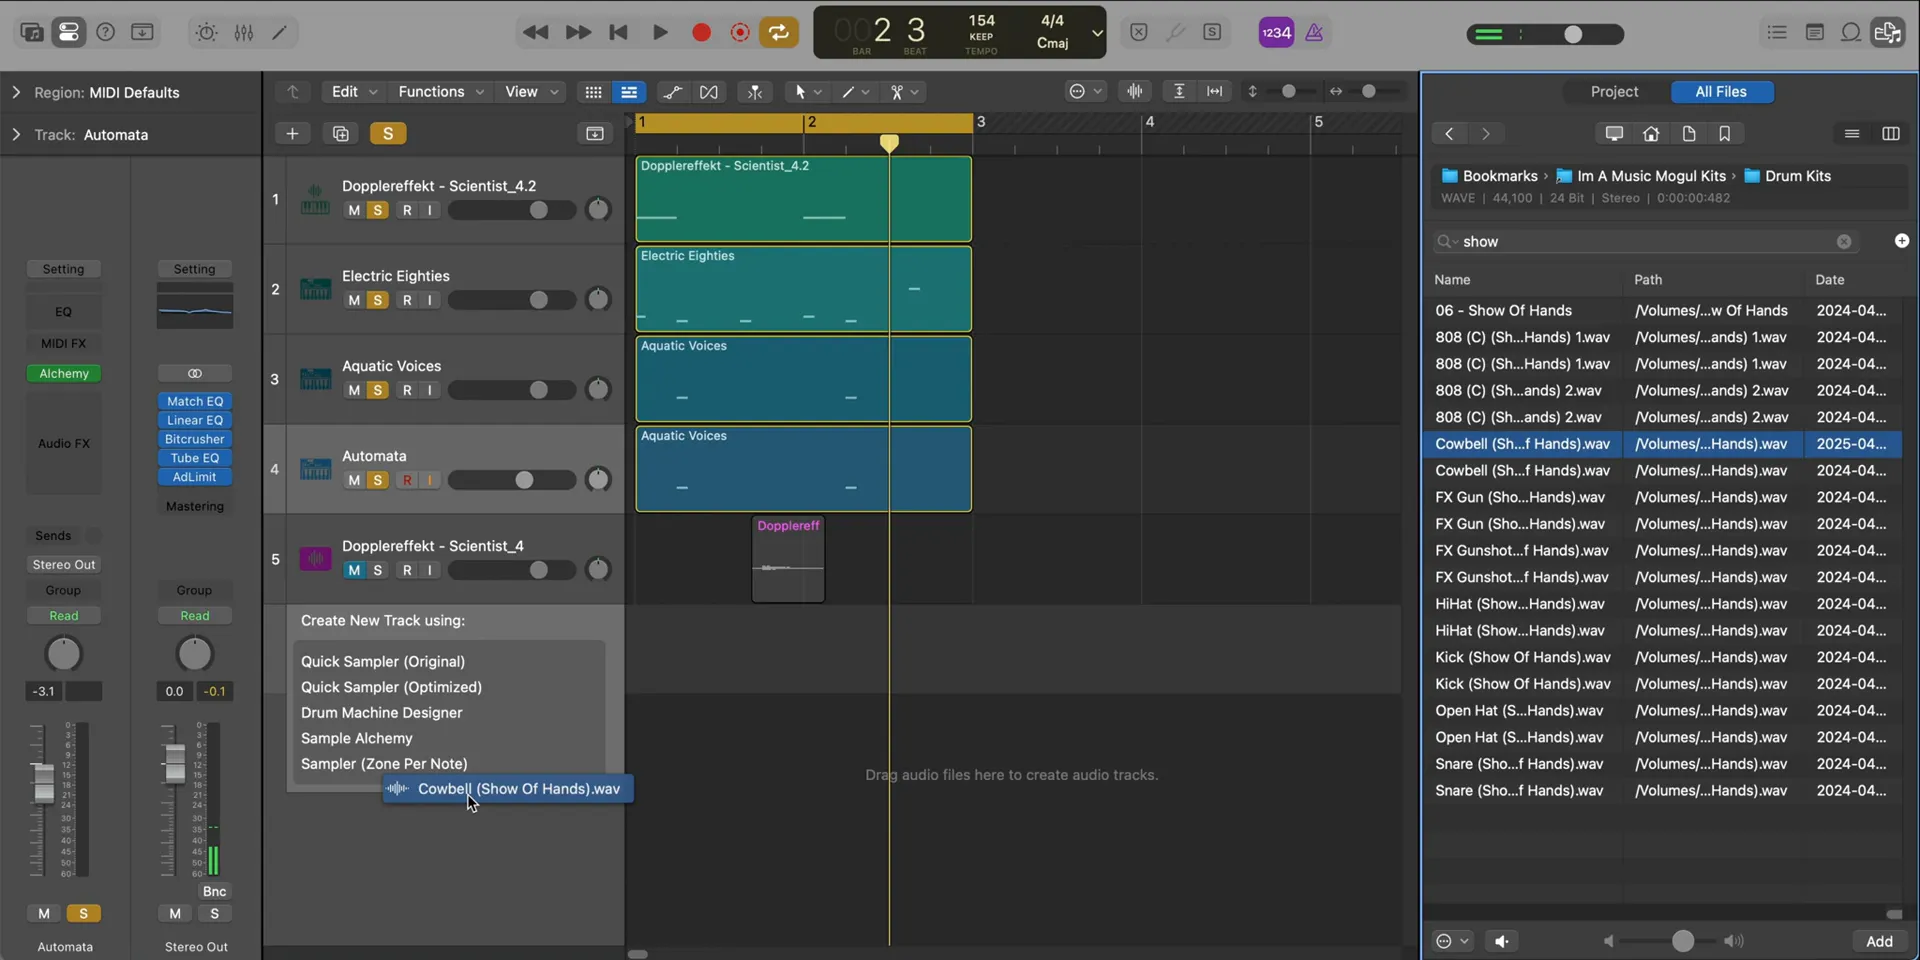
To give the instrumental more character, we’ll need to incorporate keys and a cowbell. The keys will provide a melodic backbone, while the cowbell adds that classic trap feel. Start by selecting a key sound that complements the existing elements, such as the “Automata” preset.
WEBSITE RESOURCES FOR MUSICIANS
Once the keys are laid down, introduce the cowbell. This sound should be subtle yet impactful, hitting on the two to maintain the rhythm. Adjust the attack and filter settings to ensure it doesn’t overpower the other elements but still contributes to the track’s groove.
Applying FX on Group Melody
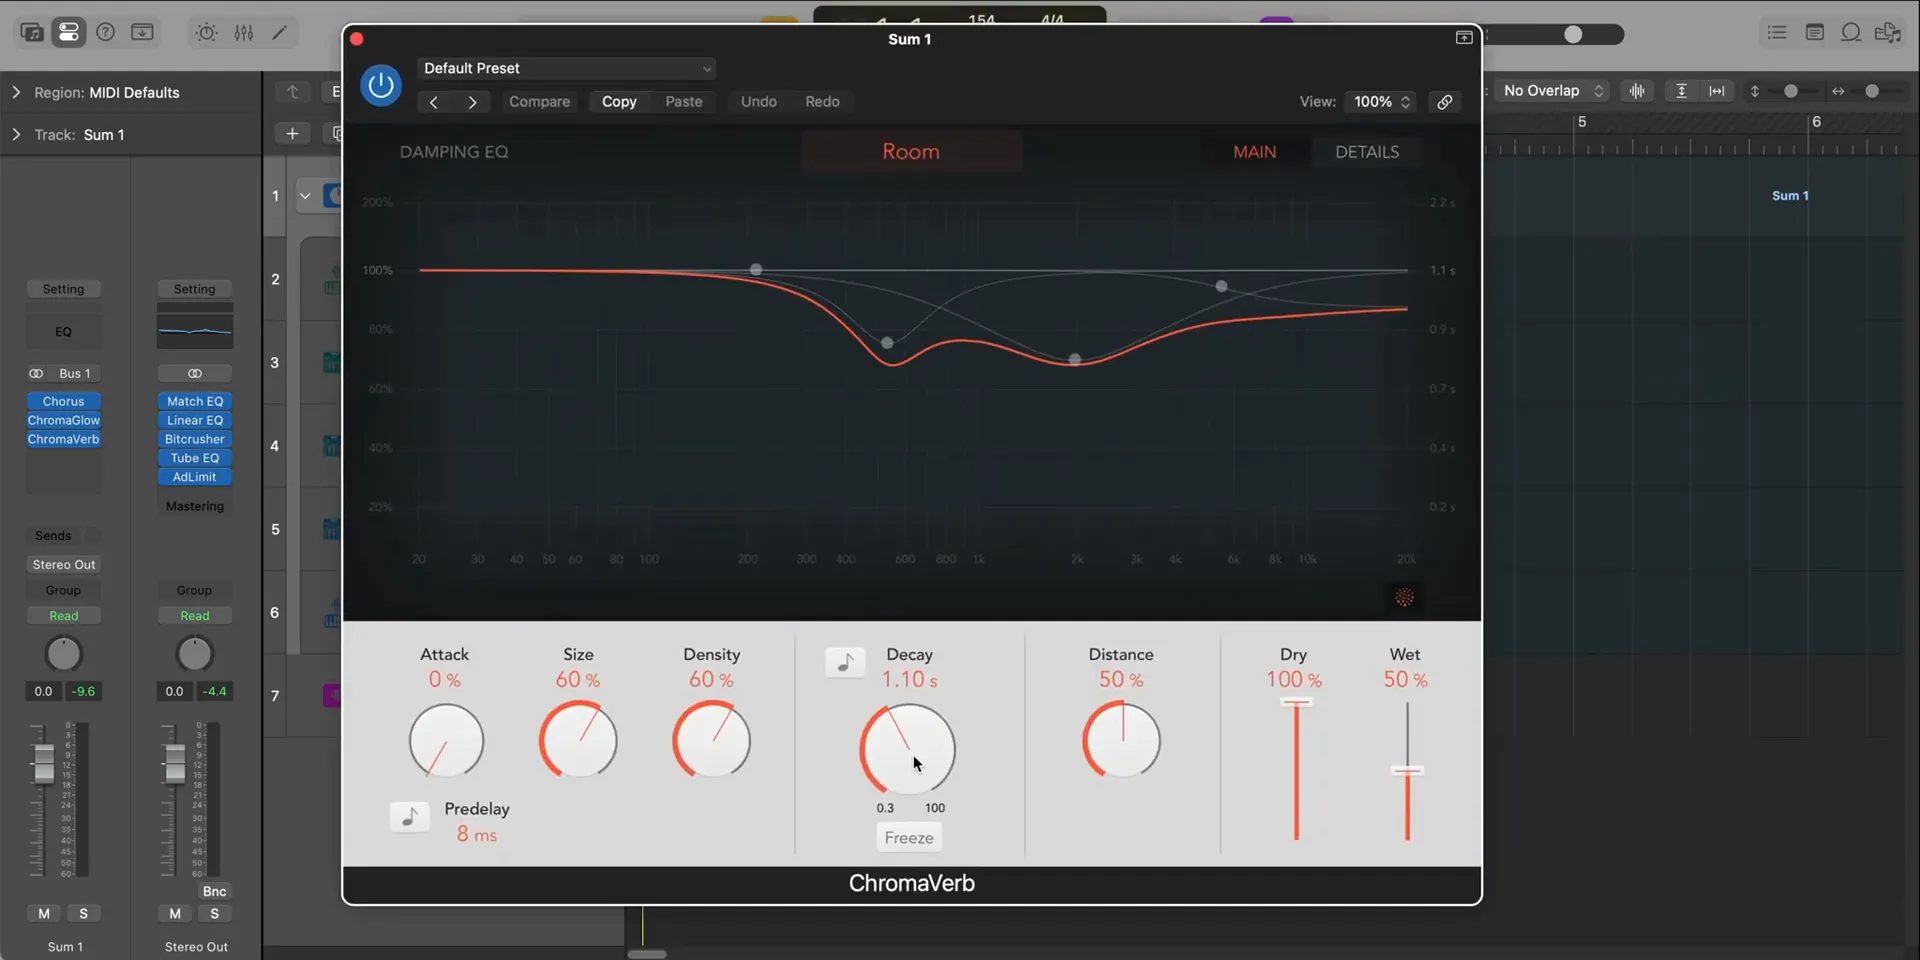
Finally, we’ll want to apply effects to our grouped melody to unify everything. Start by adding a chorus effect to widen the sound, followed by some distortion to give it more energy. This step is crucial as it helps the melody pop in the mix.
Additionally, applying reverb can create a sense of space, making the instrumental feel more immersive. Adjust these effects until you find the right balance that complements the overall sound without overwhelming it.
Building the Drum Pattern
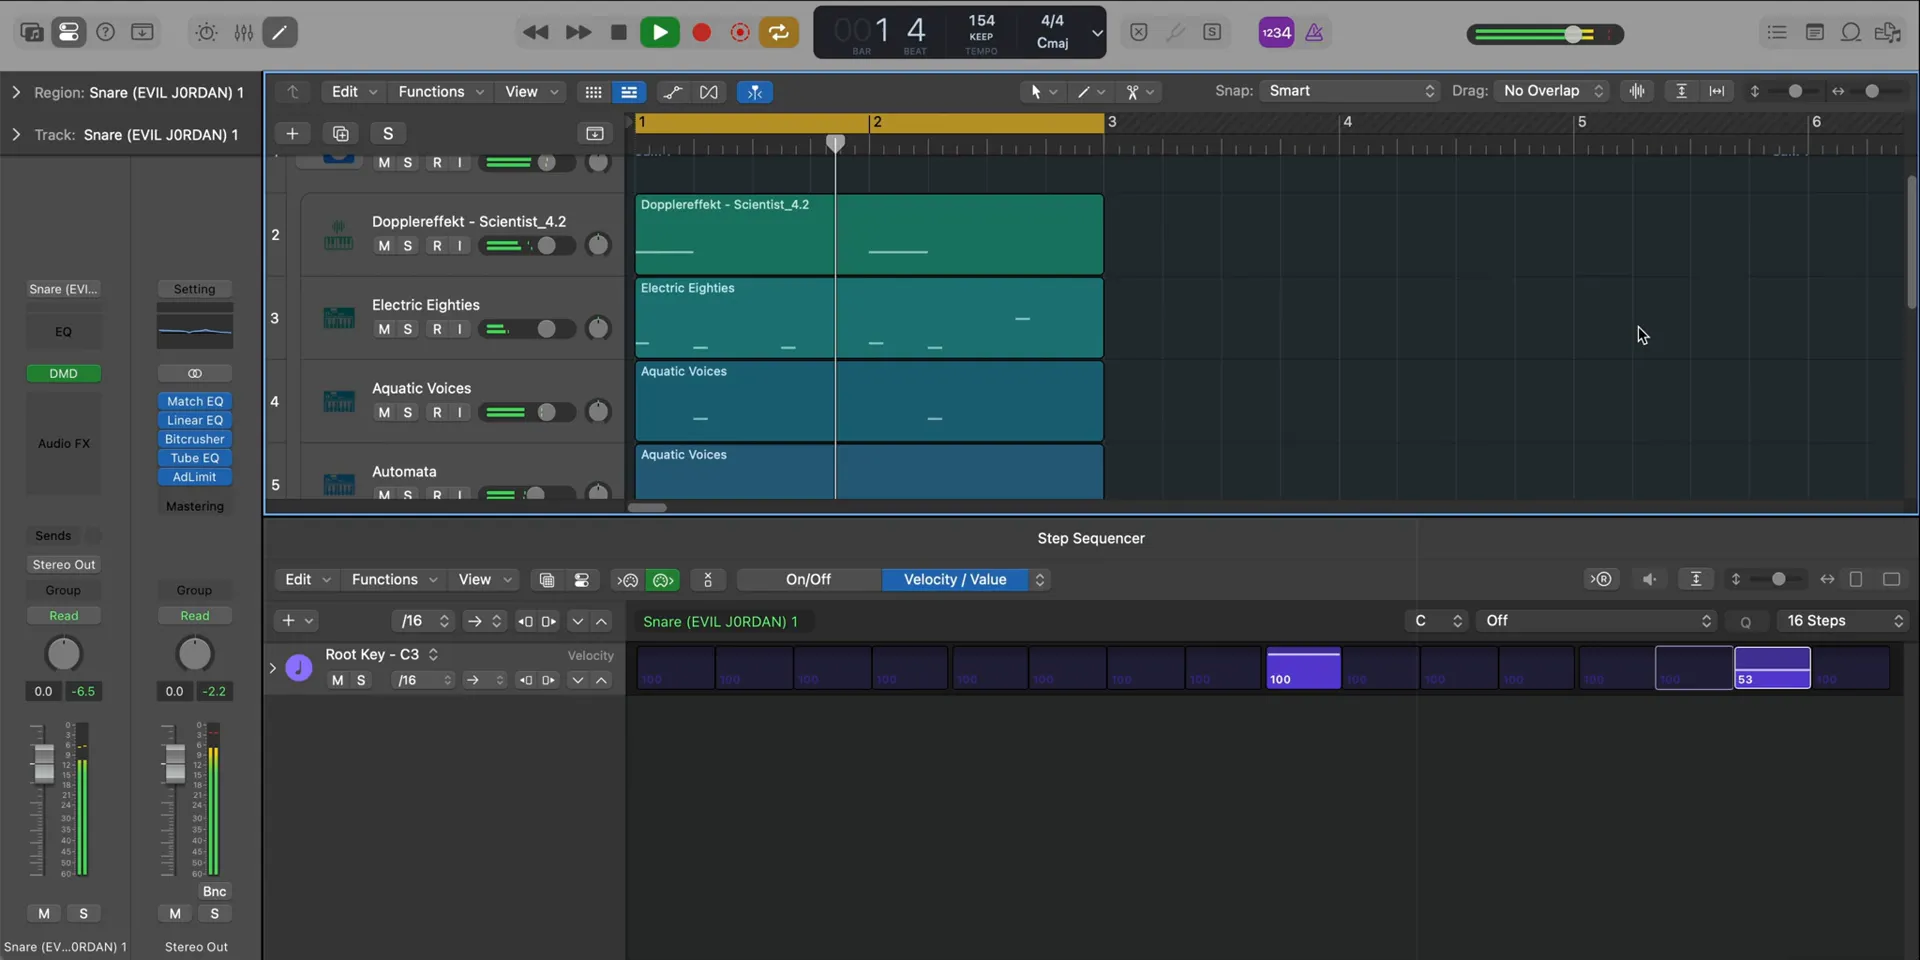
Now that we have our melodic elements in place, it’s time to build the drum pattern. The drums are the backbone of any track, especially in trap music. For “EVIL J0RDAN,” the drum pattern is simple yet effective, creating a driving force that carries the instrumental.
Start by selecting a snare that fits the vibe. For this, we’ll use a snare from the IM Music Evil Jordan deconstructed drum kit. Place the snare on the three and the second last beat of each bar. This creates a solid backbeat that gives the track its punch.
Introducing Hi-Hats
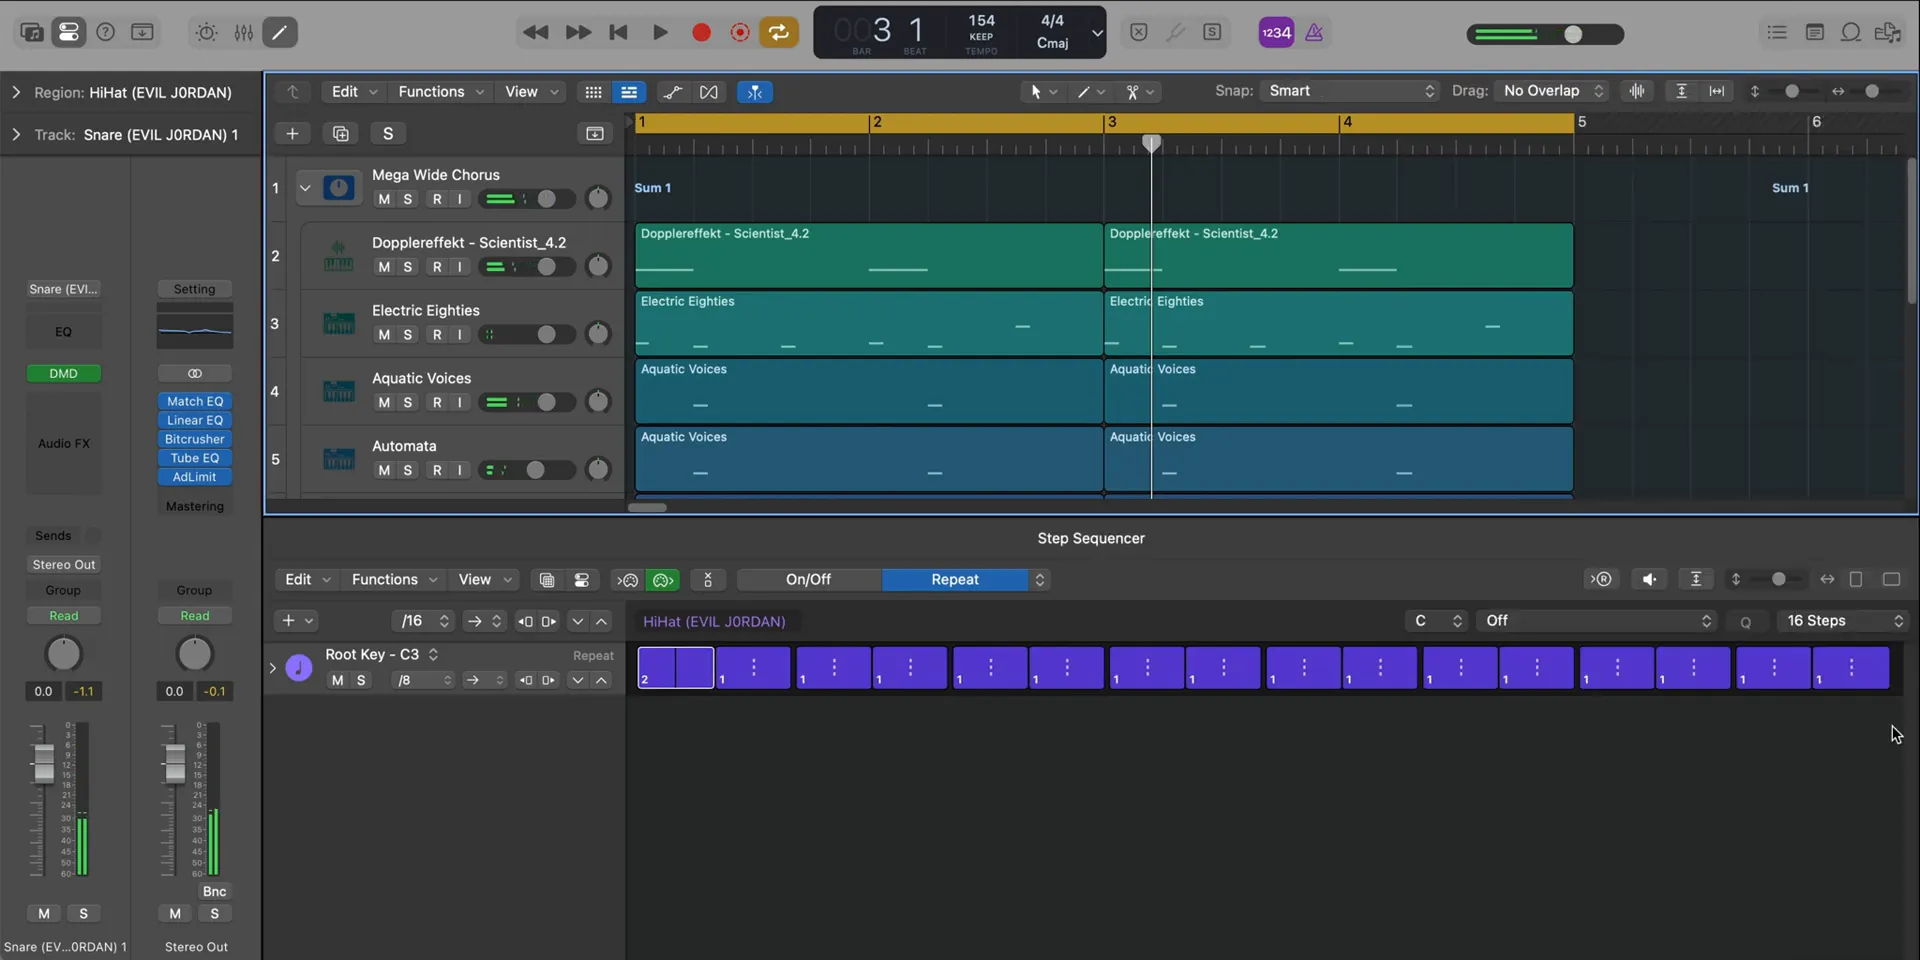
Next, we’ll add hi-hats to give the track that signature trap bounce. Begin with a two-step pattern, placing the hi-hats on the offbeats. This lays the foundation for a rhythmic groove that keeps the listener engaged.
To add complexity, introduce some rolls and variations in velocity. This will make the hi-hat pattern more dynamic and interesting. Experiment with adding 32nd note hi-hats to create a more intricate rhythm.
Incorporating the 808 Bass
The 808 bass is crucial in trap music, providing depth and weight to the track. Start by selecting an 808 sample that resonates well with your other sounds. Lay down a simple pattern that complements the kick and snare.
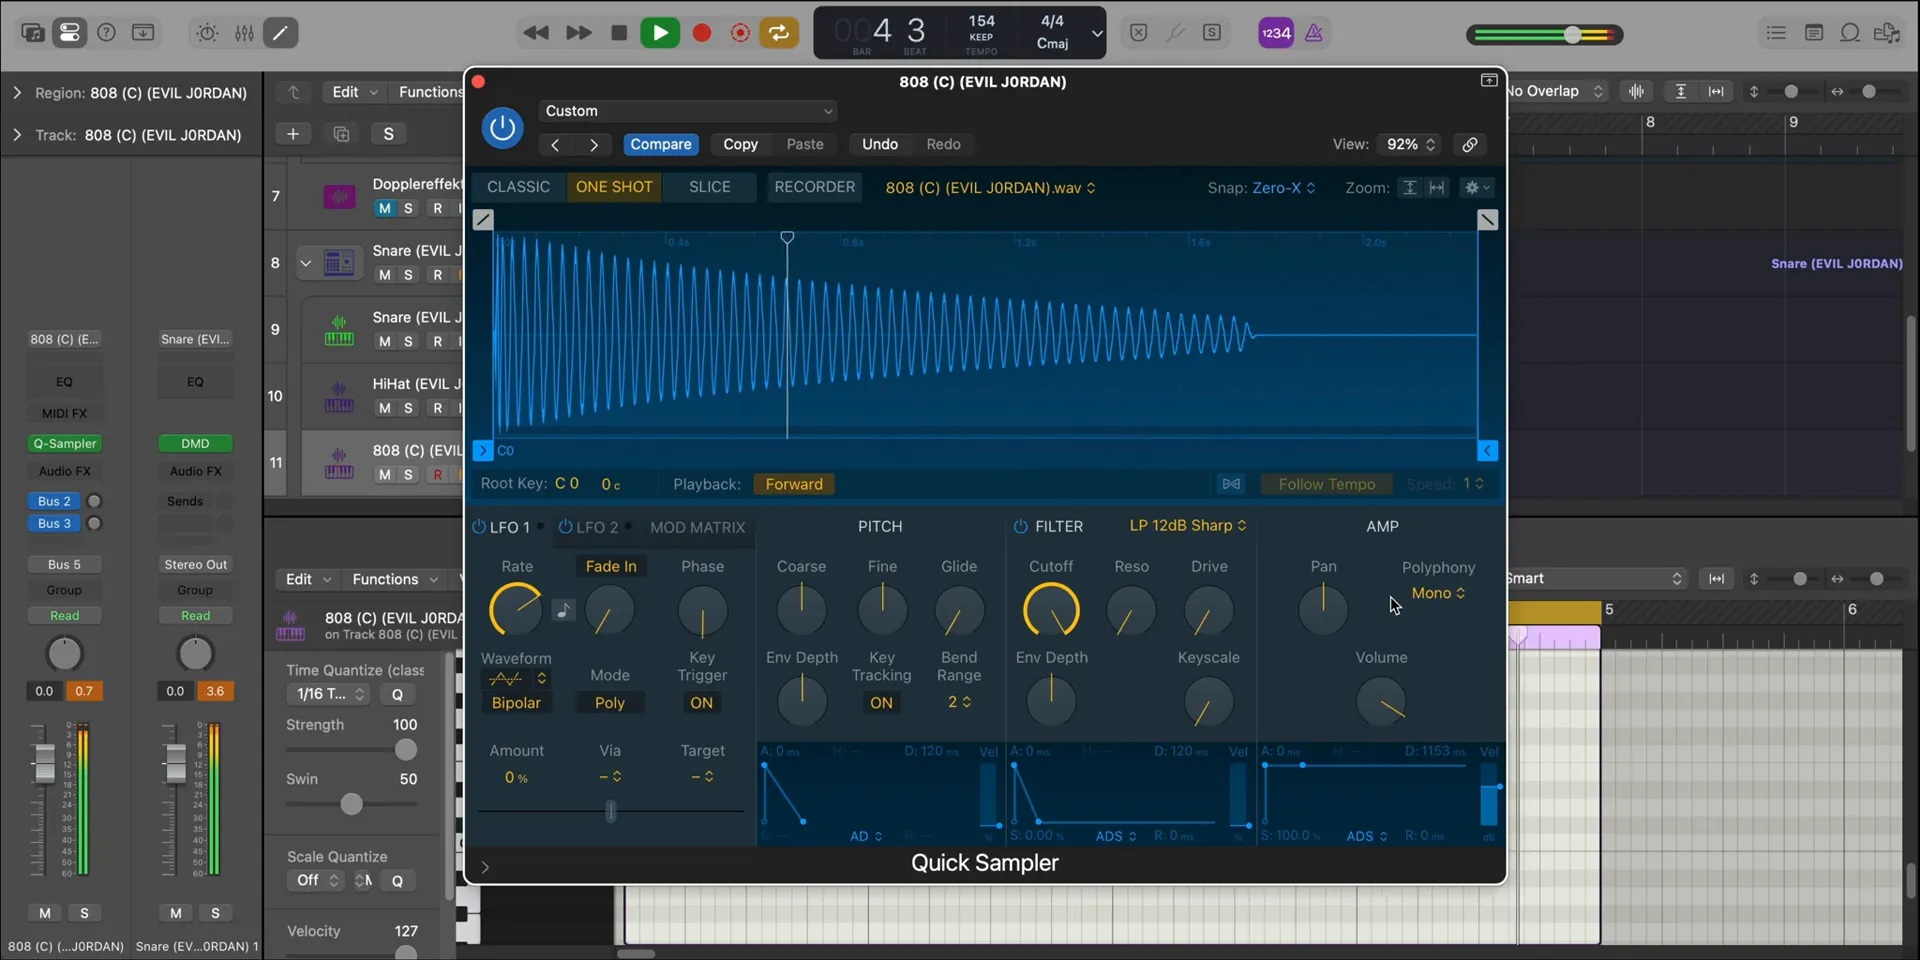
Adjust the pitch and add some drive to the 808 using the quick sampler. This will enhance its presence in the mix. Remember, the 808 should hit hard, so don’t shy away from pushing the volume a bit. Add some distortion to give it that gritty edge characteristic of Playboi Carti’s sound.
Adding Gunshot FX
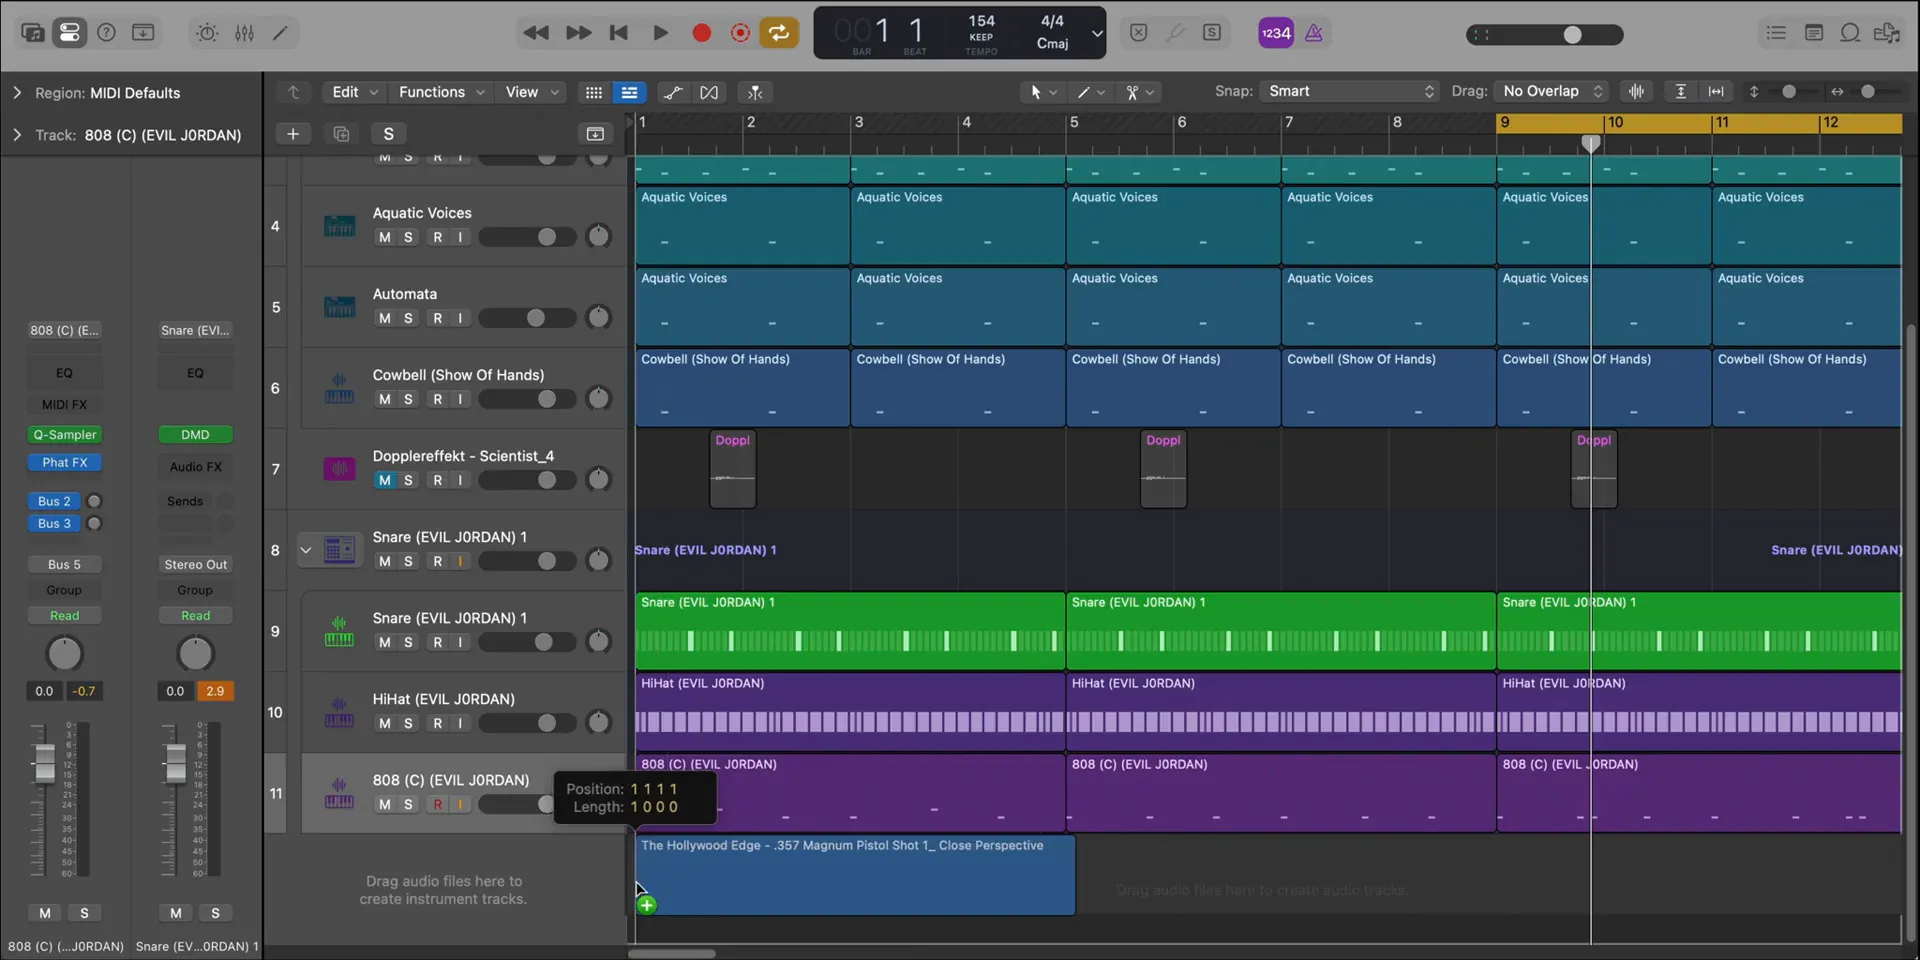
One of the standout elements in “EVIL J0RDAN” is the gunshot effect. This adds a unique flair and a sense of drama to the track. To achieve this, find a suitable gunshot sample and place it strategically in your beat.
Start by trimming the sample to remove unnecessary tail ends. Place it at the beginning of the beat for maximum impact. You can also add a touch of reverb to create space and enhance its presence in the mix.
Finalising with Open Hats
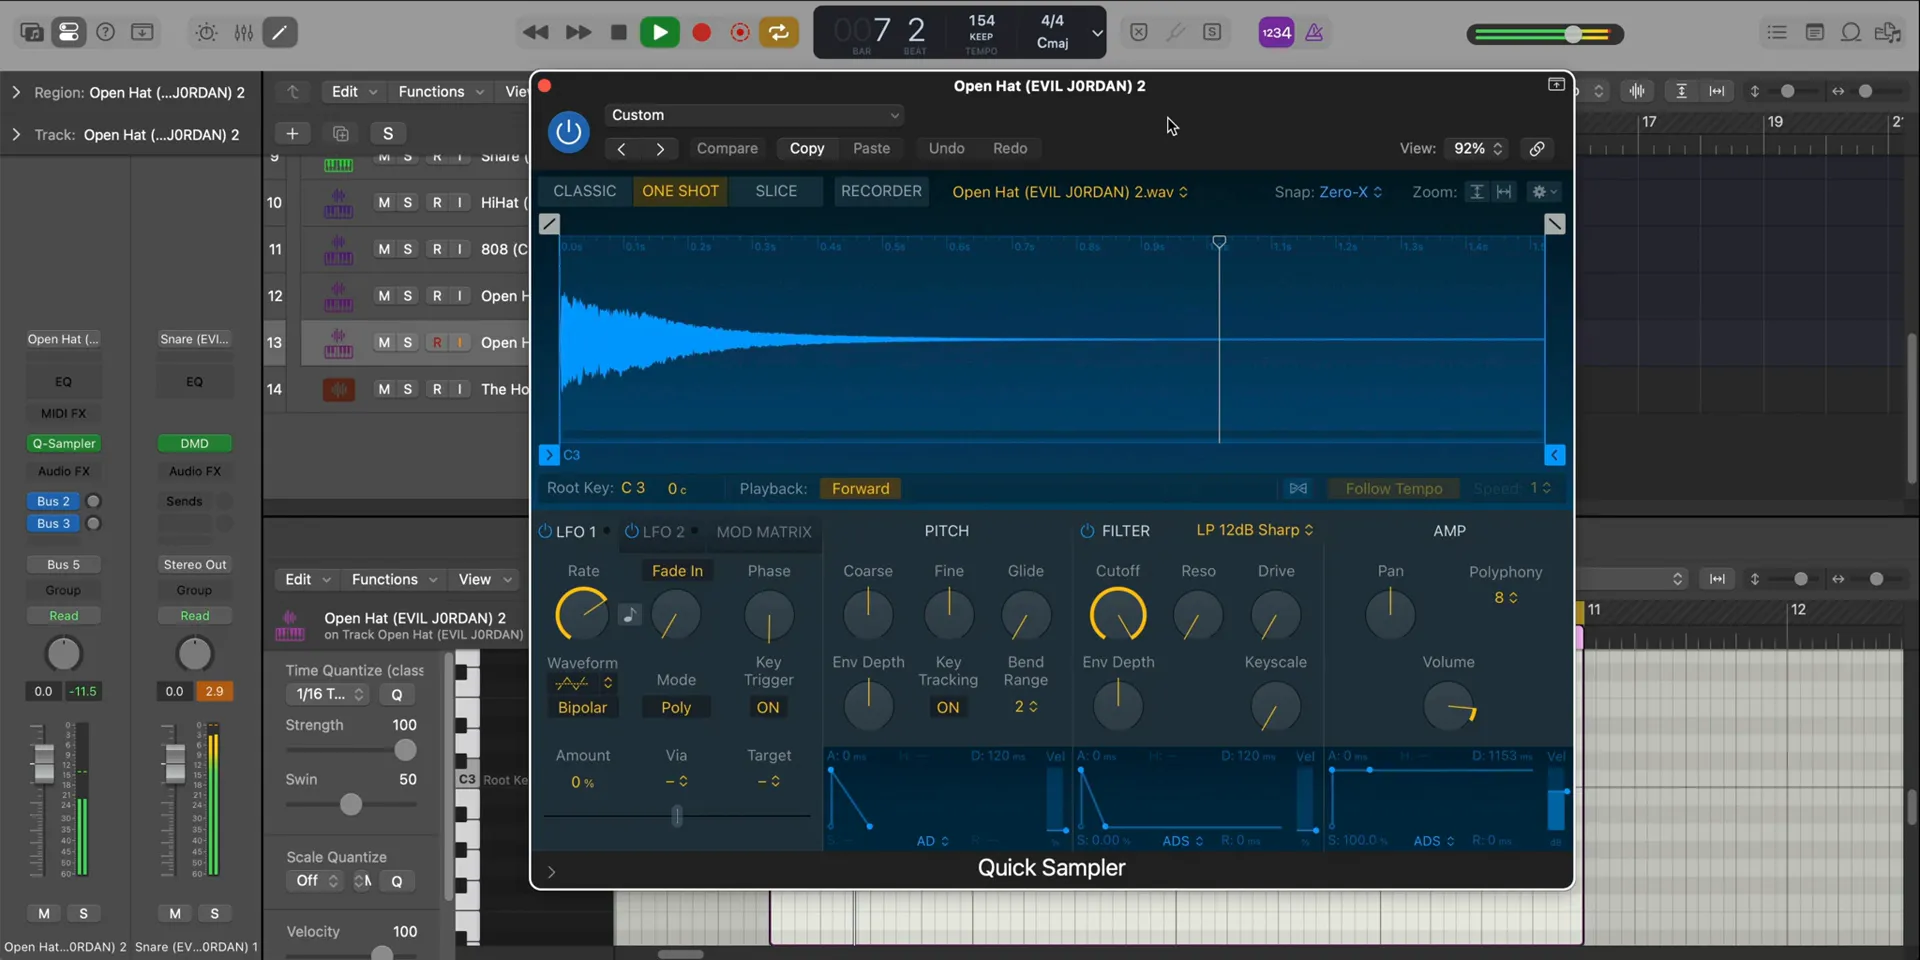
To add a final layer of texture to our drum pattern, we’ll incorporate open hats. These will help to fill the sonic space and create a more polished feel. Place the open hats on the offbeats, ensuring they complement the existing hi-hat pattern.
Adjust the velocity to create a natural swing, making them feel less robotic. This will help the track breathe and maintain that organic feel. Consider layering different open hat samples for added complexity and depth.
Mixing and Final Beat Arrangement
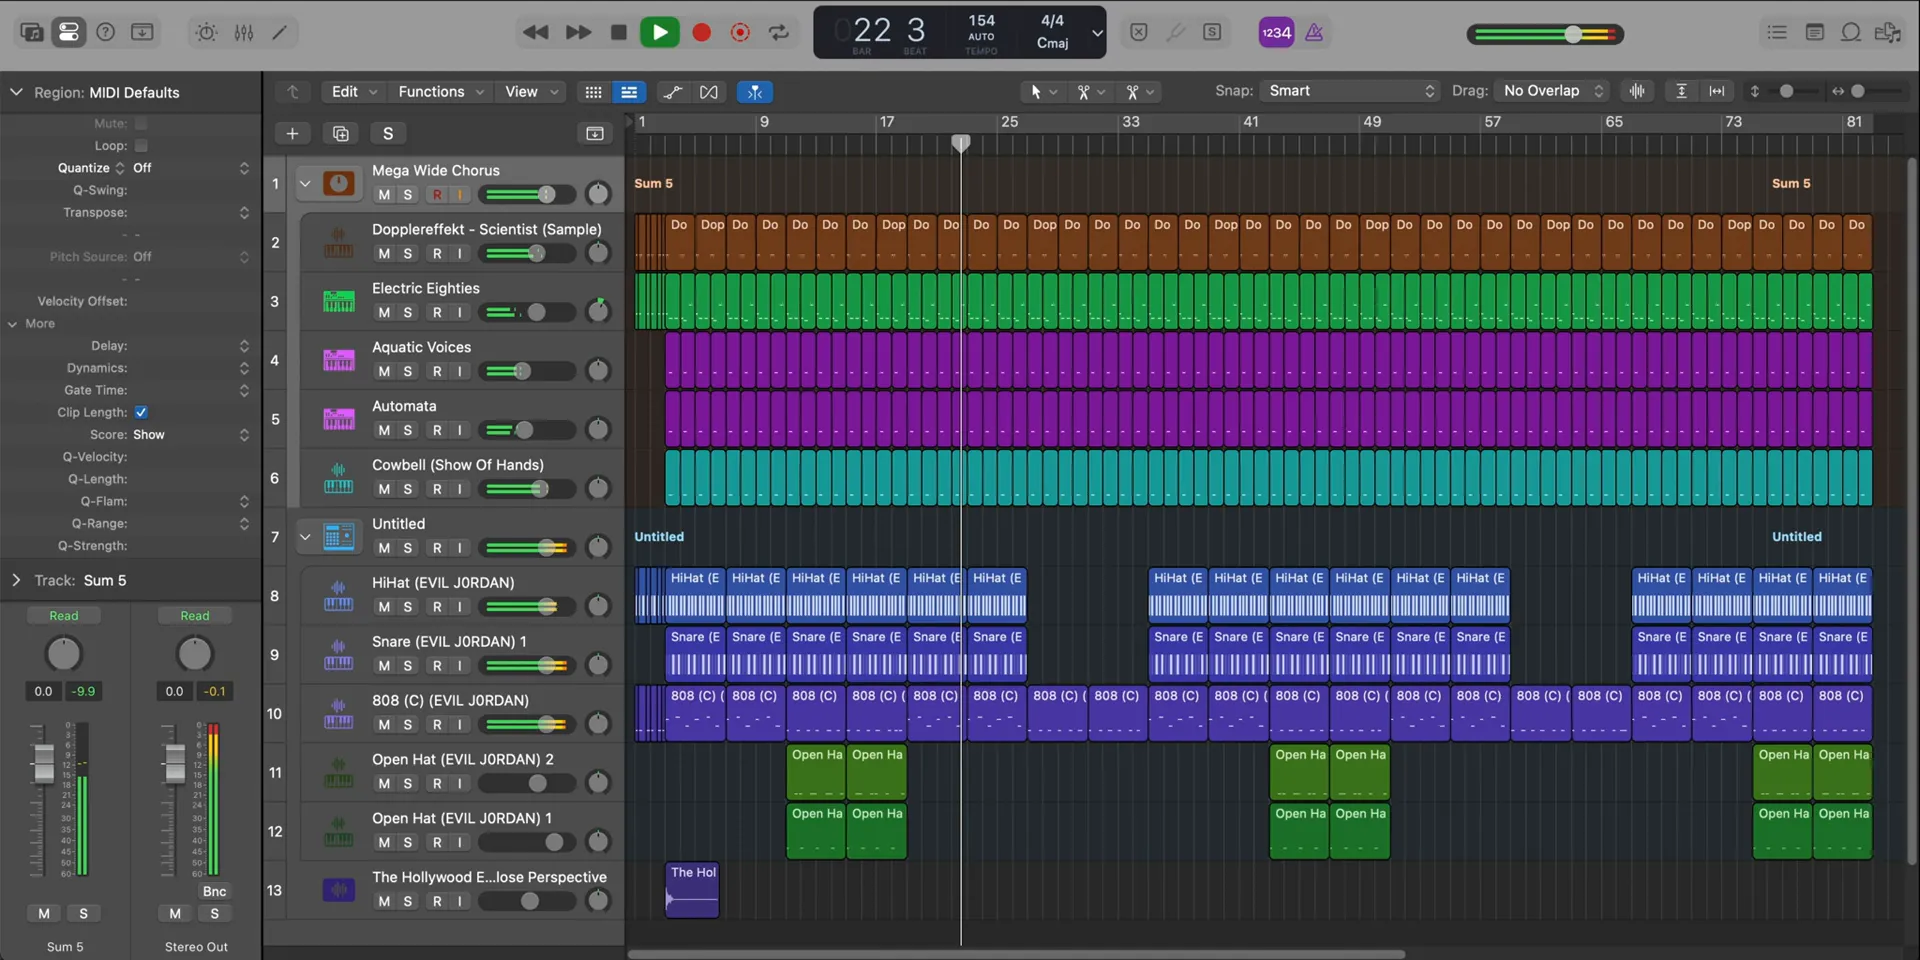
With all the elements in place, it’s time to mix and arrange the track. Start by balancing the levels of each sound. Ensure that the drums punch through while the melodic elements sit comfortably in the background.
Apply EQ to carve out space for each element. Remove any conflicting frequencies, especially in the low-end, where the 808 resides. Use compression to tighten the dynamics and ensure everything works cohesively.
Conclusion and Download Links
And there you have it! A complete remake of Playboi Carti’s “EVIL J0RDAN.” We’ve gone through each step, from building the drum pattern to mixing the final arrangement. This process not only teaches you the techniques involved but also encourages you to add your own unique touches.
If you want to download the project files, including the stems and the drum kit used, check the links below. Dive in and start creating your own Playboi Carti-inspired beats!
Download the full session for Logic Pro here. If you’re using another DAW, the audio stems are also available. Get creative and share your results!
FAQ
What DAW do you recommend for making trap beats?
While there are many options available, Logic Pro is an excellent choice for its intuitive interface and powerful features. Other popular DAWs include FL Studio and Ableton Live, each with its unique strengths.
Can I use these techniques for other genres?
Absolutely! While these techniques are tailored for trap music, the principles of sound design and arrangement apply across genres. Experiment with different sounds and styles to find what works for you.
Where can I find more resources on beat making?
Check out our Ramzoid 808 Cooker Plugin review for insights on tools that can elevate your trap music production. Also, explore how to make beats effectively with our curated videos and articles here.


