!Let Us HELP YOU!
We have a lot of curated content on this blog.
Take this simple 20 second Quiz to Help You
Find The Exact Content You Are Looking For!
In this blog post we'll delve into the steps with easy mastering in Logic Pro to enhance your music tracks efficiently and effectively whether you're gearing up for a DJ performance or simply experimenting with new musical concepts; this article aims to simplify the mastering process for you.
Table of Contents
- Step 1: Understanding Quick Mastering
- Step 2: Preparing Your Session
- Step 3: Bouncing Your Track
- Step 4: Top and Tail Your Audio
- Step 5: Analyzing Peaks and Tails
- Step 6: Using the Multimeter and Analyzers
- Step 7: Applying EQ Adjustments
- Step 8: Setting Up Loudness Meters
- Step 9: Compression Techniques
- Step 10: Finalizing with the Adaptive Limiter
- Step 11: Advanced Techniques for Mastering
- Step 12: Listening to the Finished Master
- FAQ: Common Questions About Mastering in Logic Pro
Step 1: Understanding Quick Mastering
A useful technique, for electronic music producers and DJs is quick mastering to get your tracks ready for playback or testing in a setting efficiently and effectively. This method is commonly used when time's limited. Like before a performance or during a jam session, with artists.
Although there are purists who may oppose the idea of hastening the mastering process; fast mastering has its benefits to offer in music production. It allows for a grasp of how a track sounds and feels in a setting and enables adjustments based on instant feedback received. The main objective is not achieving perfection. Ensuring that your music functions, by sounding good across different listening environments.
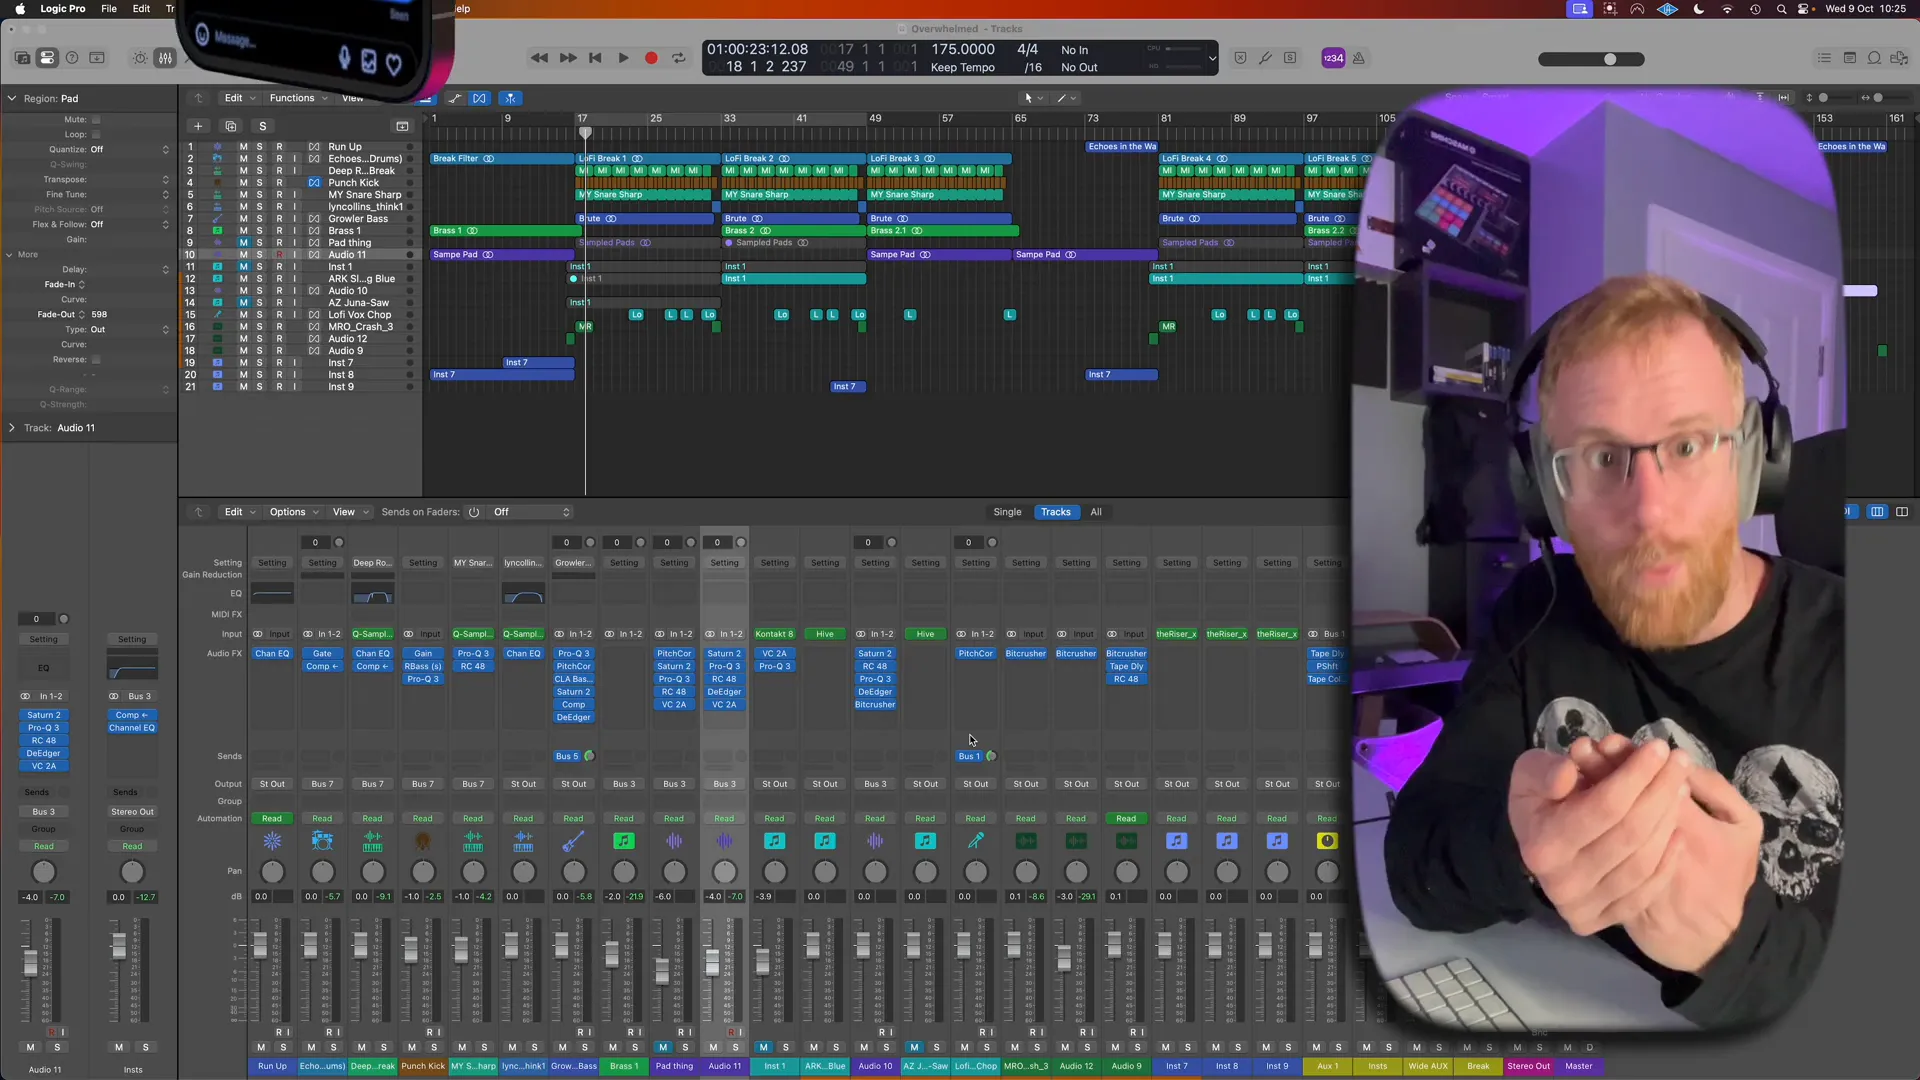
Step 2: Preparing Your Session
To get ready, for mastering. Effectively its important to prep your session properly first by exporting your track as a clean audio file to evaluate your mix without any distractions, from the DAW interface and concentrate on mastering the key elements.
When thinking about your music production process remember to take into account how the volume changes throughout your track impact the overall sound quality –, for instance when transitioning from a beginning to a climax in your music piece using a higher bit depth can be beneficial for maintaining audio quality and consistency in your projects such, as EPs and albums.
Step 3: Bouncing Your Track
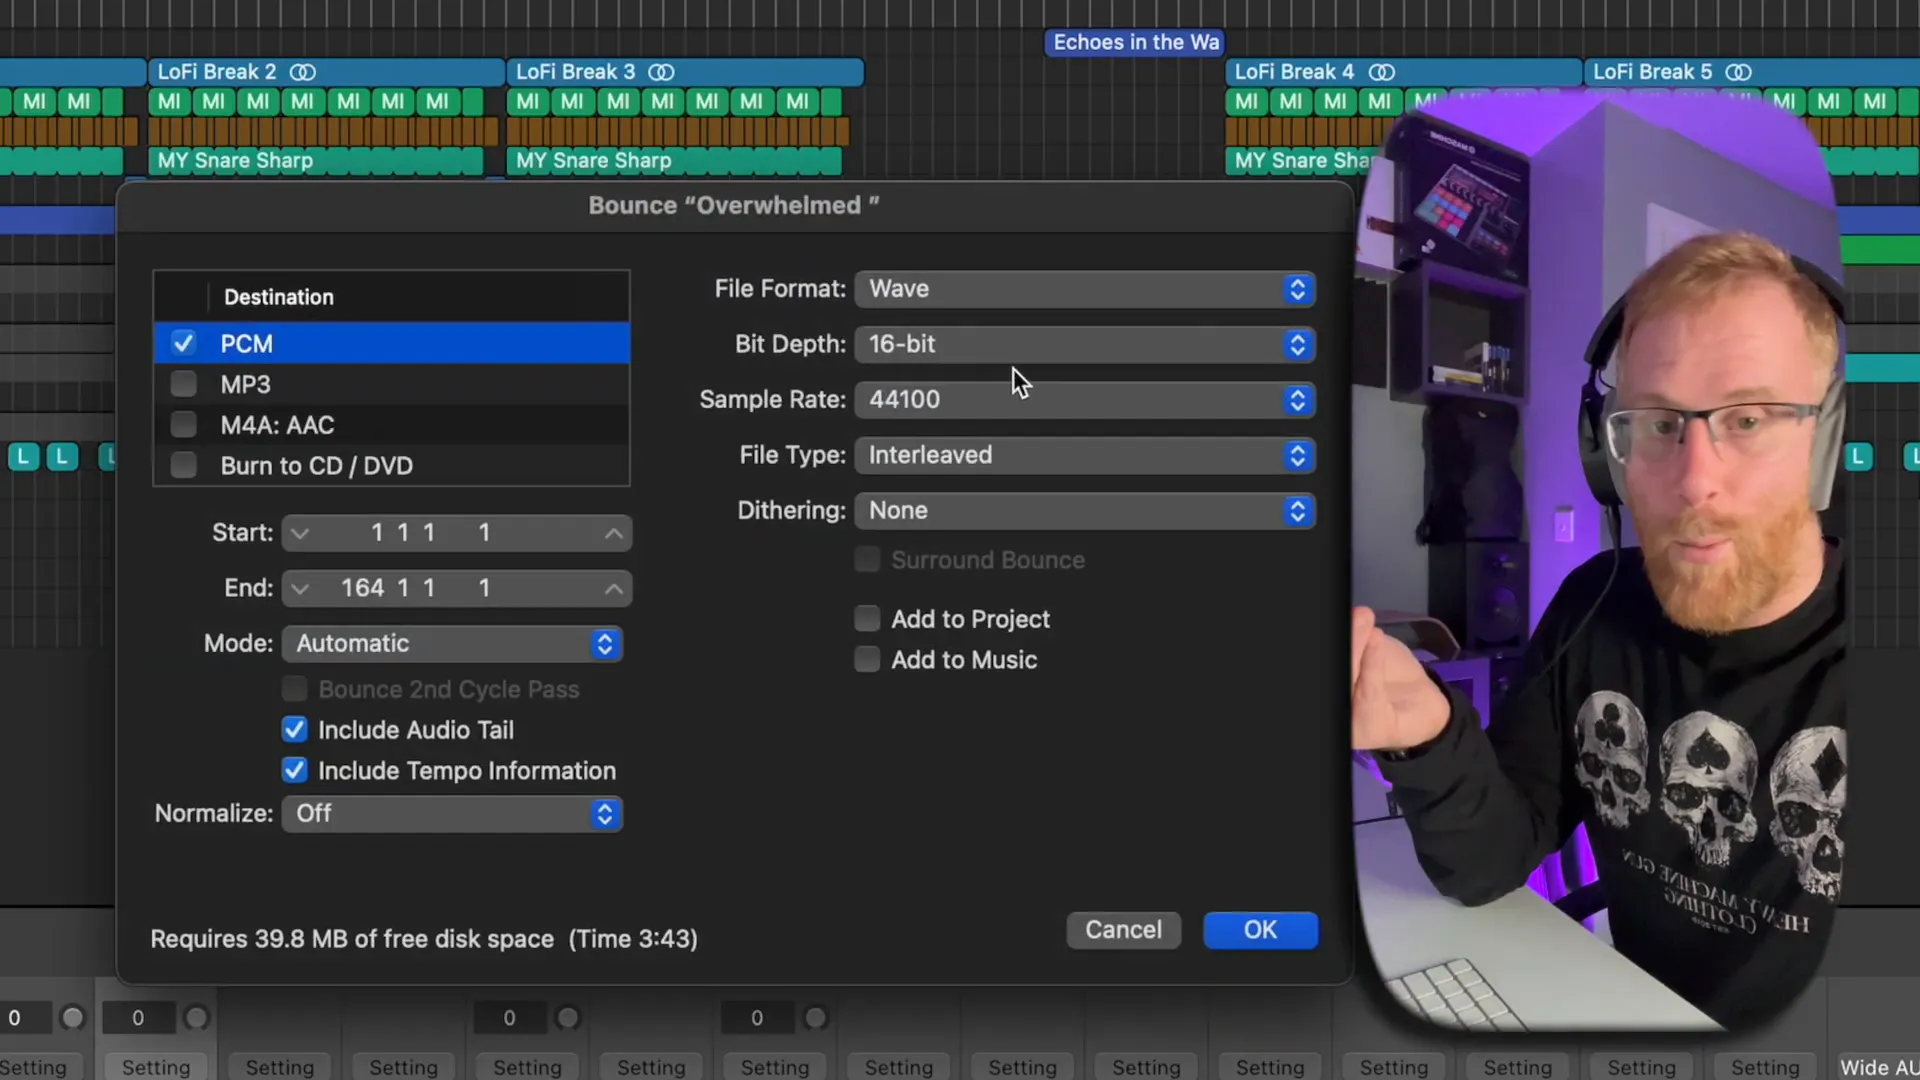
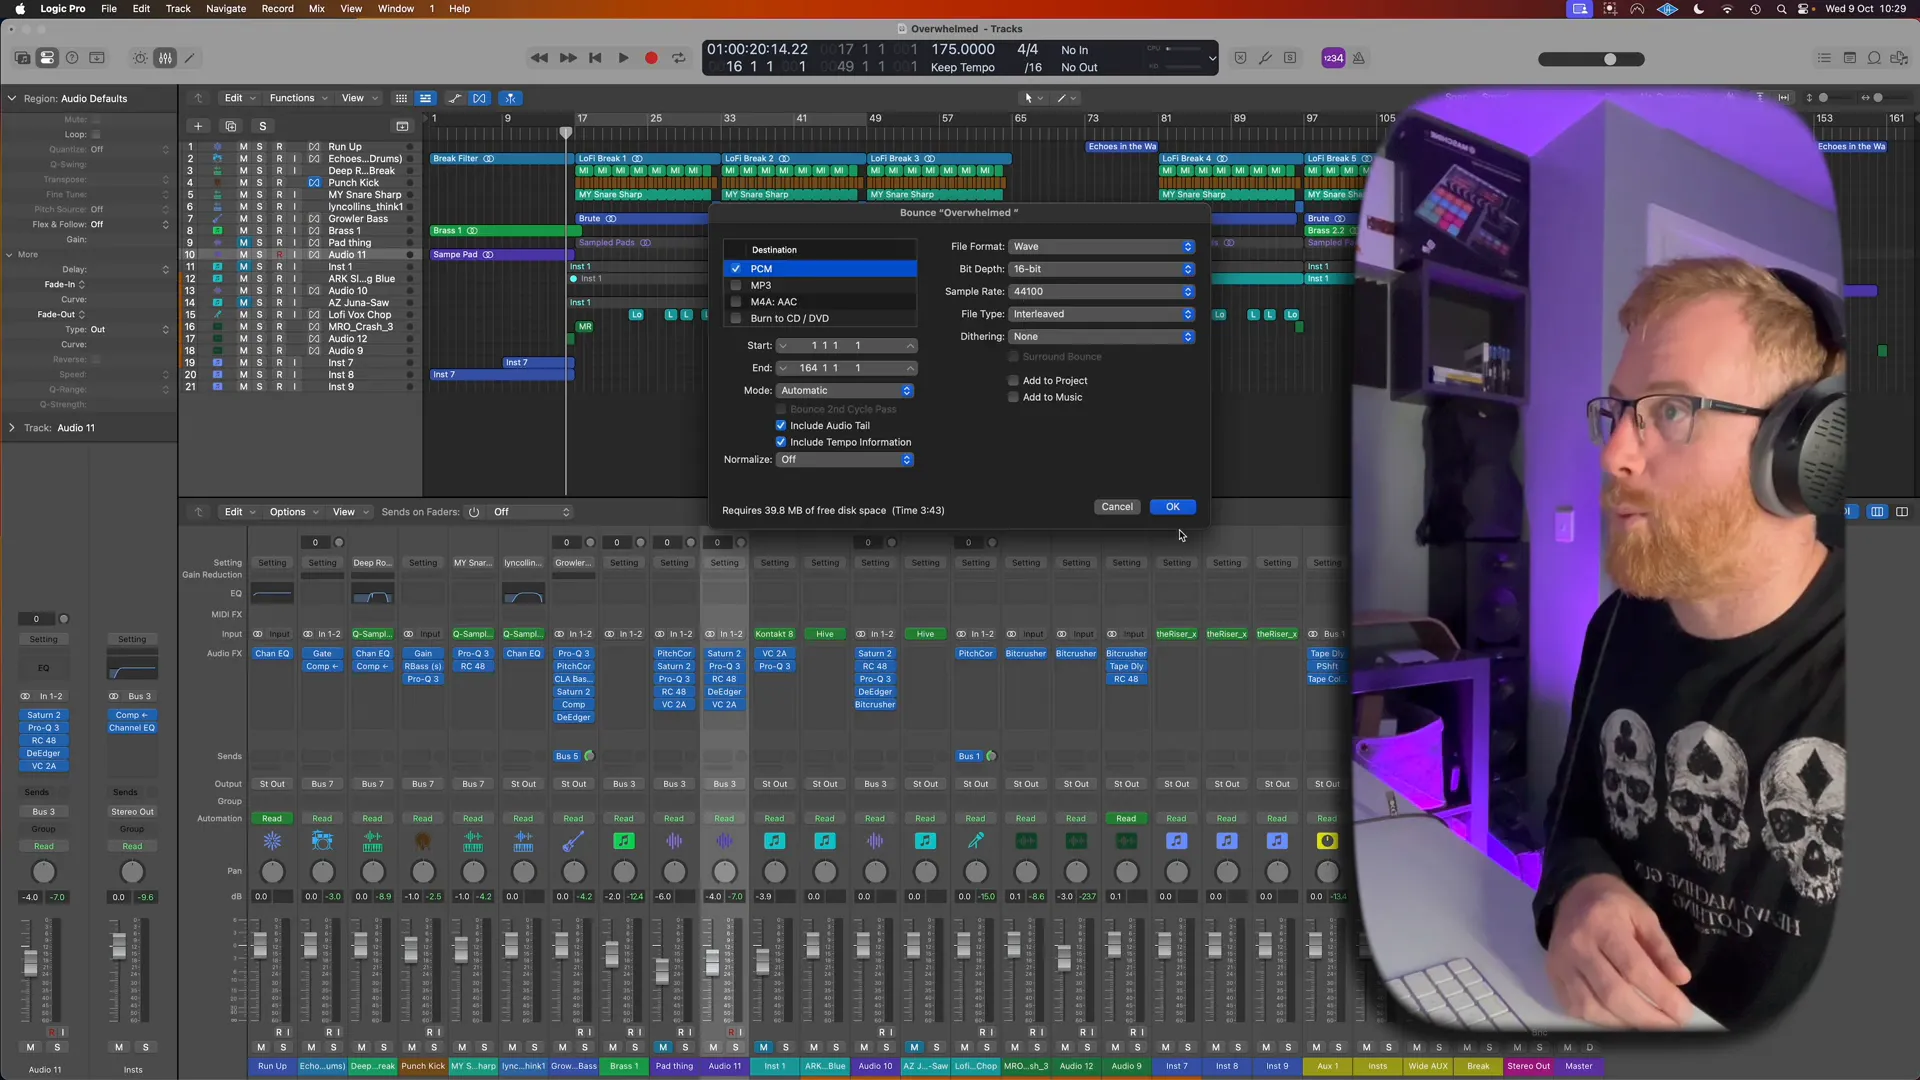
Creating a bounce of your track is simple to do! Just press Command + B to start the process of bouncing your track file into a finalized version that you can share or work with on your project. When it comes to selecting the settings for your bounce file format and quality level – most electronic music projects tend to go with 16 bit at 44.l kHz as a choice. However if your track has a range of dynamics and subtleties that you want to preserve in the version – opting for 24 bit might be the better option, for capturing all those details effectively.
After you've bounced the project once and opened it in a session fresh start lets you review the audio without being influenced by any mix components that could impact how you hear it. This way you'll be able to concentrate on tuning the track before mastering it.
Step 4: Top and Tail Your Audio
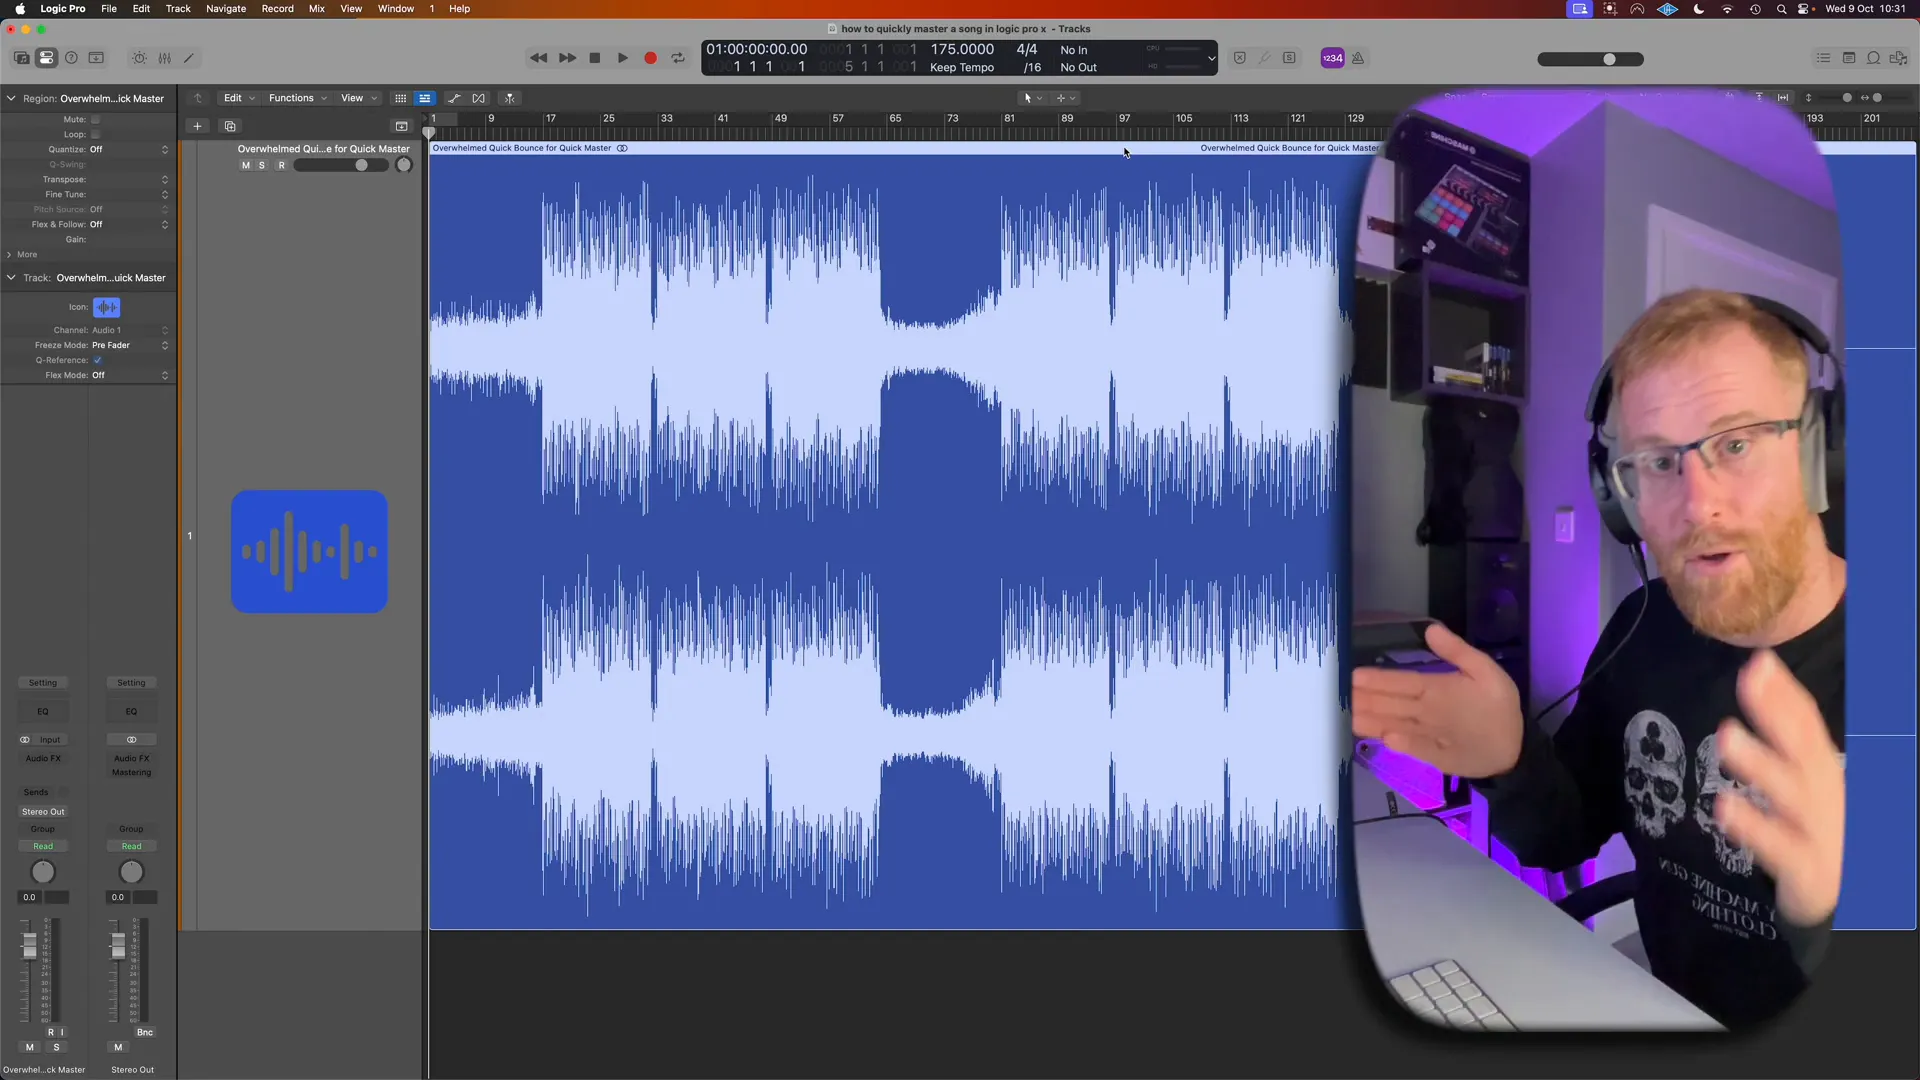
After you import your bounced music track, into the software or platform of your choice the initial step involves editing the start and end points of your file. This entails removing any sections at the beginning and end of the track to ensure a smooth transition and avoid any abrupt pauses during playback in a live environment or when sharing with others.
Inspect your audio closely by utilizing the zoom feature to identify any remaining reverb tails or instances of silence that might interrupt the fluidity of the presentation flow Ensure a transition by applying a fade to maintain a polished and professional delivery.
Step 5: Analyzing Peaks and Tails
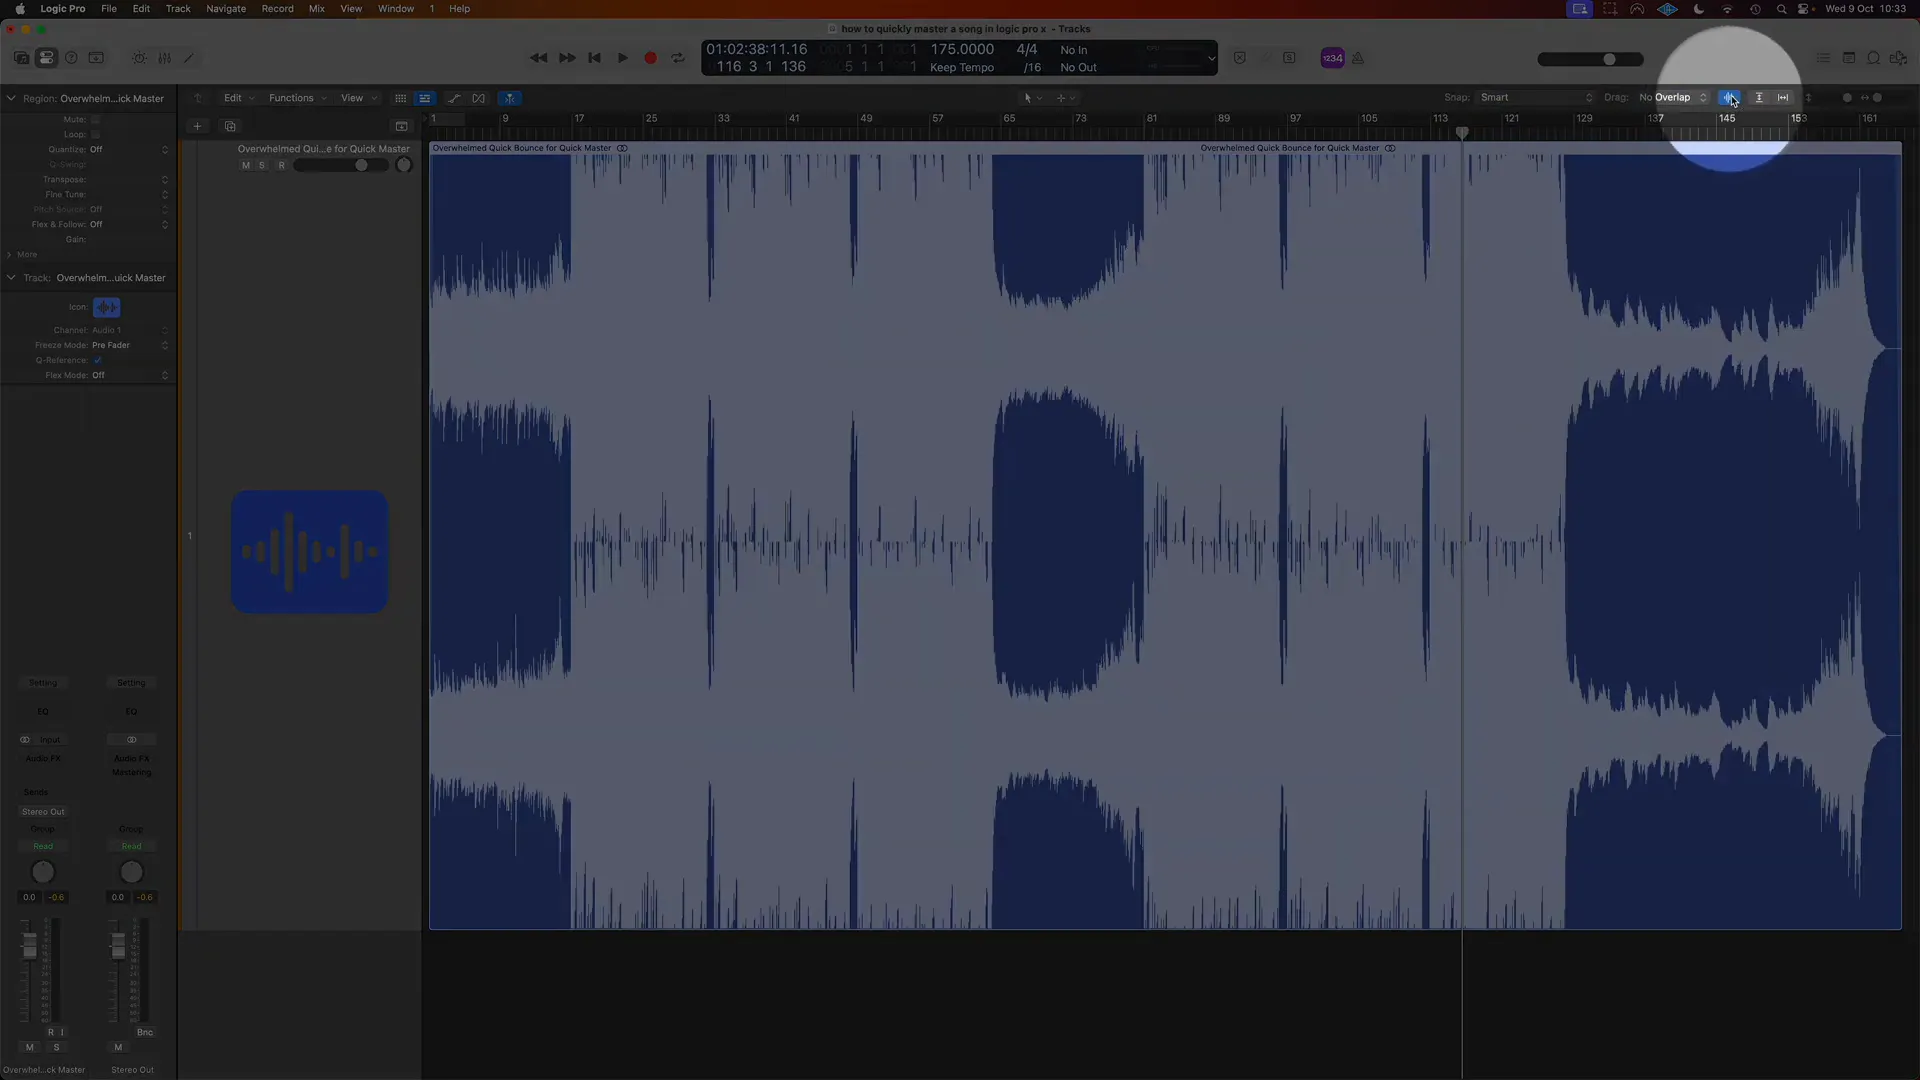
After you've trimmed your audio file down, to size and made sure it's just right length wise make sure to listen through for any parts that might be too loud or quiet and could lead to distortion. Take a listen to the track paying close attention to the parts that stand out the most in terms of volume levels. Keep an eye on the representation of the audio waveform for any increases, in volume that might need some adjustment.
Logic Pro comes with tools that can help with this analysis task.The compression function lets you see the low points clearly so you can determine if any changes are needed.Be sure to check the harmony of your track to make sure all the elements have their place, in the mix without clashing.
Step 6: Using the Multimeter and Analyzers
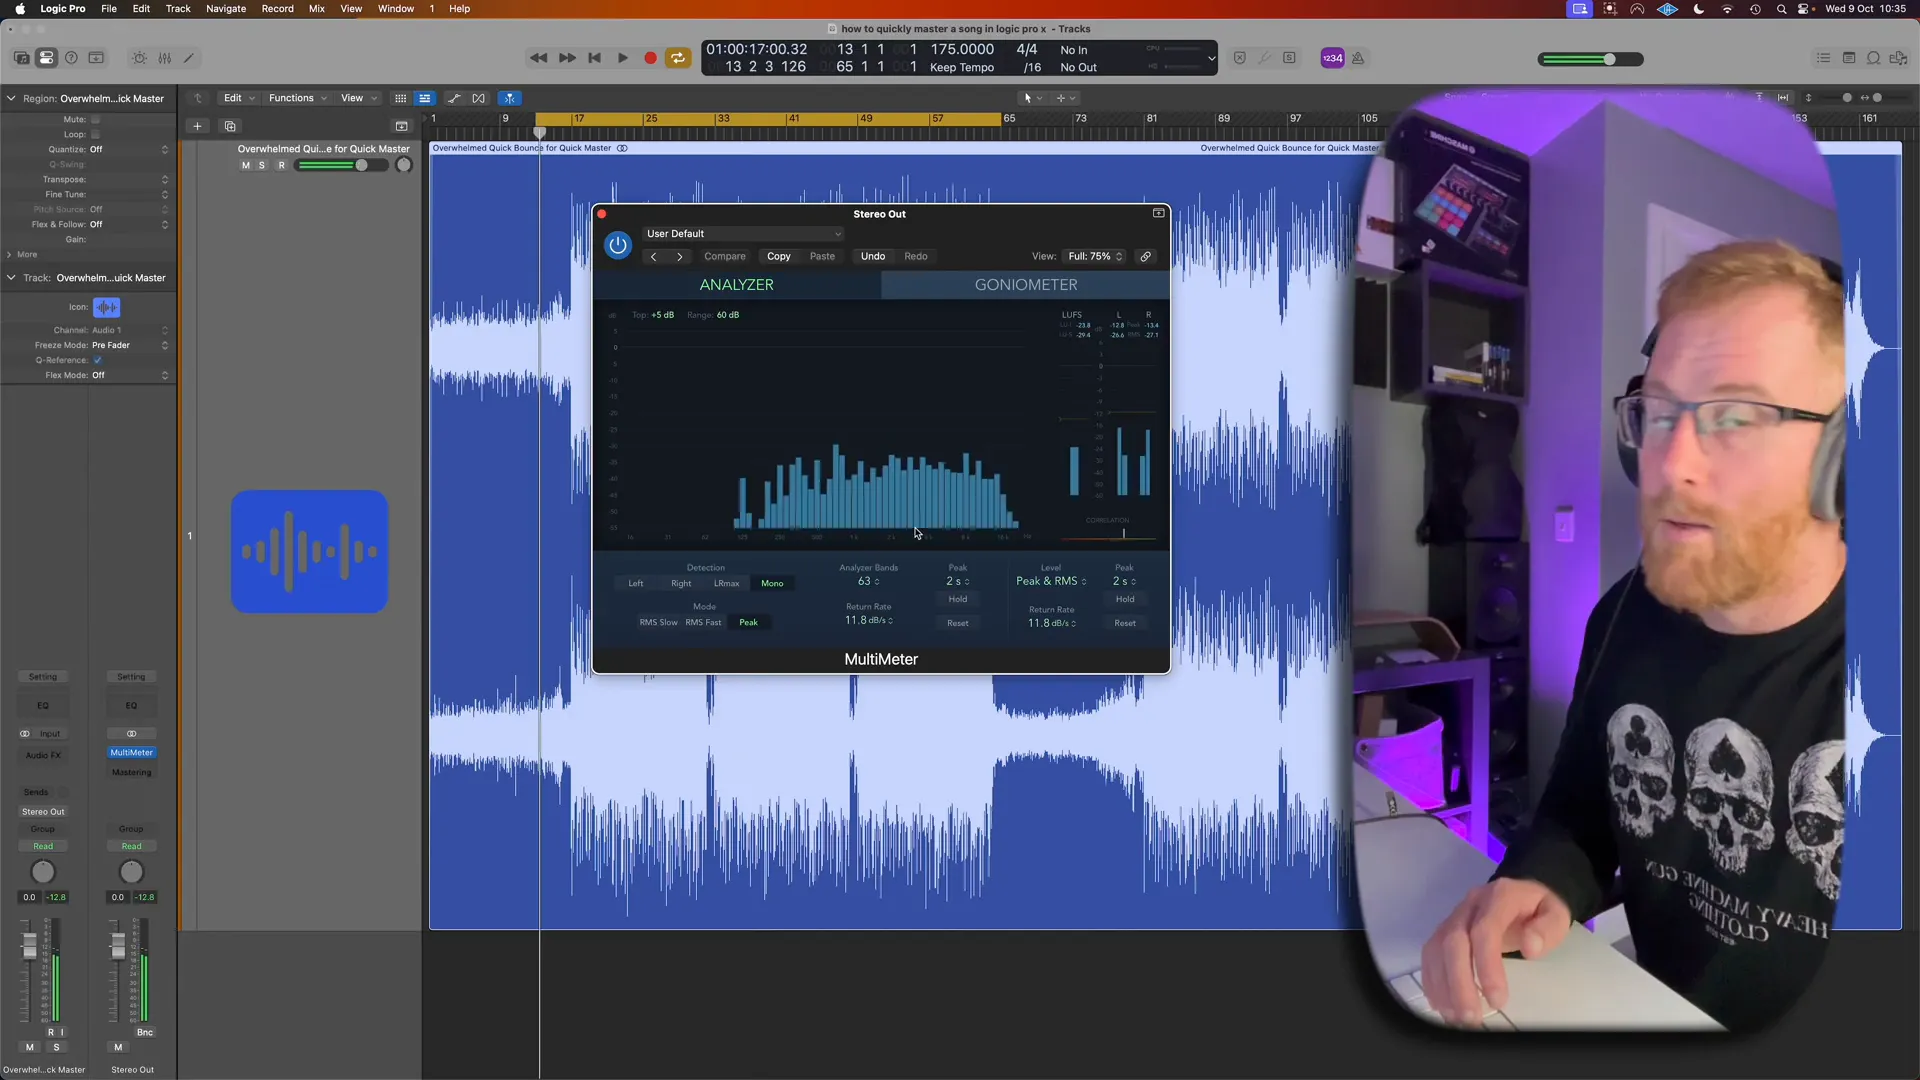
Using instruments such, as a multimeter and analyzers can help you understand the frequency distribution of your music track better in Logic Pro software.
WEBSITE RESOURCES FOR MUSICIANS
Switch between using headphones and speakers for monitoring can offer perspectives. Benefits too important to overlook making sure your track sounds great across different setups is key here. A common practice, among music producers involves checking the low frequencies, in mono to spot any potential phase problems and ensure overall sound compatibility.
Step 7: Applying EQ Adjustments
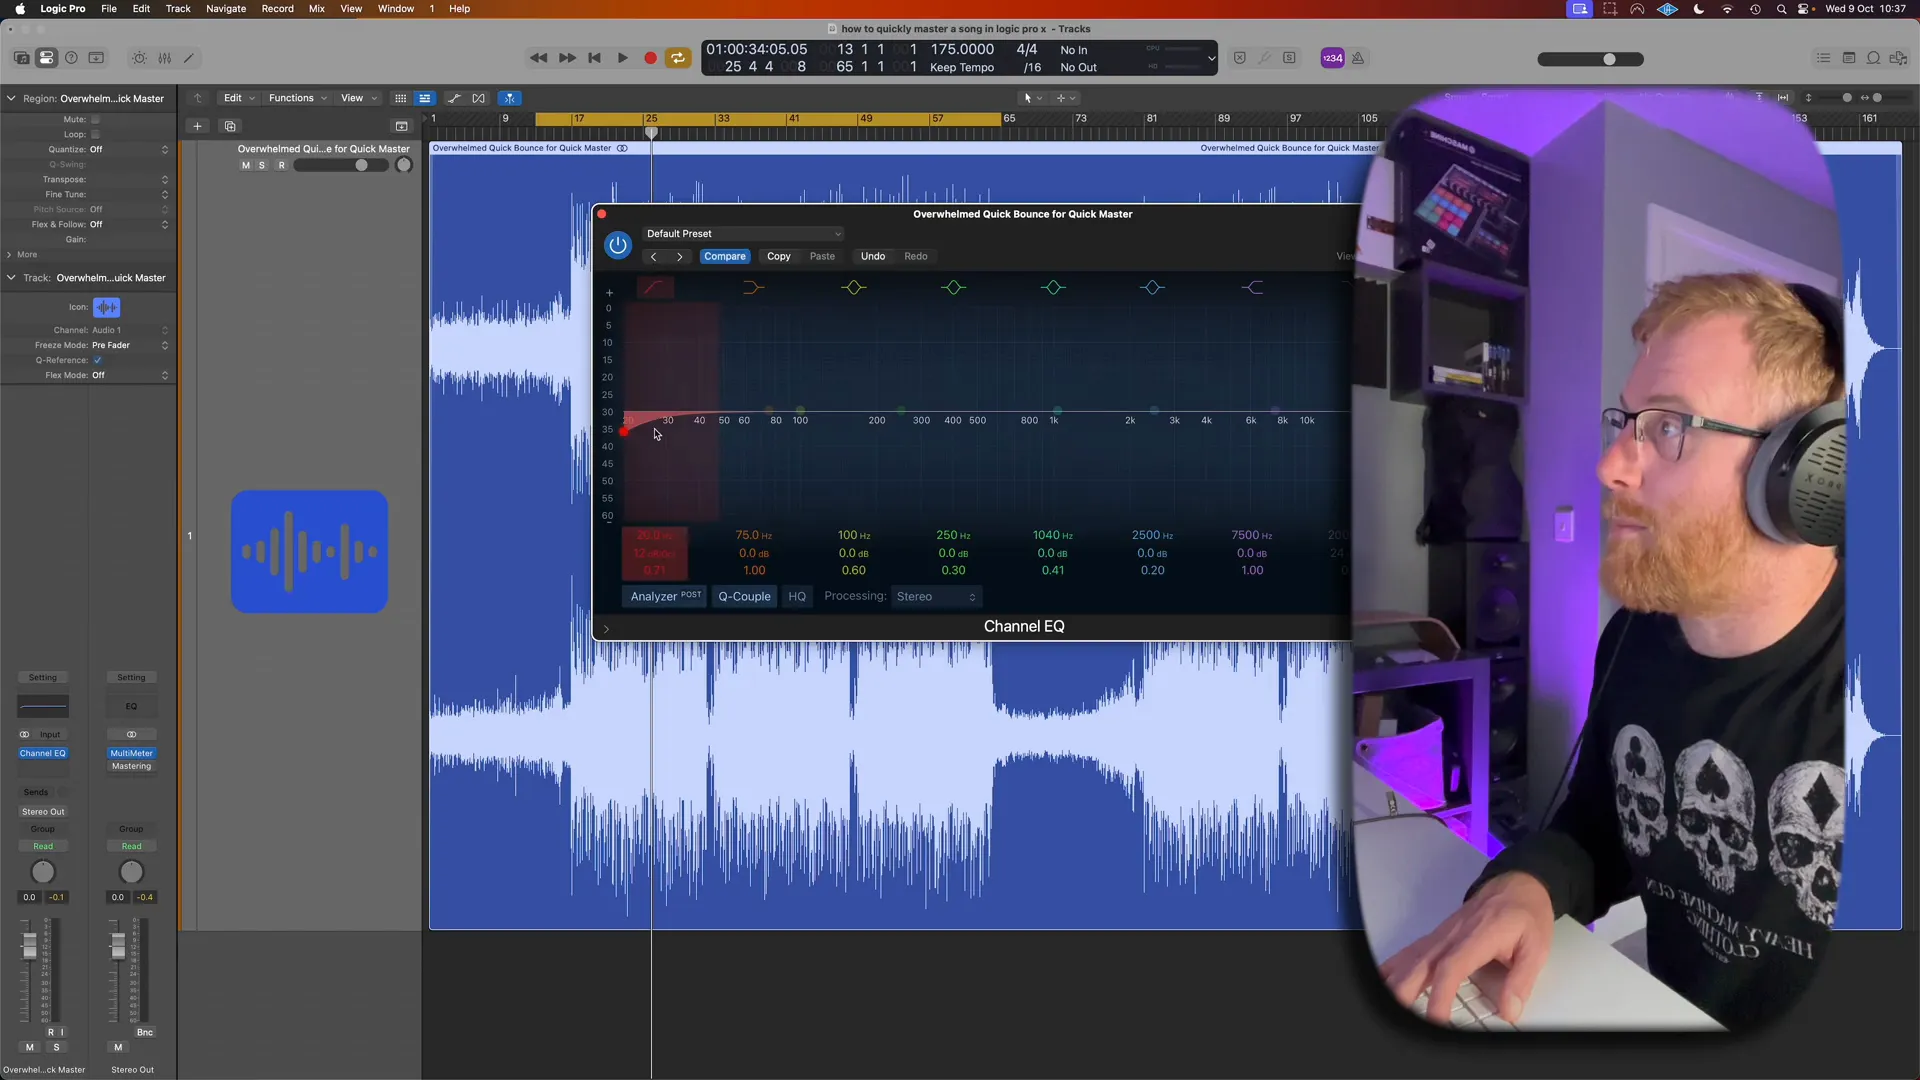
Making EQ adjustments is crucial when mastering music tracks to ensure high quality output sound; Pay attention to cutting out low end frequencies that could cloud your mix clarity; Utilize a high pass filter to get rid of rumbling below 30 Hz for a more polished audio result.
When working on the tracks quality enhancements don't forget to adjust some frequencies to make it stand out effectively! For example a gentle increase, in the 2 kHz range can improve its clarity. Add a touch of brightness without going far. Remember that subtlety is crucial when refining the final mix.
Step 8: Setting Up Loudness Meters
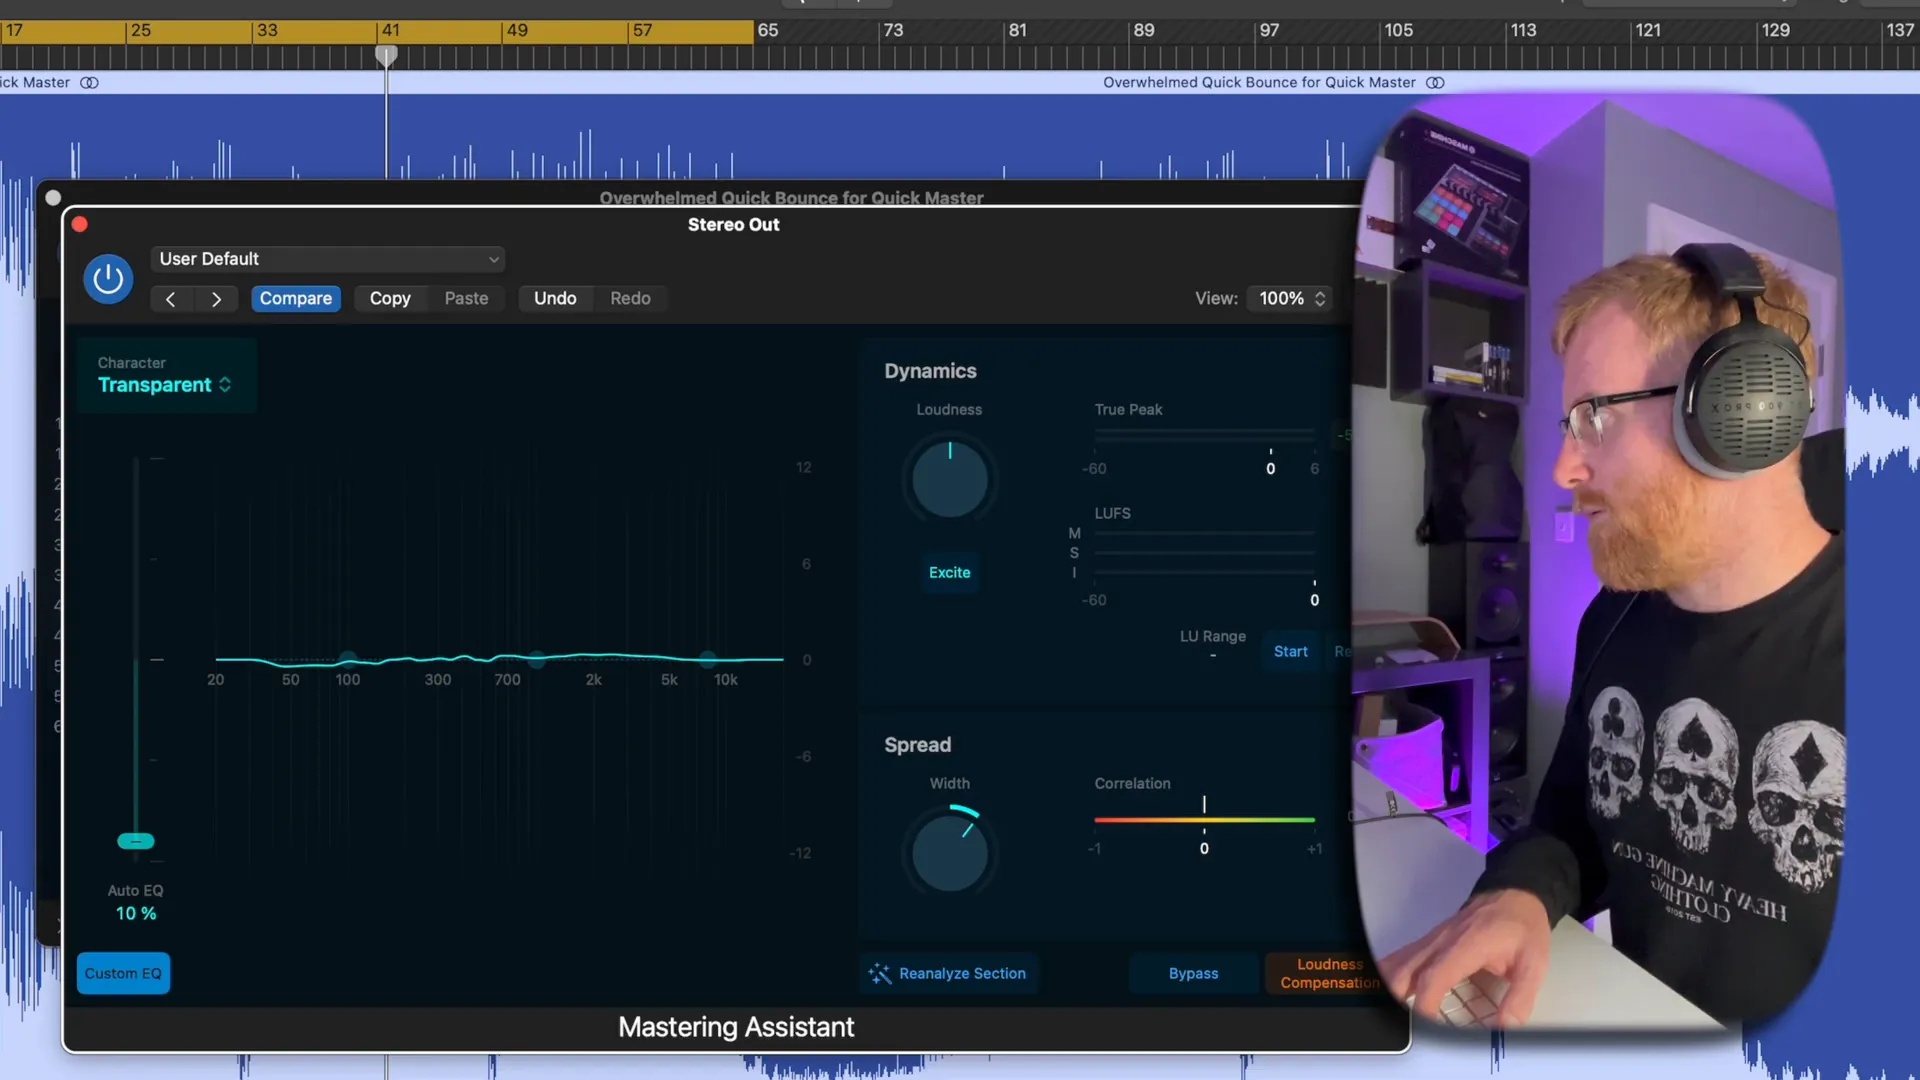
It's crucial to use loudness meters when setting up your track to meet industry requirements effectively in Logic Pro software. Integrating them can assist you in assessing the loudness of your track effortlessly aiming for an integrated loudness level of 10 LUFS, for a top notch club sound quality that stands out competitively.
To get started with this process; first find the loudness gauge in your mastering setup/setup chain. Begin by playing the track and keep an eye on the meter as you do so. Make adjustments, to the settings until you reach a point where it feels right. Keep in mind that having a balanced mix is crucial, for achieving the intended level of loudness without any distortion.
Step 9: Compression Techniques
Using compression can make a difference when mastering your track by managing its dynamics and balancing all elements effectively without any overpowerment issues that may arise from the mixs elements interacting with each other unevenly, for clarity and cohesion in the final sound output.
When working with electronic music genres, like EDM or techno music production using an transparent compressor is crucial for achieving the desired quality and dynamics control in your mixdown process. Adjusting the attack setting to five milliseconds allows you to capture the transients of the sounds effectively while ensuring a smooth and natural progression of audio levels throughout the track.
For the release time parameter of the compressor device in your workstation (DAW) it is recommended to set it within a range of 20 to 40 milliseconds for optimal results in balancing out loud peaks and maintaining a consistent energy flow within your music composition.
By following these settings and adjustments on your compressor plugin or hardware unit properly can help you preserve the range of your electronic music tracks while effectively managing spikes, in volume levels during playback or performance scenarios.
Step 10: Finalizing with the Adaptive Limiter
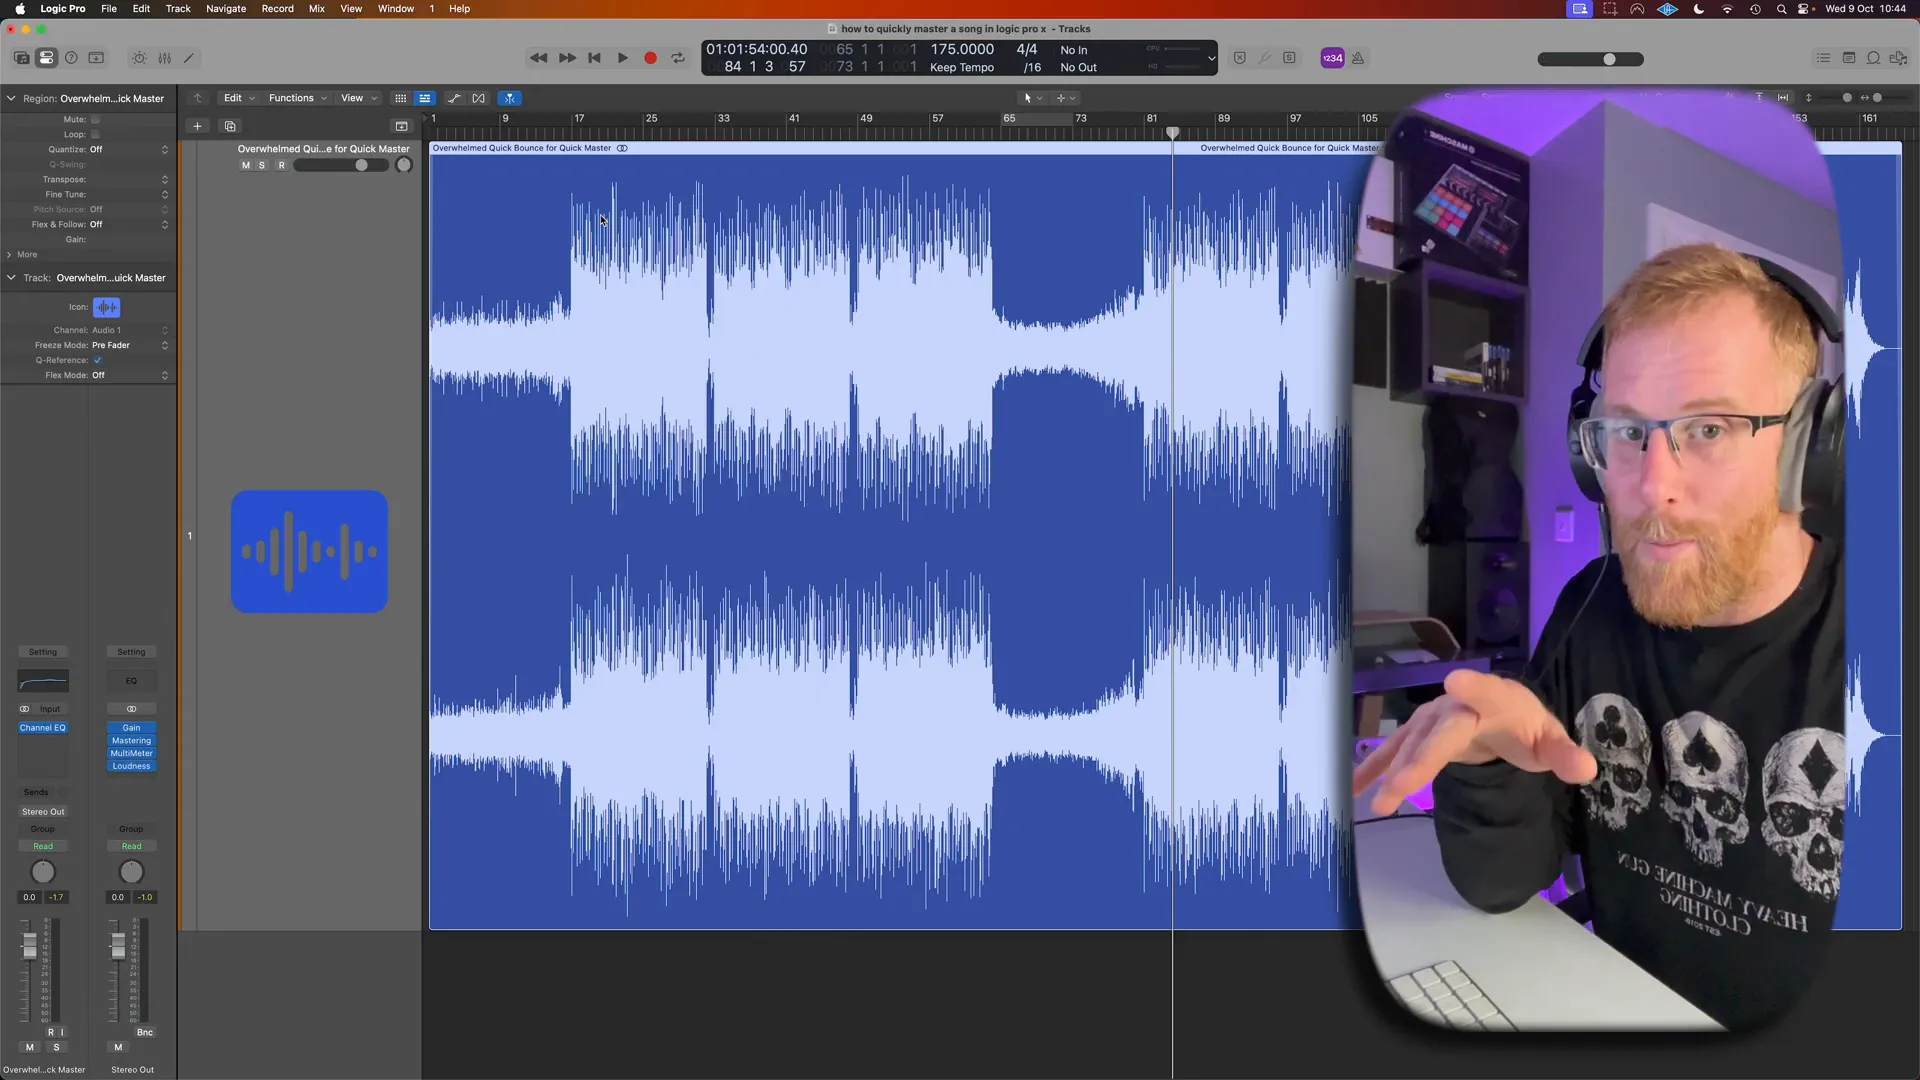
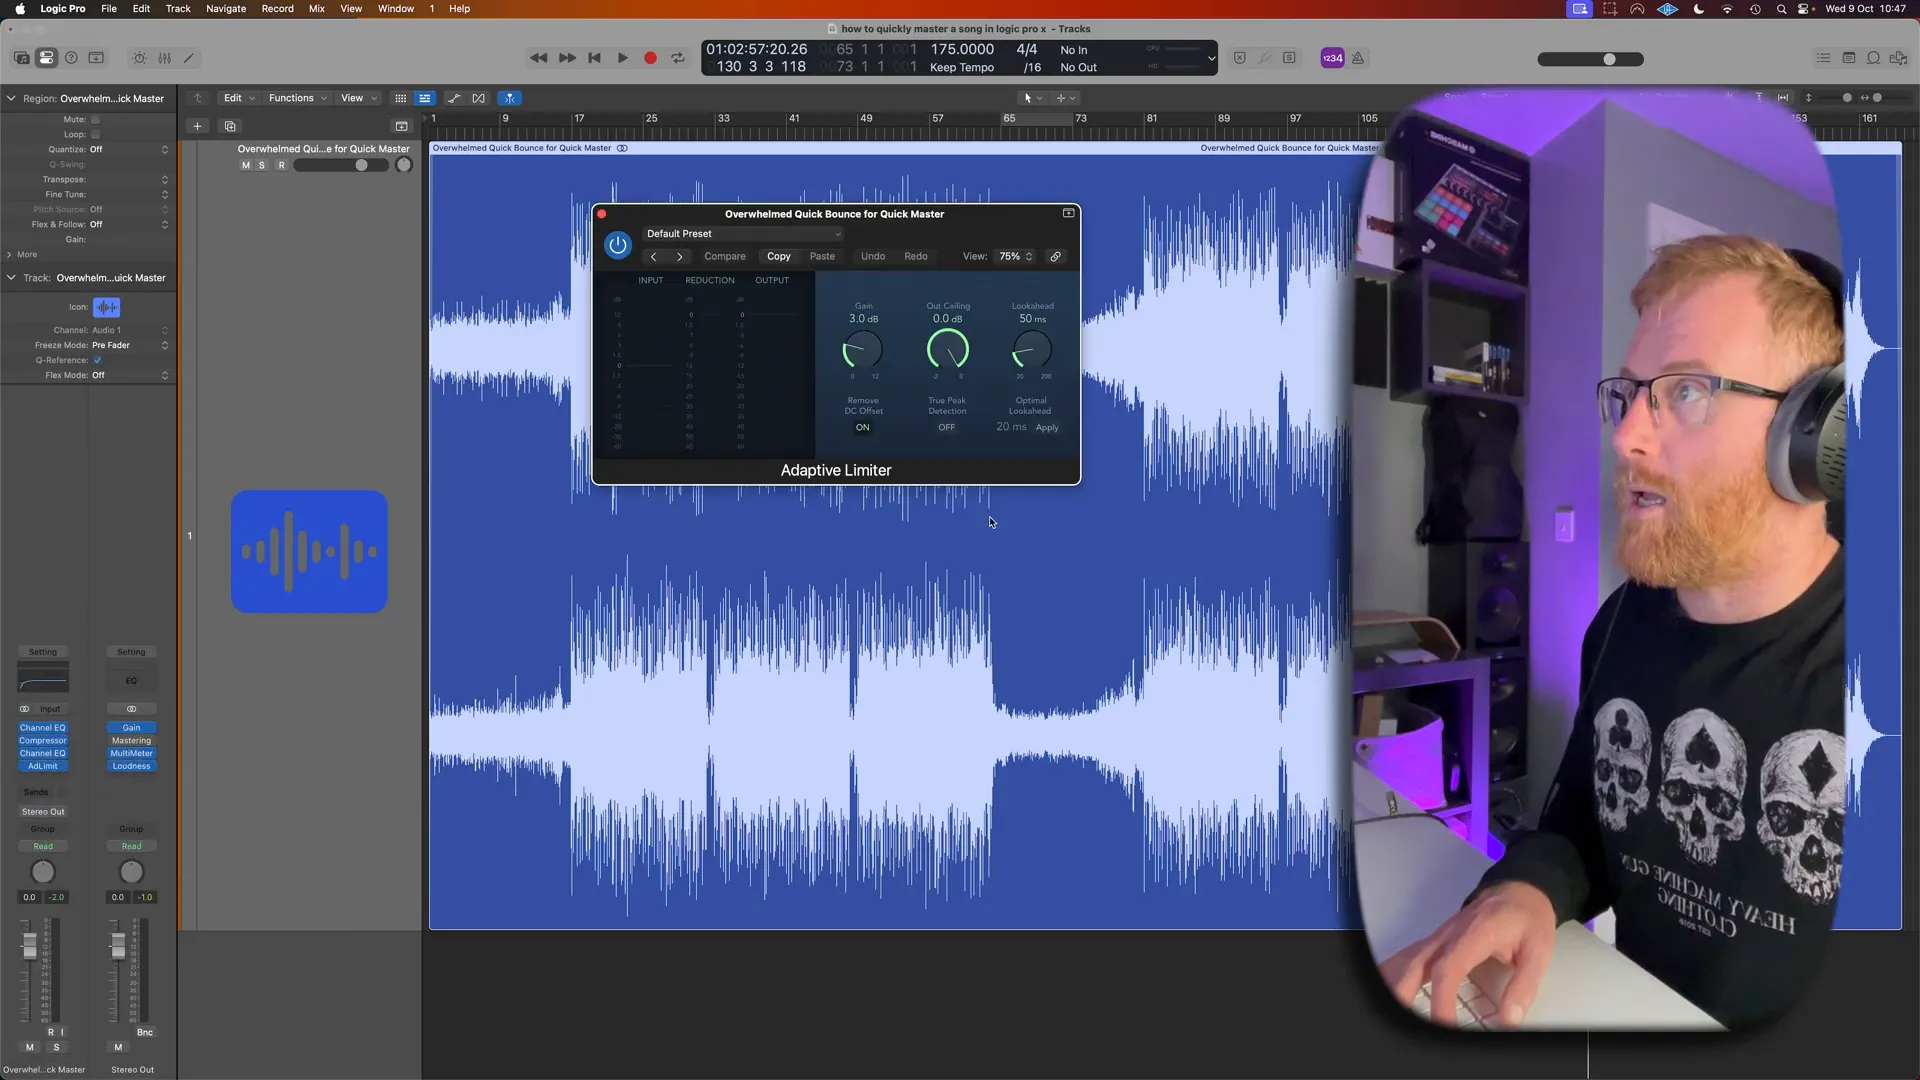
The last touch to reach the loudness without any distortion is to use the limiter or compressor and set it to. 01 Decibels, at the end of your mastering process to keep your mix sounding polished and pro.
When utilizing the limiter feature keep an eye, on both the overall loudness levels to ensure optimal sound quality for your audio output target of around. 9 LUFS for a polished sound experience; make adjustments to the limiter settings, as necessary to achieve the desired outcome.
Step 11: Advanced Techniques for Mastering
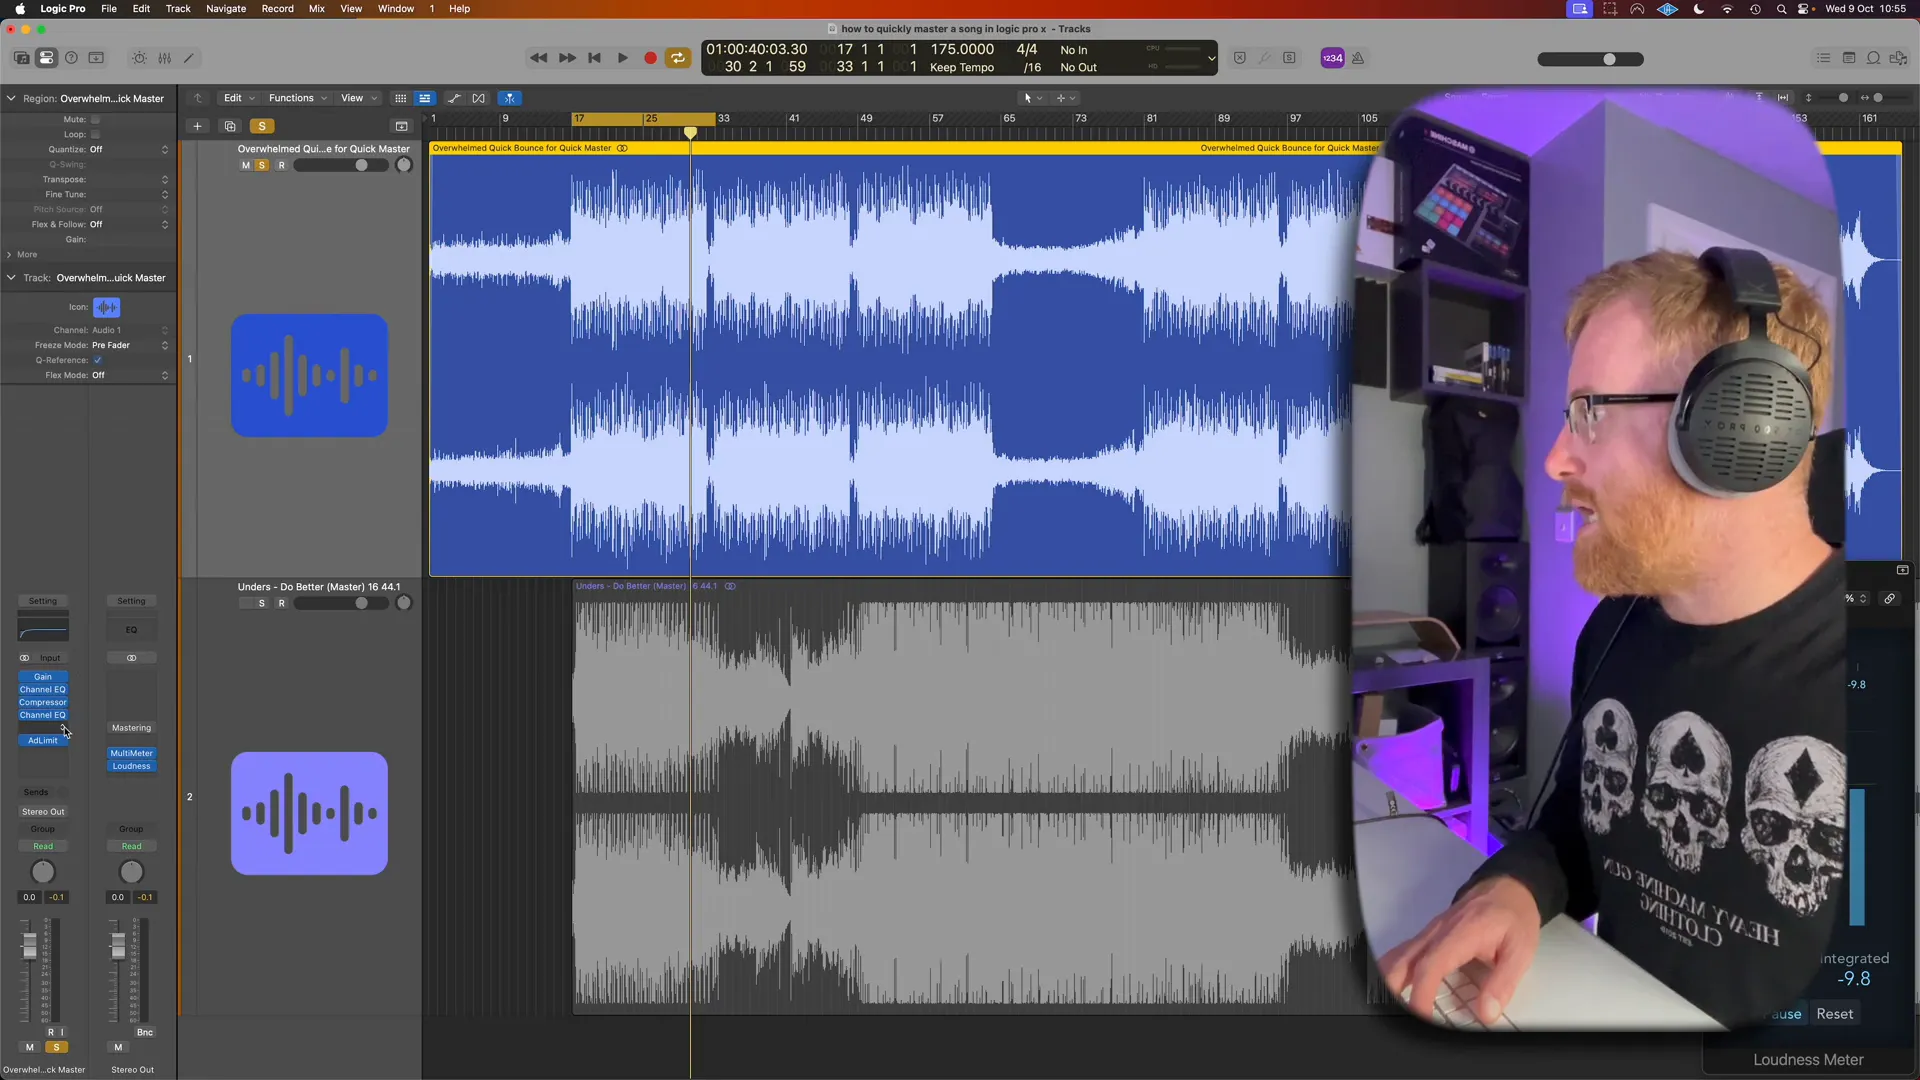
Interested, in honin' your mastering skills? There are a few tricks you can try out! One cool method is called referencing. Basically comparing your track to a mastered one in the genre you're, into! By going forth between them two tracks you can pinpoint spots where your mix could use a boost.
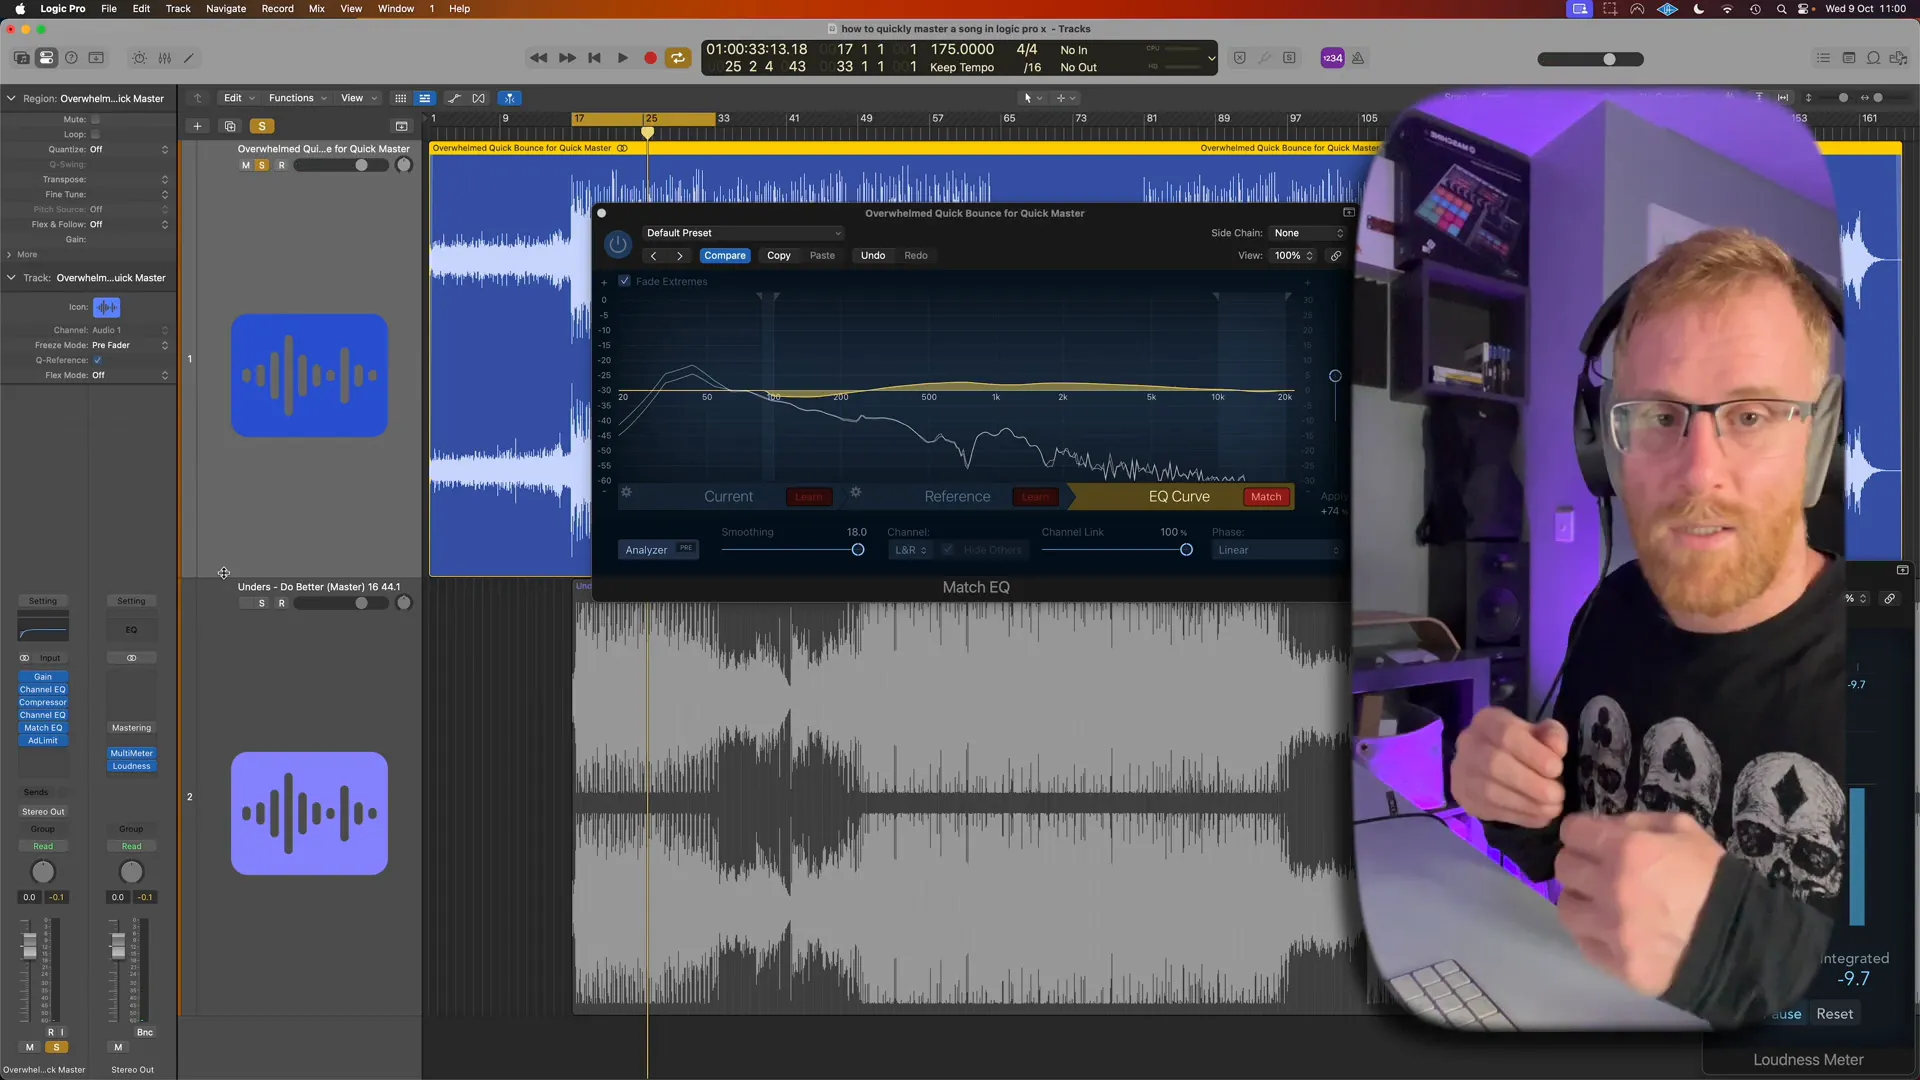
One more method involves using Match EQ to examine the profile of your reference track and make adjustments, to your mix accordingly before applying a limiter for a smoother sound outcome.
Step 12: Listening to the Finished Master
It's important to listen to your completed masterpiece as it's vital, in the process of ensuring seamless compatibility across various platforms and systems.It is advisable to test your creation on devices such as headphones,speakers and in a car to evaluate its performance, in real life situations.
Remember to jot down any changes that you might need to make on as you listen carefully during this phase—it can highlight subtleties that could have slipped past you while finalizing the music production process. Keep in mind that the aim is to guarantee that your song resonates across all platforms!
FAQ: Common Questions About Mastering in Logic Pro
What is the ideal loudness level for electronic music?
The perfect volume range usually ranges from eight to nine LUFS for music to make sure it stands out well in club settings.
Should I use multiple compressors during mastering?
Using, than one compressor can be helpful, in achieving your desired sound quality results. You could use one for adjusting the dynamics and another for focusing on specific frequency ranges to ensure clarity and balance in your audio output.
How can I ensure my track is mono-compatible?
Make sure to monitor the correlation meter, in Logic Pro software tool and watch for fluctuations. This could indicate phase problems that need attention. Also try listening to your track, in mono mode to catch any noticeable volume decreases that may need adjusting.
Can I use free plugins for mastering?
Sure! There are plenty of plugins there that can really help with mastering your music tracks well! Check out options such, as TDR Nova or Voxengo Span, for some EQ and analysis tools.
How often should I reference other tracks?
Utilize reference tracks consistently, during the mastering procedure to gain insights and uphold quality by alternating between your track and a mastered one regularly.

