!Let Us HELP YOU!
We have a lot of curated content on this blog.
Take this simple 20 second Quiz to Help You
Find The Exact Content You Are Looking For!
Discover the magic of pitch correction plugins in Logic Pro with this beginner tutorial, on Logic Autotune! Learn how to elevate your recordings by making adjustments or achieving the popular T Pain sound effortlessly through a simple and detailed walkthrough.
Table of Contents
- Step 1: Understanding Autotune
- Step 2: Choosing Your Track Example
- Step 3: Importance of Plugin Chain
- Step 4: Setting Up Pitch Correction
- Step 5: Configuring Key and Scale
- Step 6: Response Time and Tolerance Settings
- Step 7: Achieving a Natural Sound
- Step 8: The Double Up Technique
- Step 9: Finalizing Your Vocals
- Step 10: Bonus Tip for Kick Drum Tuning
- FAQ: Common Questions about Autotune
Step 1: Understanding Autotune
Autotune is a known tool, in the music industry that is mainly utilized for correcting pitch inaccuracies in vocals during production processes. Although its commonly linked to the sound found in contemporary pop music scenes today; its functionalities go beyond merely rectifying off pitch tones. Autotune has the ability to enrich renditions by adding a touch of sophistication to recordings. Whether you prefer modifications or opt for the dramatic effects made famous by artists such, as T Pain; having a solid grasp of autotune basics is essential.
What is Pitch Correction?
Pitch correction software fundamentally examines the pitch of signals. Modifies them to correspond with specific musical notes, for a harmonious outcome, in vocal tracks where every note aligns precisely with the desired key signature Autotune technology enables music producers to achieve a unified sound that highlights the vocalists talents without any disruptions caused by pitch inaccuracies.
Step 2: Choosing Your Track Example
Choosing the song to use is crucial, for an Easy Logic Autotune Tutorial experience. It's best to pick a track that has a singer supported by background vocals and harmonies consistently present in the background music. This setup will enable you to showcase the range of pitch correction features effectively.

Key Considerations for Track Selection
- Vocal Complexity: Choose a track with varying vocal melodies for a comprehensive demonstration of autotune's capabilities.
- Genre: Different genres may require different approaches to pitch correction. Make sure your example aligns with the desired outcome.
- Vocal Performance: Select a track where the vocalist has a solid performance but may need minor corrections.
Step 3: Importance of Plugin Chain
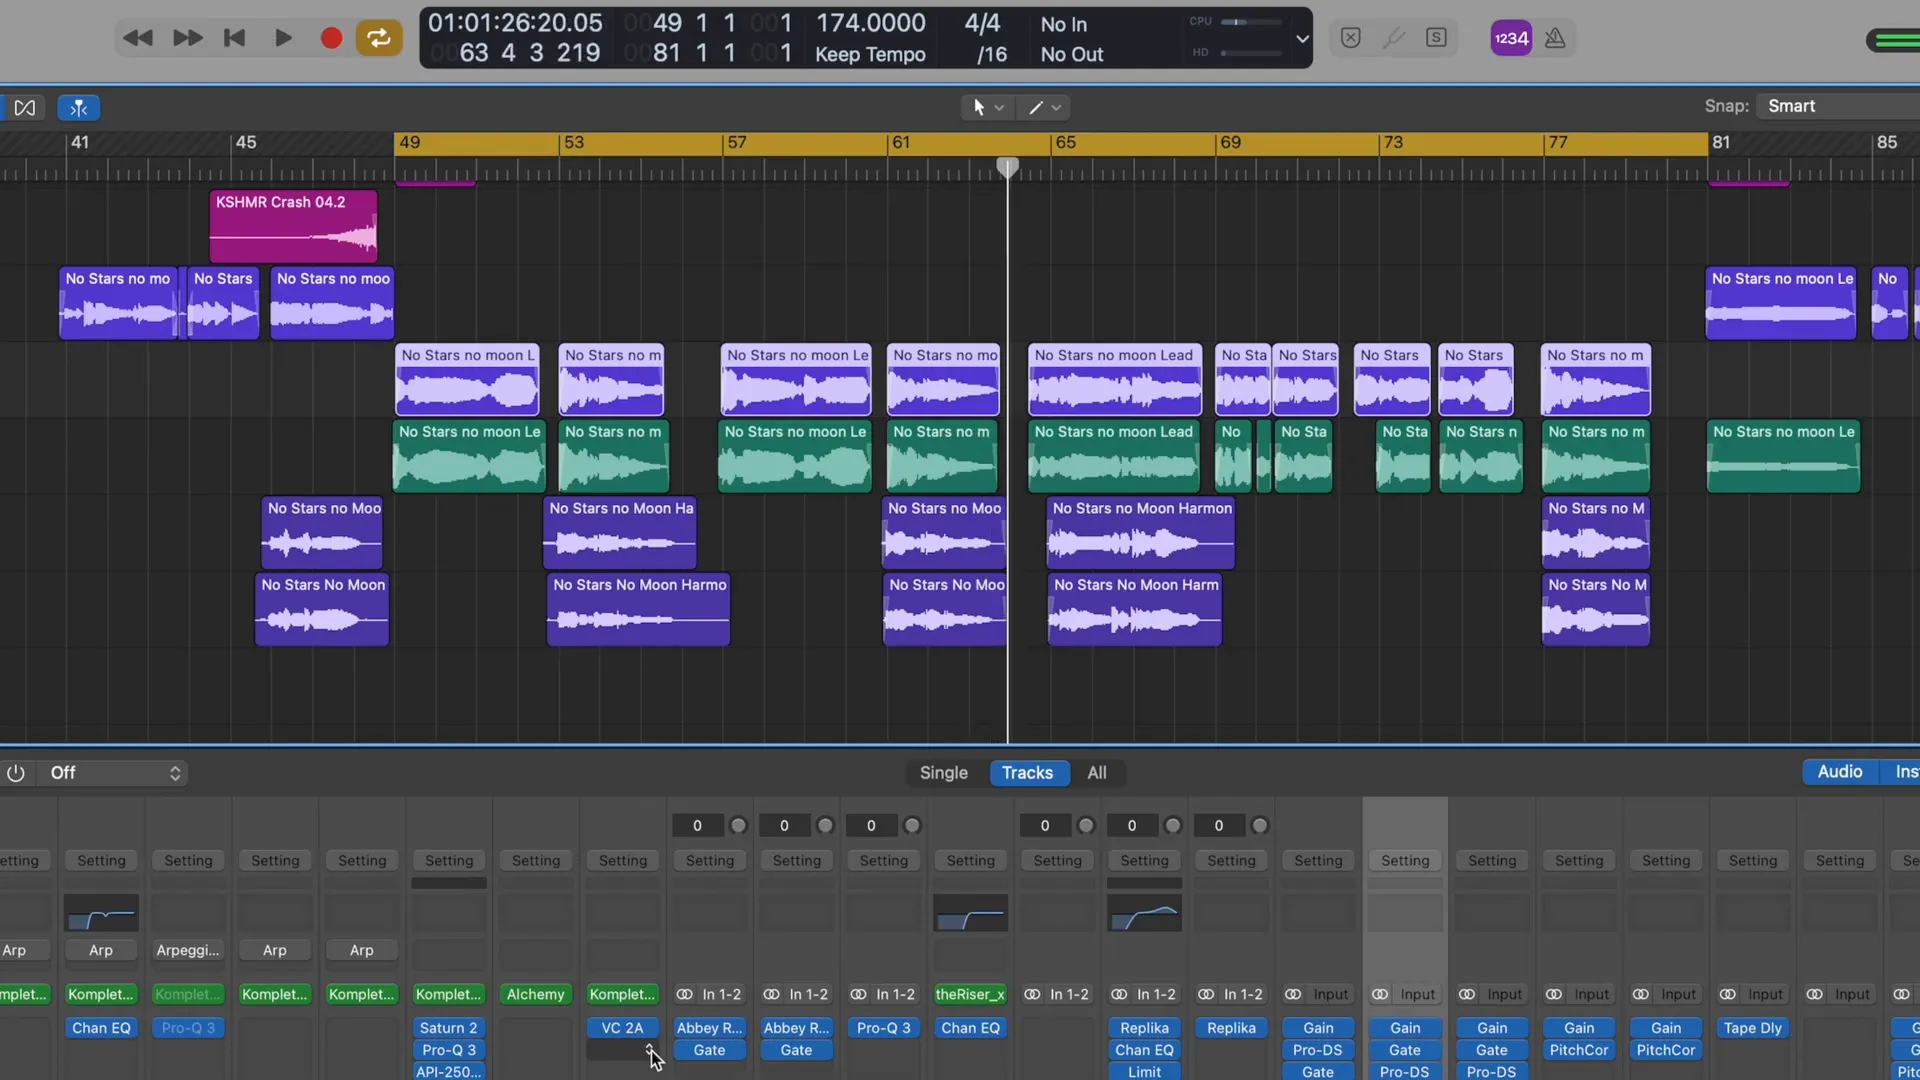
Knowing the placement of plugins in your lineup can greatly influence how well autotune works for you as the order in which effects are added can change the sound and overall quality of your voice recordings.
Setting Up Your Plugin Chain
In cases it's best to start with pitch correction as the initial plugin, in your setup to handle pitch problems before adding any effects; although there are exceptions where an alternative strategy might be needed.
- Gain Plugin: Use this first if your vocal levels are excessively high. This will help prevent clipping and distortion.
- Gate Plugin: Implement a gate to eliminate noise and clicks in the audio signal before it reaches the pitch corrector.
- De-Esser Plugin: This reduces harsh sibilant sounds that can interfere with pitch detection.
Step 4: Setting Up Pitch Correction
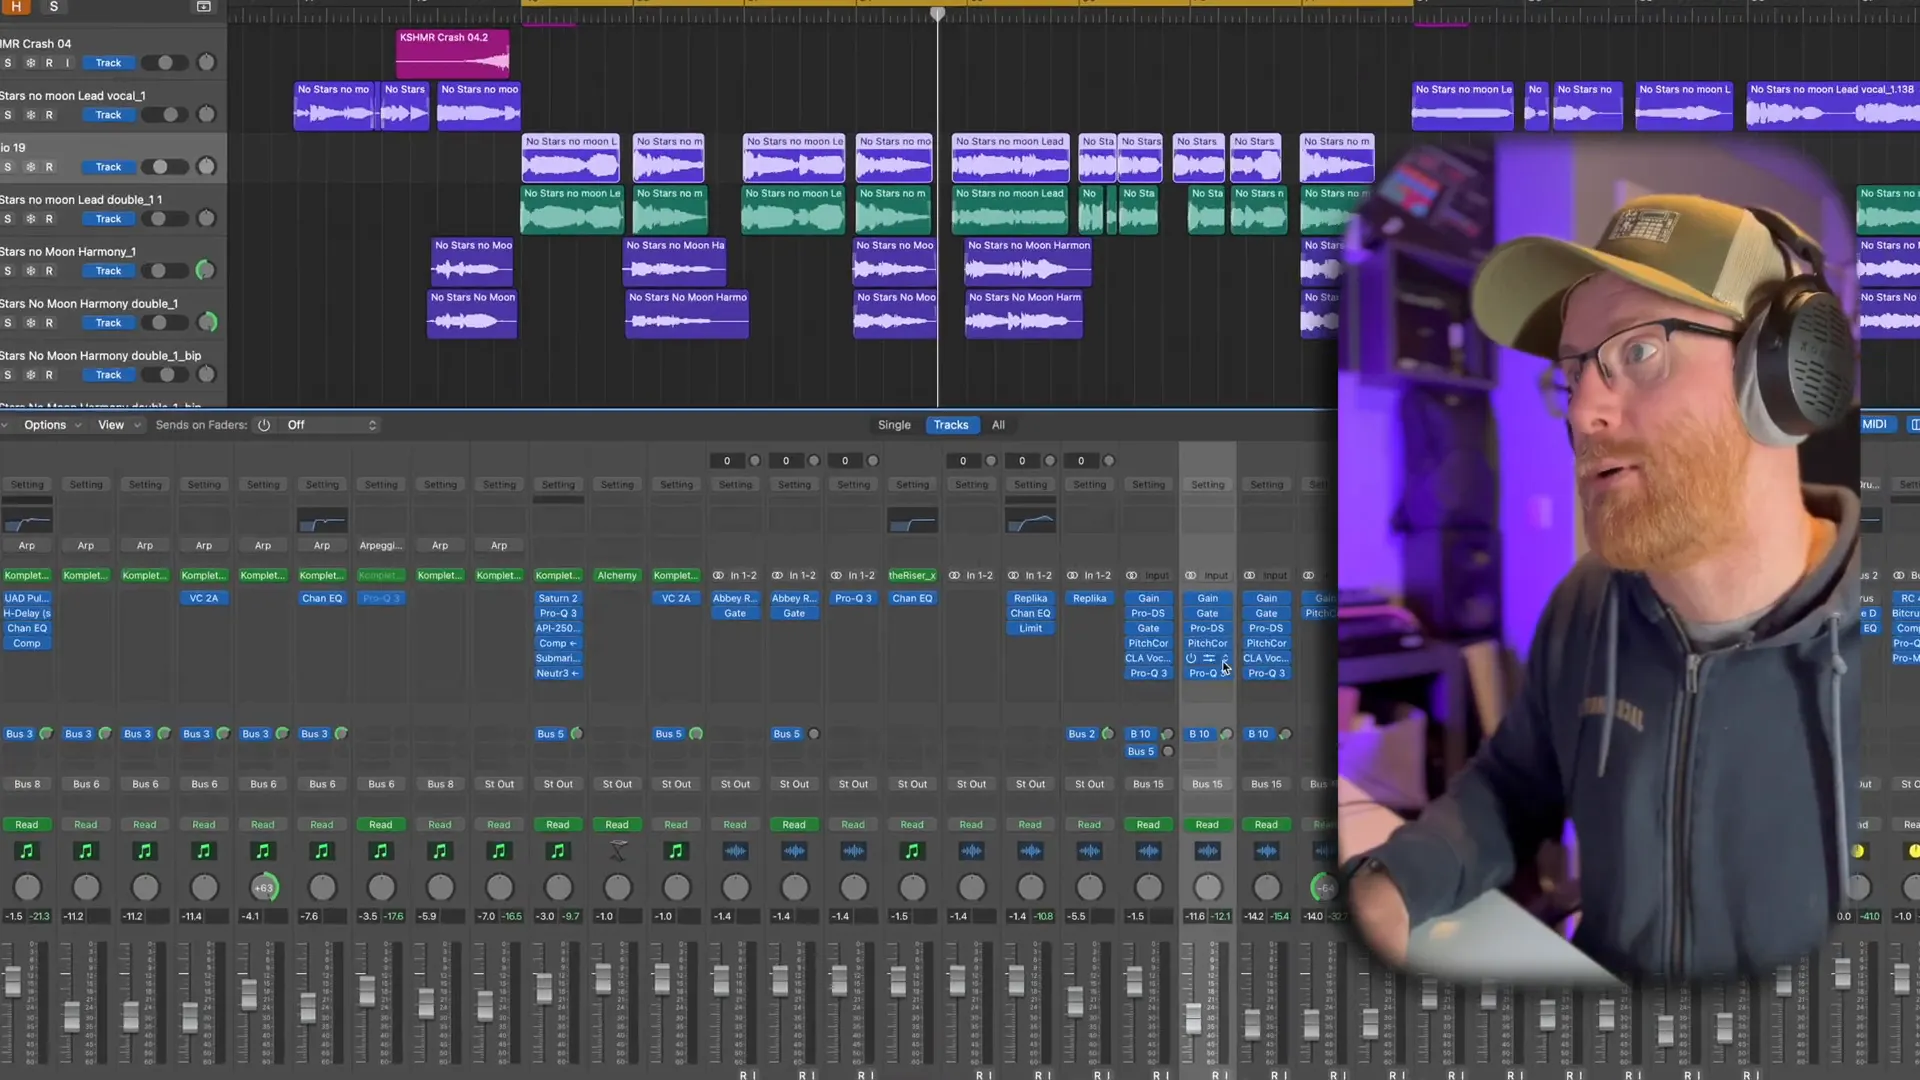
After installing your plugins and getting them all set up in your system or software of choice the next important step is to configure your pitch correction plugin accurately. This is essential to make sure that your vocal recording is finely tuned to hit the notes with precision and clarity.
Common Mistakes to Avoid
- Not Setting the Key: Ensure you specify the key of your track; otherwise, the pitch correction won't function as intended.
- Ignoring Response Time: Adjust the response time to match the tempo of your track for a more natural sound.
Step 5: Configuring Key and Scale
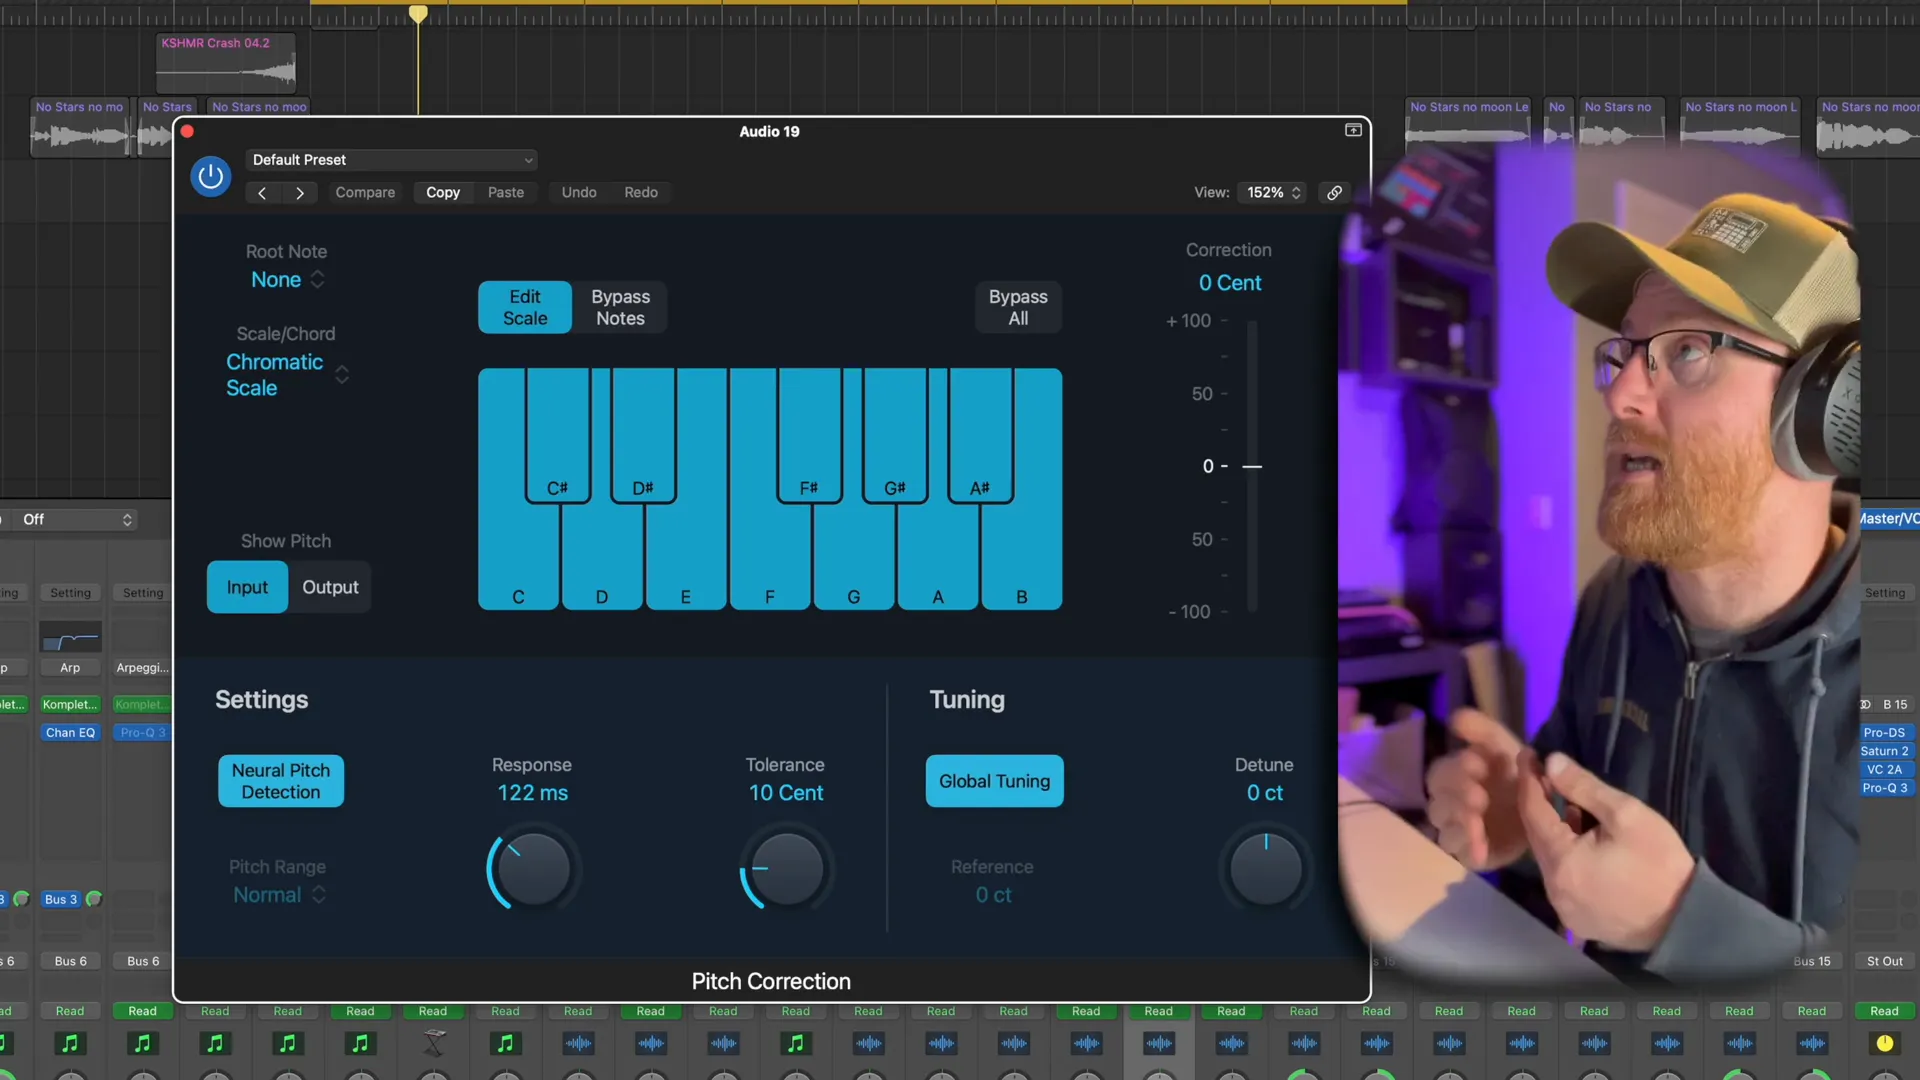
Getting the key and scale is crucial, for making pitch correction work effectively as it helps the autotune software determine the notes to adjust in order to improve, not hinder, the quality of the vocals, during a performance.
How to Set Key and Scale
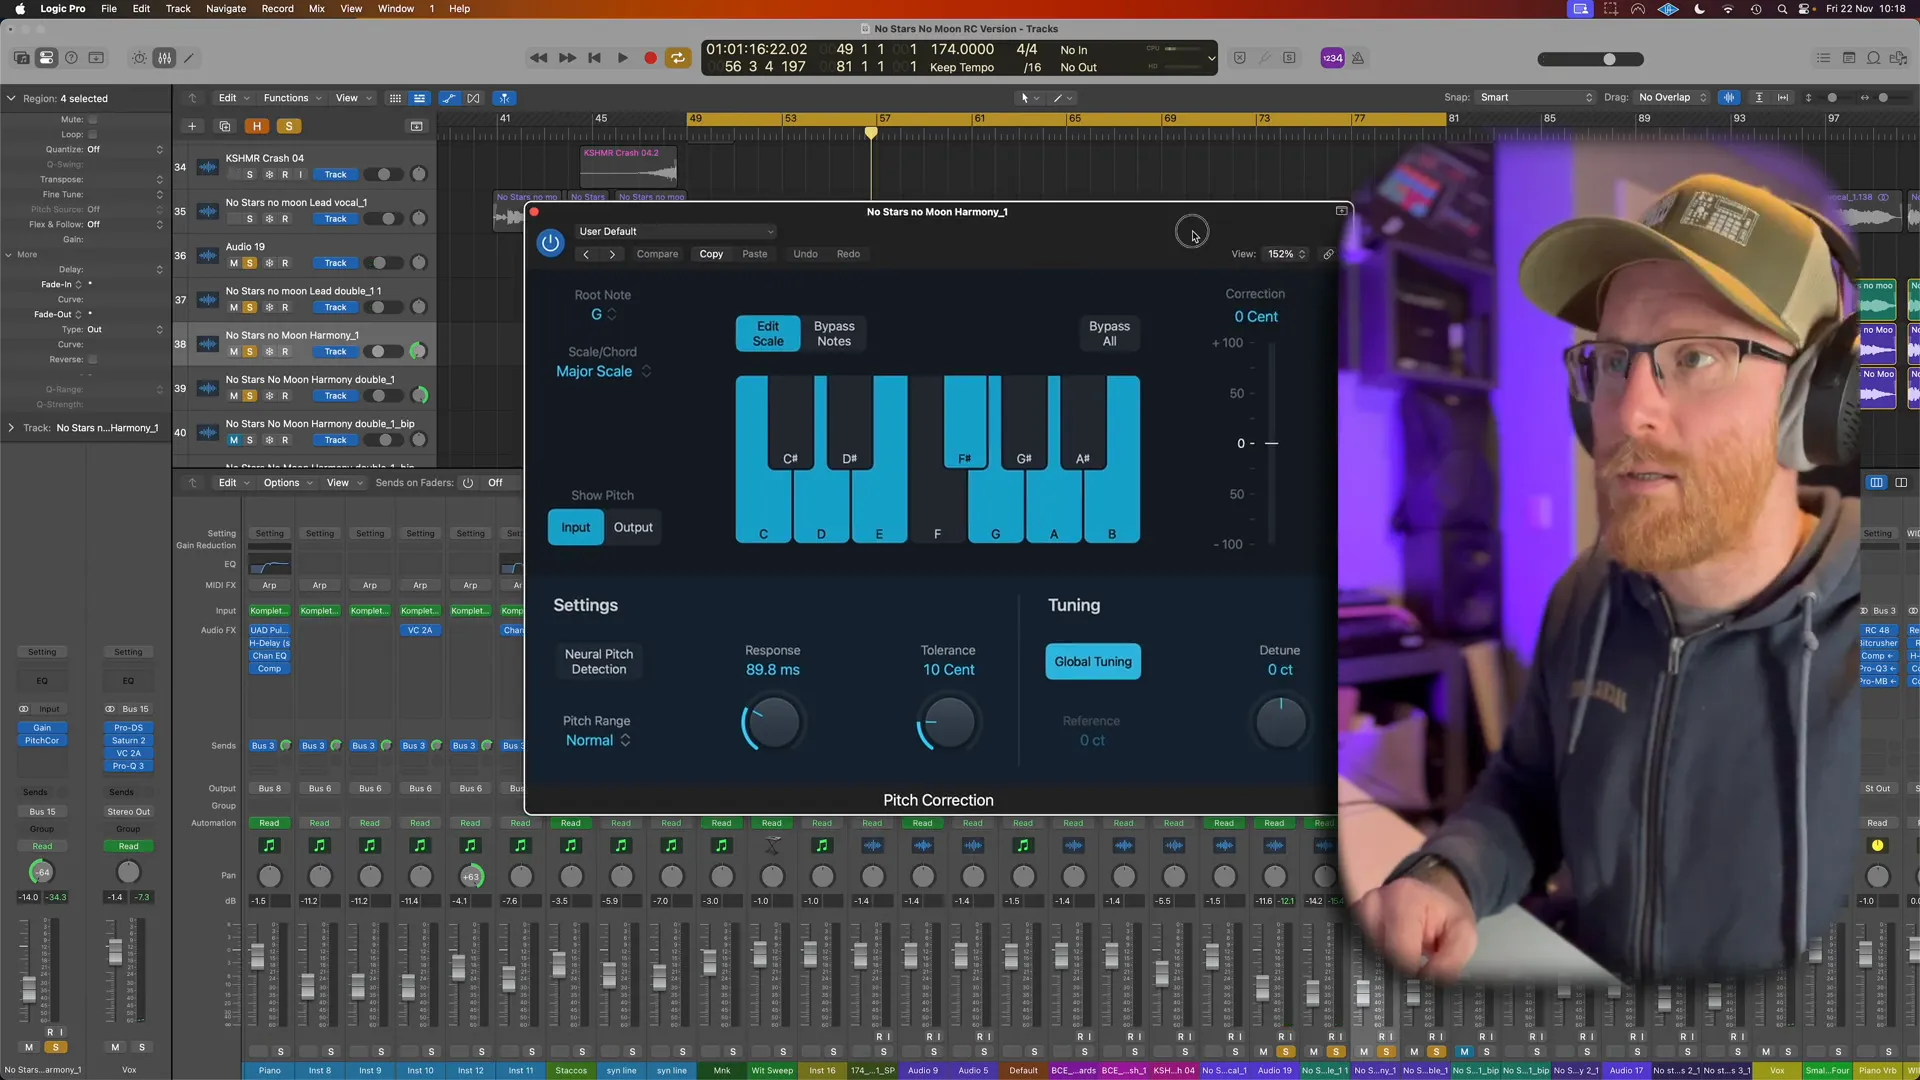
In the pitch correction tools settings menu look for the root note adjustment section. Set it to match the key of your track. For instance in G major set the root note as G to enable pitch correction within that scale.
Understanding the Chromatic Scale
Knowing about the scale can be helpful, in recognizing the notes in the key you've selected and making accurate adjustments, to pitches.
- G Major Scale: G, A, B, C, D, E, F#
- Common Adjustments: If a note falls slightly flat, the plugin will automatically pitch it to the nearest note in the scale.
Step 6: Response Time and Tolerance Settings
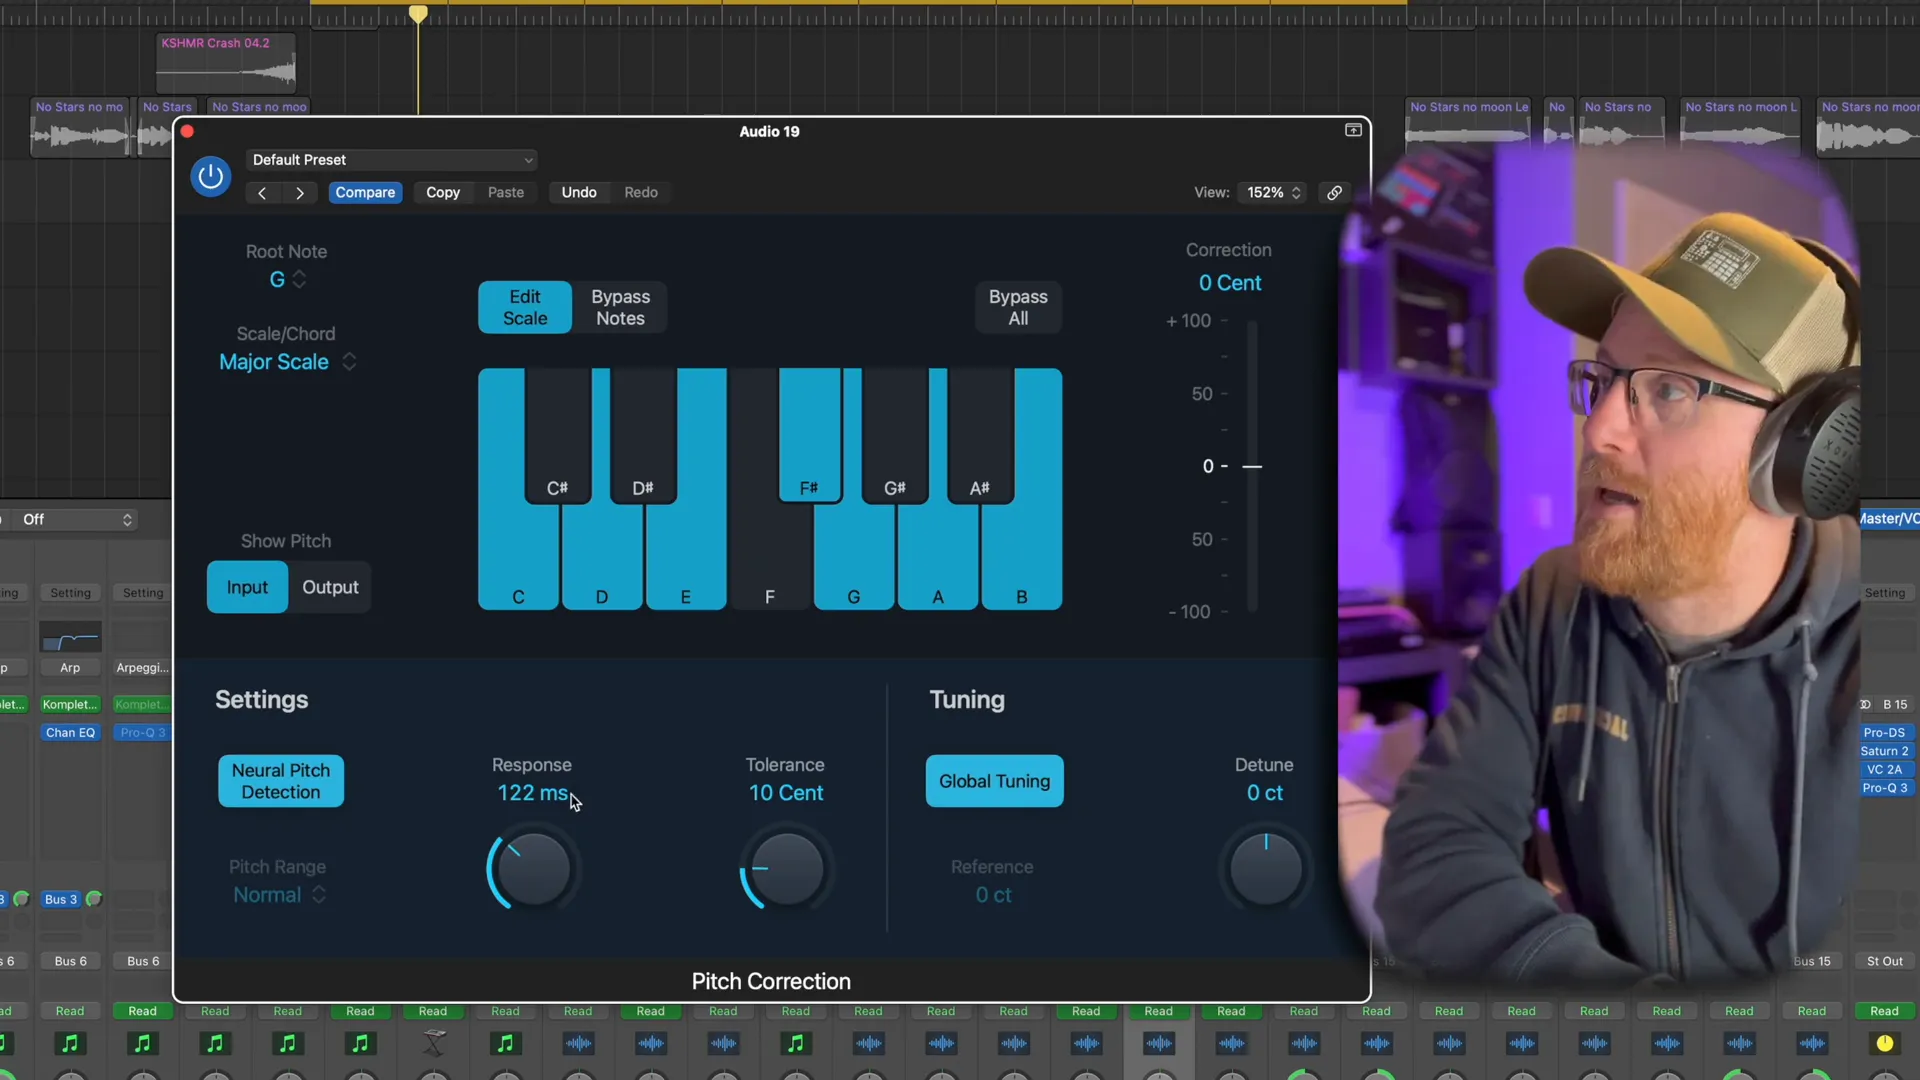
To achieve an sound it's essential to focus the response time and tolerance settings when using autotune software.To get that pitch these controls determine how fast the autotune responds to pitch differences and how precisely it fixes them.
Setting Response Time
To achieve a sound quality, in your music production using autotune software adjust the response time to a higher setting This will help the plugin keep up with the natural pitch variations of the singer resulting in a smoother overall performance.
WEBSITE RESOURCES FOR MUSICIANS
Understanding Tolerance
Adjusting the tolerance settings can impact the pitch variation, in the output. A lower tolerance might make it sound robotic and a higher one can give a natural performance; tweak these settings according to your preferred outcome;
- For Natural Vocals: Set a higher tolerance (e.g., 10 cents).
- For T-Pain Effect: Lower the tolerance to achieve a more pronounced autotune sound.
By mastering these steps in the Easy Logic Autotune Tutorial, you’ll be well on your way to producing polished vocal tracks that stand out. If you're interested in expanding your production skills, consider checking out our guide on creating professional-quality beats using free plugins.
Step 7: Achieving a Natural Sound
When using autotune for a effect, in vocals it's important to strike a balance, between correcting notes and preserving the authentic feel of the singers performance. This particular stage holds significance in the Easy Logic Autotune Guide as it guarantees that the vocals maintain their quality while staying on pitch.
Techniques for Natural Sound
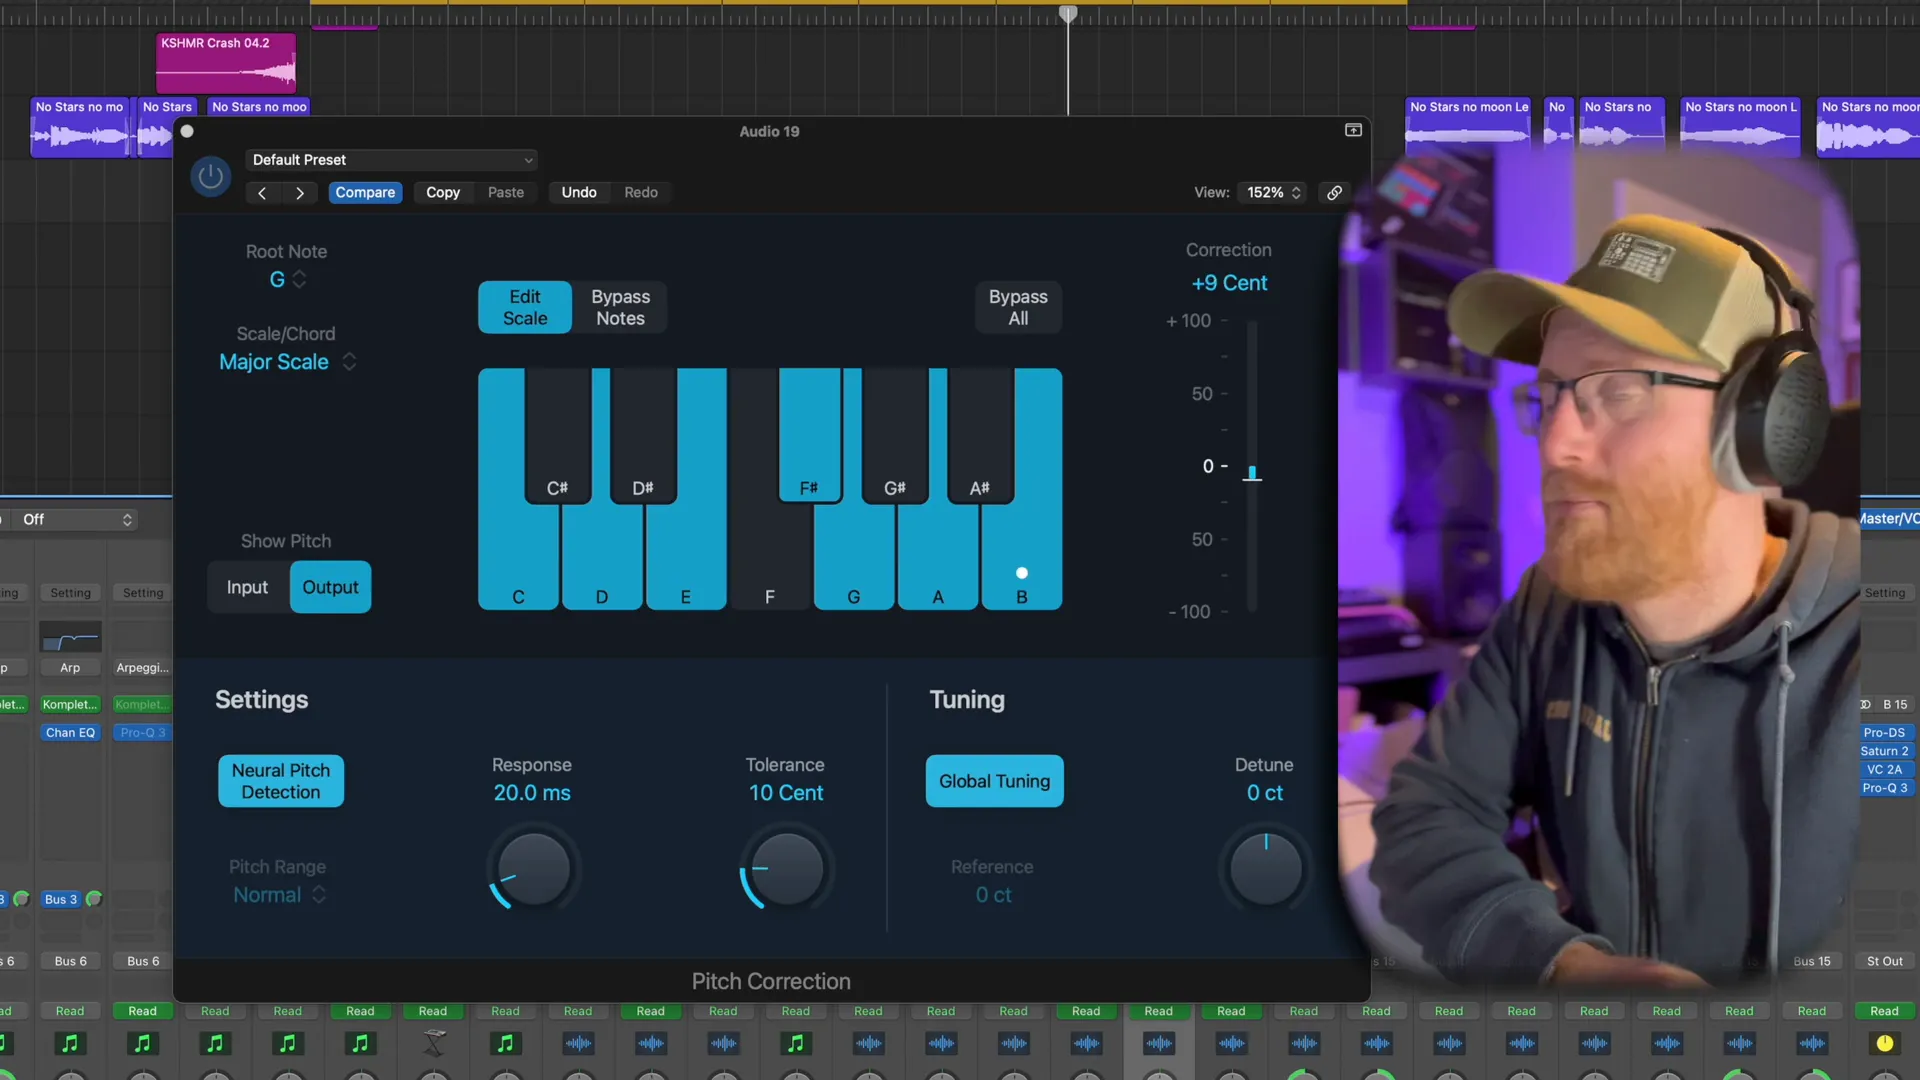
- Use a Higher Response Time: Setting a higher response time allows the autotune to react more gradually to pitch changes, creating a smoother transition between notes.
- Adjust Tolerance Levels: A higher tolerance setting permits slight pitch variations, mimicking the natural fluctuations of a vocalist. This can help prevent the robotic sound often associated with autotune.
- Layering Vocals: When layering vocals, pitch correct one layer while leaving another natural. This technique can add depth and richness to the overall sound.
Step 8: The Double Up Technique
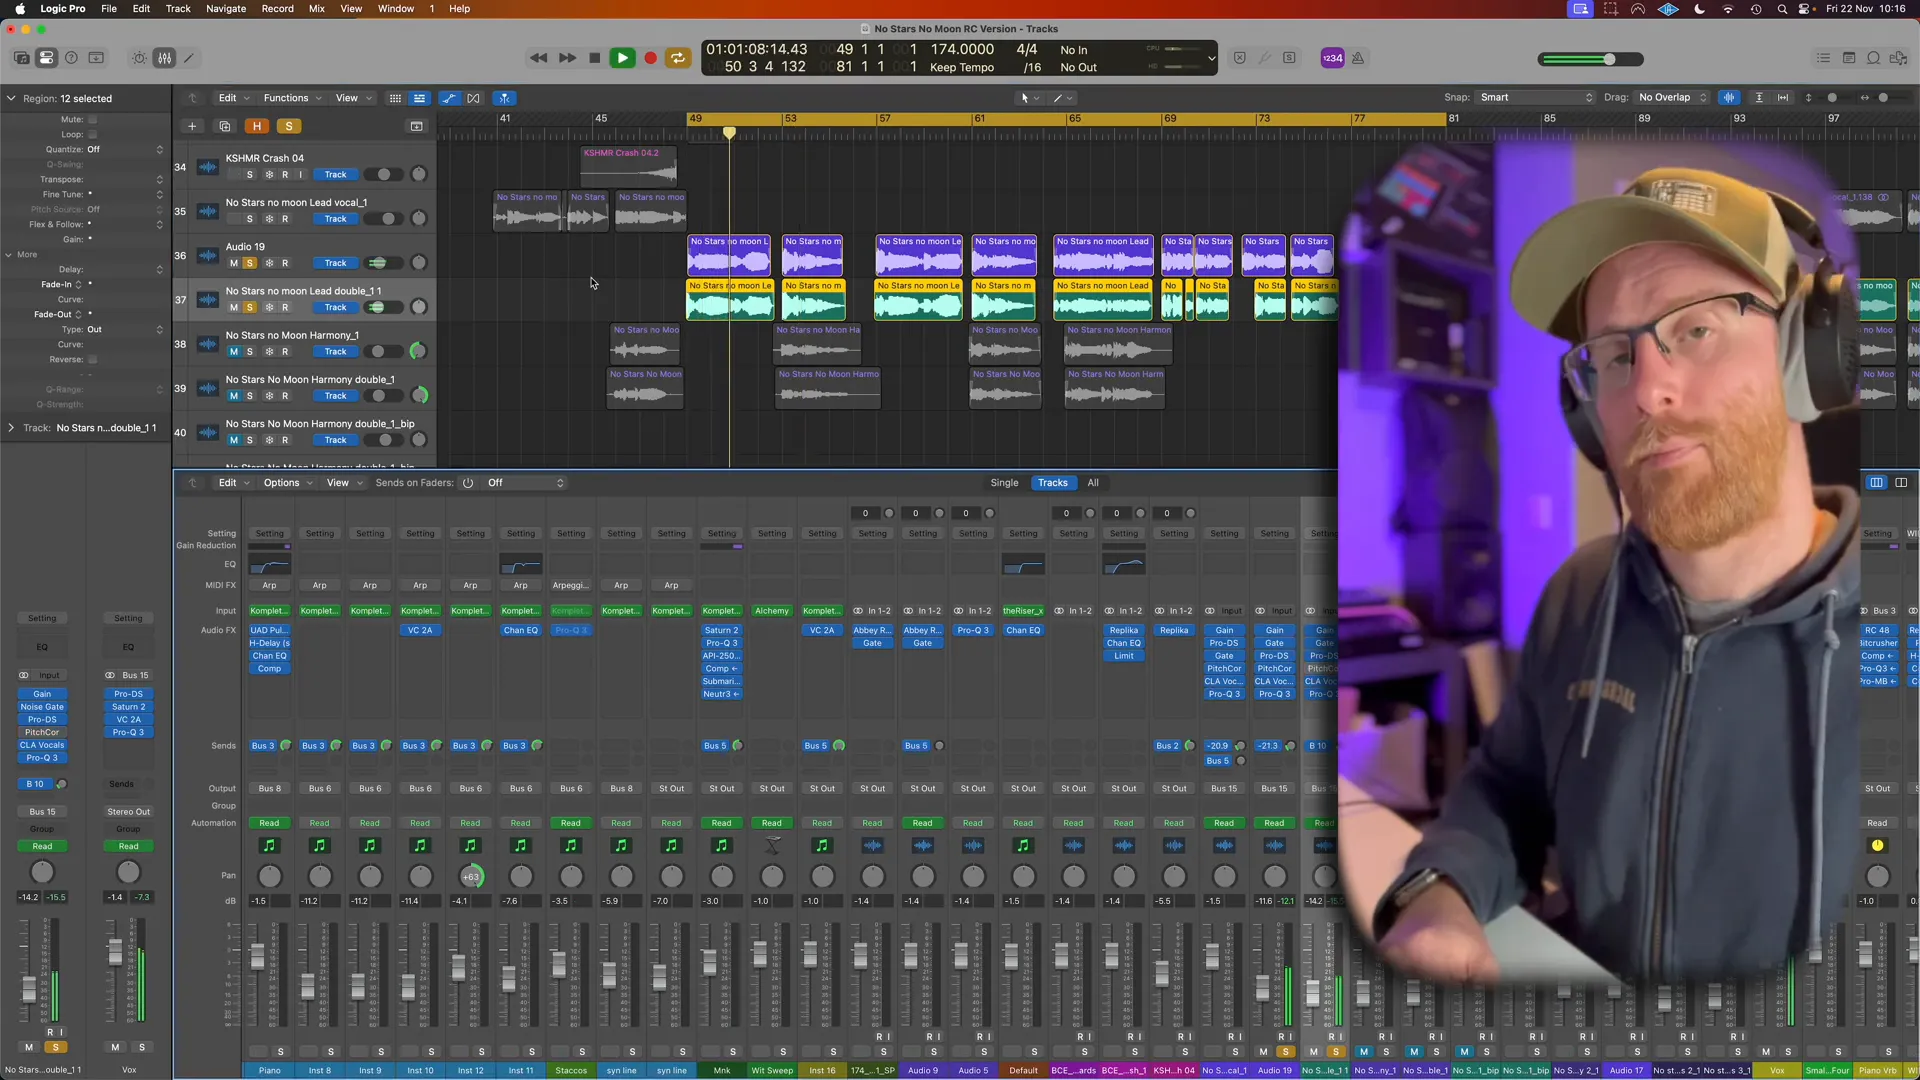
The Double Up Technique includes recording the line several times to produce a richer sound quality, for your tracks impact to be enhanced significantly when executed properly; it can infuse your vocals with depth and personality.
Steps to Implement the Double Up Technique
- Record Multiple Takes: Lay down two or more takes of the same vocal line. Ensure that the performances are consistent yet slightly varied to maintain a natural feel.
- Pitch Correct Each Take: Apply autotune to each vocal track. You may want to use different response times or tolerance settings for each take to achieve a unique character.
- Pan Your Tracks: Pan the vocal takes slightly left and right in the mix. This creates a wider stereo image and enhances the overall sound.
Step 9: Finalizing Your Vocals
After fine tuning and layering your vocals effectively in the mix comes the step of finalizing it all for a seamless track integration and overall enhancement of your production quality.
Finalisation Techniques
- EQ and Compression: Use equalisation to carve out space for the vocals in the mix. Compression can help maintain consistent vocal levels, ensuring clarity and presence.
- Reverb and Delay: Apply reverb and delay to add depth and space. Be cautious not to overdo it, as too much can muddy the mix.
- Automation: Automate levels and effects to create dynamic changes throughout the track. This can make the vocals more engaging and maintain listener interest.
Step 10: Bonus Tip for Kick Drum Tuning
Adjusting the pitch of your kick drum can really improve the flow of your music piece, which's a crucial but sometimes forgotten aspect that can greatly influence how all the different parts of your composition come together harmoniously.
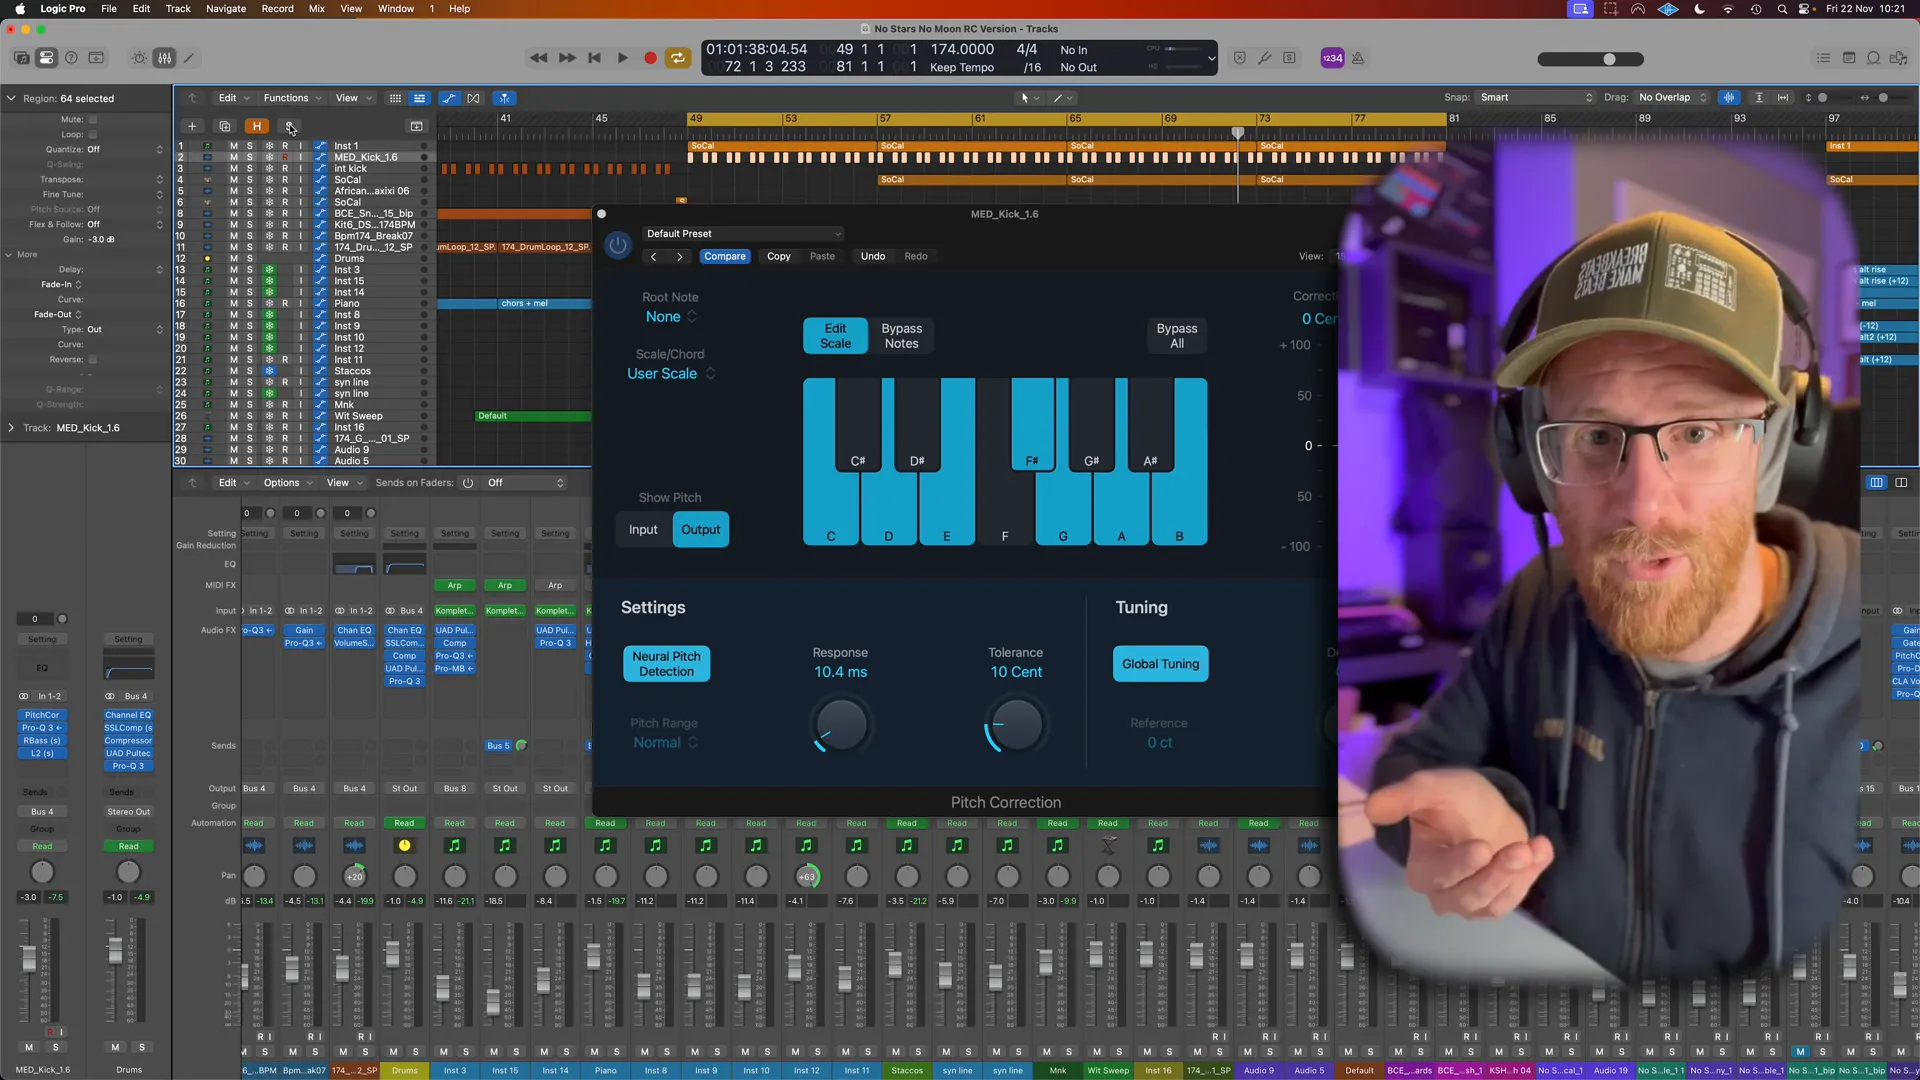
How to Tune Your Kick Drum
- Identify the Key: Determine the key of your track. This will guide you in tuning your kick drum to a note that complements the rest of the instruments.
- Set Up Pitch Correction: Apply pitch correction to the kick drum track. Use a fast response time to ensure that the transient hits correctly while tuning the body of the kick.
- Adjust Settings: Experiment with response time settings to find the right balance. A setting around ten milliseconds can help achieve a punchy sound without losing the natural feel.
FAQ: Common Questions about Autotune
Here are some common questions people often ask about autotune and how its used in making music.
- What is the best autotune software? The best software depends on your specific needs, but popular options include Antares Autotune, Waves Tune, and Logic Pro's built-in pitch correction.
- Can autotune be used creatively? Absolutely! Autotune can create unique vocal effects, such as the T-Pain effect, by adjusting response times and tolerance settings.
- Is autotune only for vocal tracks? No, autotune is versatile and can be applied to various instruments. Many producers use it to correct pitch on guitars, basses, and even synths.
- How do I avoid the robotic sound? To avoid a robotic sound, focus on adjusting the response time and tolerance settings. Allowing for some pitch variation will help maintain a natural sound.
By following these steps in the Easy Logic Autotune Tutorial, you can enhance your vocal tracks and achieve professional-sounding results. For more tips on music production, check out our blog on sampling vinyl records into Logic Pro or explore the Trippie Redd Vocal Effect Tutorial for unique vocal techniques.

