!Let Us HELP YOU!
We have a lot of curated content on this blog.
Take this simple 20 second Quiz to Help You
Find The Exact Content You Are Looking For!
The following walkthrough explores a real-time sketching session led by Music Production Tutorials with Danny J Lewis, demonstrating how to create an MPC One House Music idea from scratch. Danny works through selection of samples, quick sound-design choices, playing and sequencing, plugin use, and a hybrid export workflow so the idea can be finished in a DAW. This article was curated with help from the video From Scratch – an MPC One House Music Idea by Danny J Lewis (Music Production Tutorials with Danny J Lewis) as a primary source of reference. The content has been curated and expanded upon with additional insights and experiences of my own. I wanted to ensure that the original creator receives proper attribution, as their video served as valuable source material in helping me craft this article.This article captures the step-by-step method, practical tips, and decision-making rationale behind the sketch, written in a clear, instructional tone that reflects Danny’s energetic and pragmatic approach.
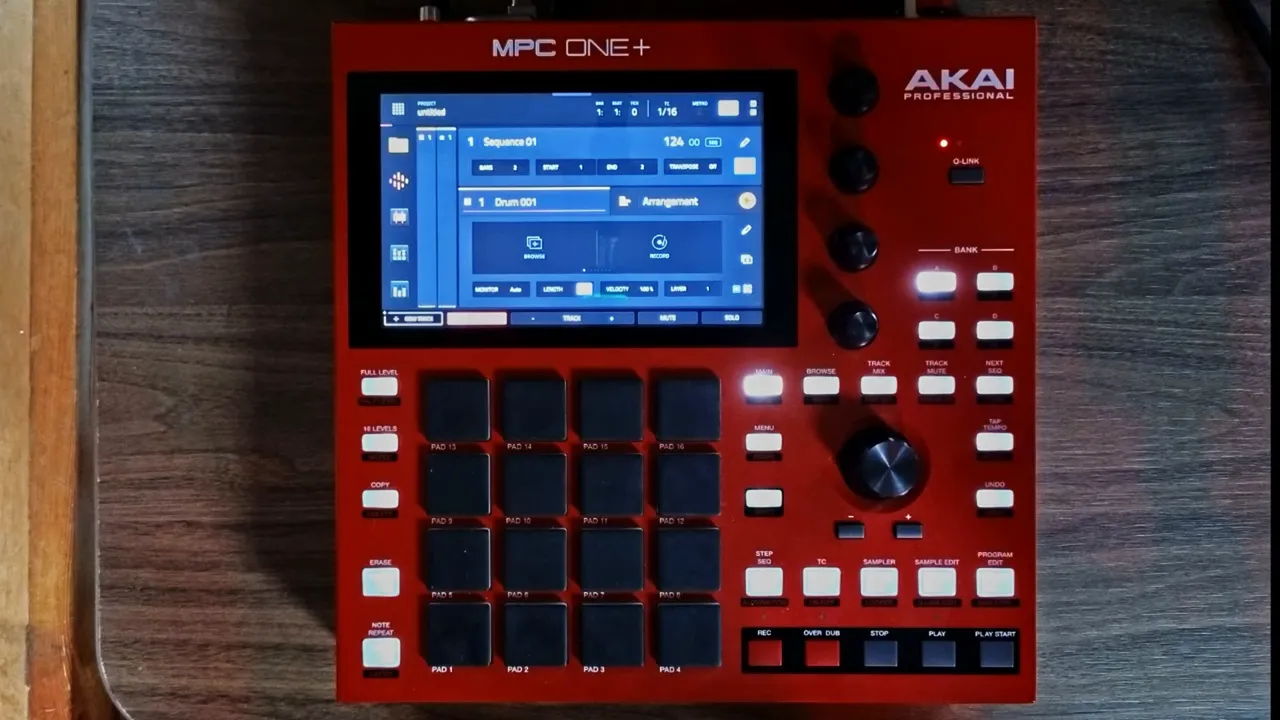
Table of Contents
- Why use the MPC One for a house music sketch?
- Overview of the sketch: key goals and structure
- Preparing the MPC: sequences, patterns and terminology
- Building the drum kit: samples and contrast
- Groove: swing, quantise and feel
- Mute groups and one-shots: keeping parts tidy
- Choosing melodic elements: keys, bass and plugs
- Vocals and chops: quick ideas for character
- Adding textures: synth brass and tension strings
- Mini mixing inside the MPC: quick levels and flavor
- Preparing for export: explode tracks and separate outputs
- Hybrid workflow: finishing the idea in Ableton Live
- Tips, tricks and production rationale
- Common pitfalls and how to avoid them
- Screenshot gallery: moments to capture while sketching
- Resources and links
- FAQ
- Conclusion
Why use the MPC One for a house music sketch?
The MPC One, especially when running the MPC3 beta operating system, is a fast, tactile sketching environment. It encourages immediacy: selecting samples, loading instruments, and recording patterns without the friction of a desktop DAW workflow. For producers who want to get down ideas rapidly, the MPC One House Music approach is ideal. Danny demonstrates how the unit’s sequencing model (sequences at the top acting like scenes in other software) makes it straightforward to assemble sections and ideas rapidly, then export stems for arrangement and finishing in a DAW such as Ableton Live.
Using the MPC One for house music sketches places emphasis on workflow speed, musical decisions at the pad level, and the ability to keep energy flowing. When the goal is to generate ideas rather than perfect mixes, the MPC One House Music method excels: it’s tactile, immediate and fluency-focused.
Overview of the sketch: key goals and structure
The session aims to produce a usable house music sketch with well-chosen drums, percussion, keys, a bassline, some vocal chops, and a few textural synth parts. Key decisions made during the sketch include:
- Build a contrasting drum kit with two kicks (one punchy, one deeper/flabbier) to create rhythmic drama.
- Use club/tape-style percussion (909 hats, ride, tambourine, shaker) for a house groove.
- Layer short chord hits with mute groups so chords don’t overlap, creating clear rhythmic interplay.
- Add a Mini Moog-style bass patch to anchor the low end (Mini D plug-in used as a MiniMoog emulation).
- Introduce vocal chops in a choke/mute group to create that classic house/garage vocal flavour.
- Export discrete stems (explode track) from MPC One to import into Ableton Live for arrangement and finishing.
This structure ensures the sketch is both playable on the MPC and flexible for later production in a DAW. The idea is to keep momentum and capture musical intention without getting bogged down by polishing.
Preparing the MPC: sequences, patterns and terminology
Danny begins by clarifying terminology that is important for the MPC One House Music workflow. On the MPC One, sequences act in a similar way to scenes or collections of clips in other environments. Each sequence contains patterns (clips) that can be powered by either a drum kit or an instrument plugin. Conceptually treating sequences as scenes helps the producer think in terms of discrete sections (intro, loop, breakdown) and accelerate sketching.
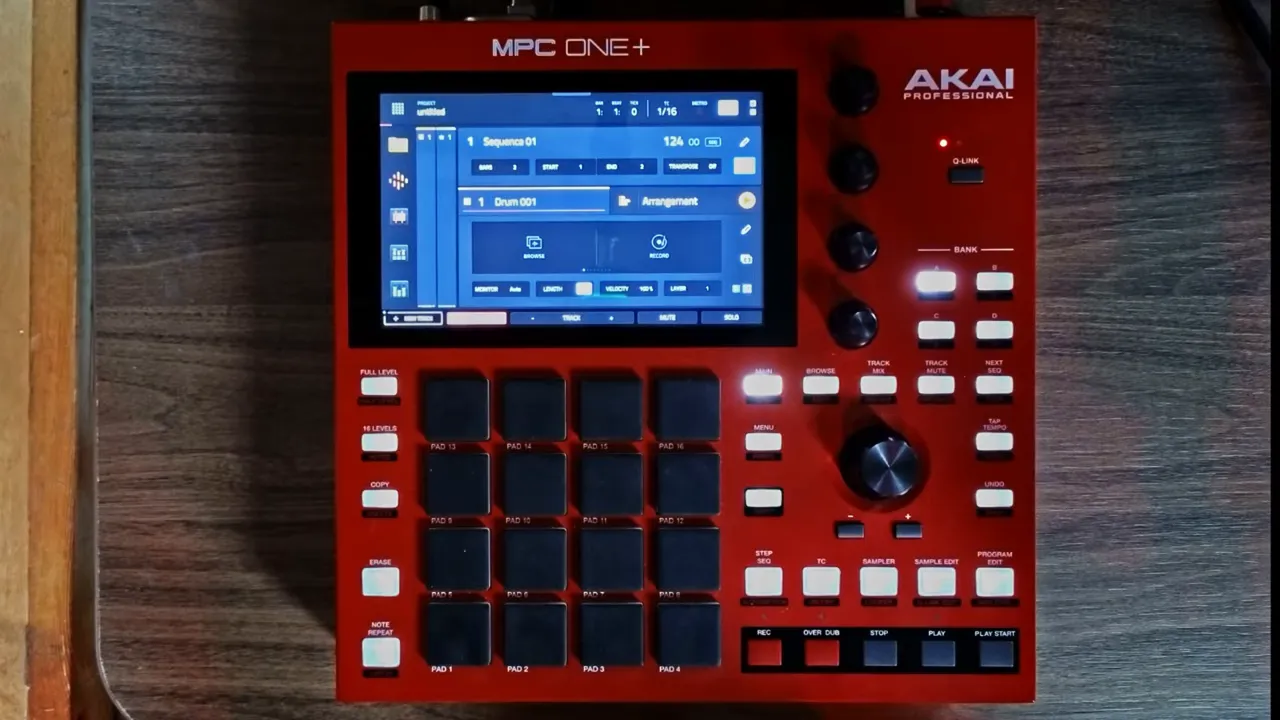
Before playing, a few simple housekeeping items are useful:
- Confirm the time-correction/swing setting (this will lock recordings to either straight grid or swing).
- Decide whether pads should use velocity sensitivity or full level during the sketch (Danny opts for full level during drum selection to ensure consistent hits).
- Enable autosave or save manually to protect the sketch (MPC3 beta offers autosave but it’s wise to manual-save periodically).
These small choices free up mental bandwidth for creative decisions, which is the whole point of an MPC One House Music sketch session.
Building the drum kit: samples and contrast
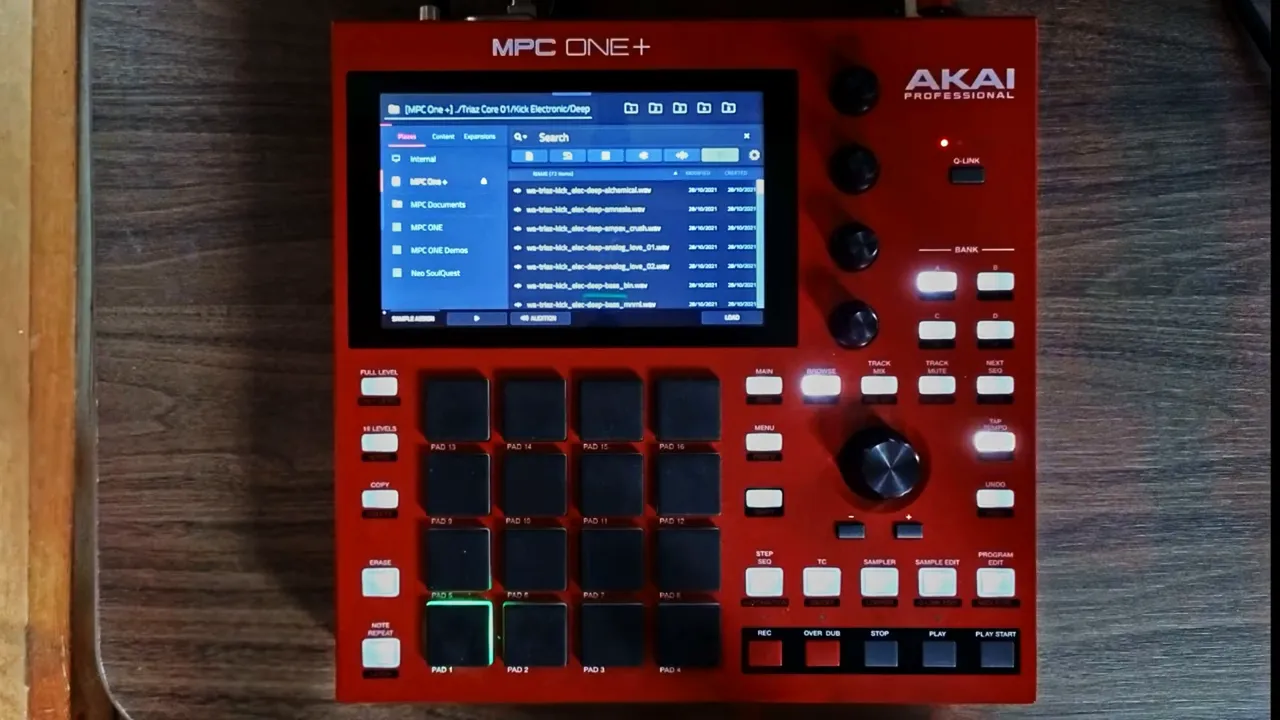
The heart of any house track is the drums. Danny’s approach prioritises contrast and character rather than perfect matching. He selects two distinct kicks from a sample pack (Wave Alchemy Triads used as a reproducible reference) to create a dynamic low-end interplay: a punchy kick and a lower, looser “flabby” kick for contrast. Instead of blending kicks into one sound, the juxtaposition of two different kick timbres can create a rhythmic push-pull which is very effective in house.
Practical steps taken during the session include:
- Browse sample library from USB and audition kicks quickly to find one punchy and one deeper option.
- Set pad to Full Level when loading kick samples, removing velocity as a variable during the sketch.
- Position claps and snares with deliberate contrast (a wide, flabby clap and a short, rim-shot-like snare) to create call-and-response textures.
- Use a closed hat and an open hat selected from the vintage category to get a tight, slightly reverberant hat and a short, tight open hat for groove.
- Layer tambourine or shaker to double the open hat and add movement across the groove.
Choosing contrasts — tight vs flabby, short vs long, punchy vs loose — injects energy and character without detailed processing. For rapid sketching, these sonic contrasts are often more effective than trying to perfect a single, polished drum sound.
Why use two kicks?
Using two kicks in a house sketch is intentional. The punchy kick delivers the attack and transient information needed to cut through club speakers; the deeper kick adds weight and sustain in the low end. This technique also gives the producer creative options for arrangement: the second kick can be used in intro sections or dropped when the bassline arrives to avoid frequency masking. In short, two kicks provide both options and variety in the arrangement phase.
Groove: swing, quantise and feel
A crucial step in the MPC One House Music sketch is setting the global timing correction (time correction). Danny demonstrates switching everything to a swung grid so all recorded events lock to the same swing amount. This is a simple but transformative choice: swing affects the entire feel of the sketch and is a defining characteristic of many house and garage grooves.
Key points about timing choices:
WEBSITE RESOURCES FOR MUSICIANS
- Time correction on the MPC can be set globally so all pads and subsequent recordings follow the same swing.
- Playing with humanised timing and overdubbing while time correction is enabled creates a pushed/pulled feel while maintaining rhythmic cohesion.
- Use overdub to add elements without wiping earlier parts — great for layering percussion and rhythmic decoration.
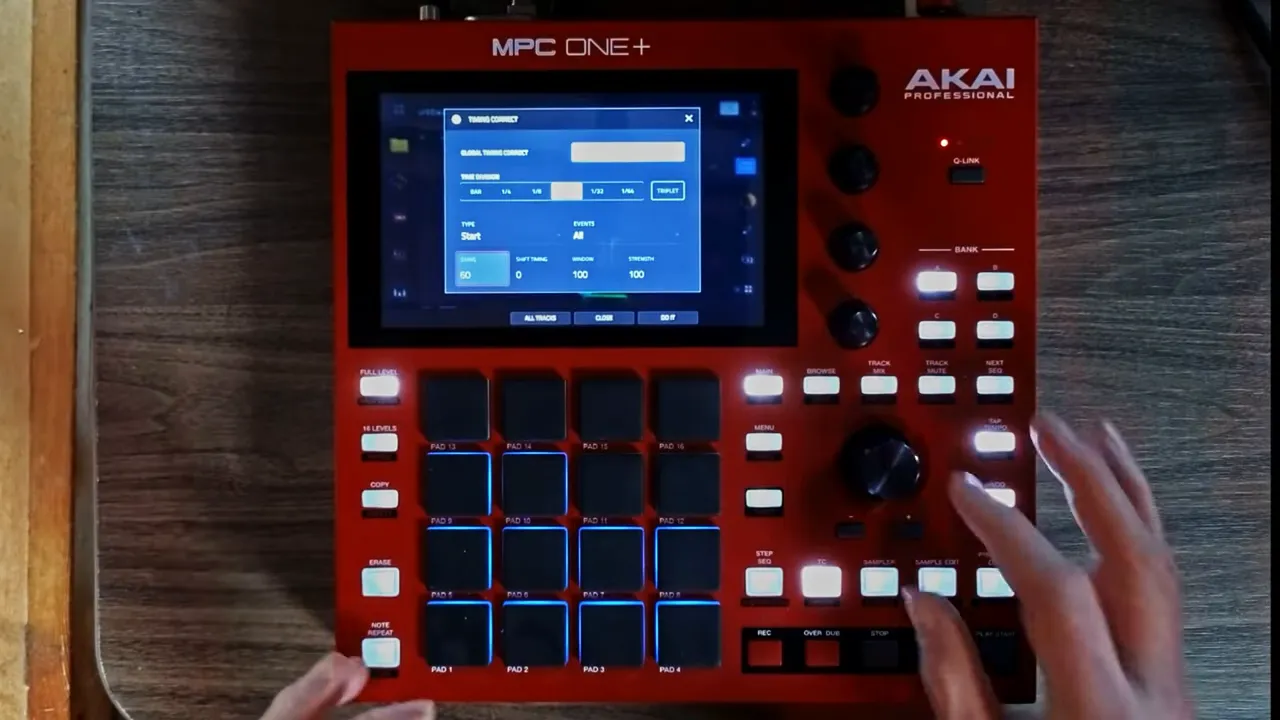
For producers transitioning from other platforms, treat the swing as a conscious macro decision, not a tweak. Set it early and record with it engaged so momentum and groove remain consistent.
Mute groups and one-shots: keeping parts tidy
When layering chord stabs or vocal chops, stale overlap can create a muddy mix and mask rhythmic clarity. Danny uses mute groups to ensure certain pads choke (mute) each other — the MPC equates to choke or mute groups in DAWs. He assigns short chord hits to the same mute group so only one chord plays at a time. The result is crispness and rhythmic control.
Practically, this workflow includes:
- Double-tap a sample to access global pad settings and set the sample to a one-shot or live mode as required.
- Assign related pads to the same mute group number so triggering any pad will silence the others in the same group.
- Use mute groups for vocal chops to create that Todd Edwards-style gating or for percussive chord stabs to ensure clean rhythmic displacement.
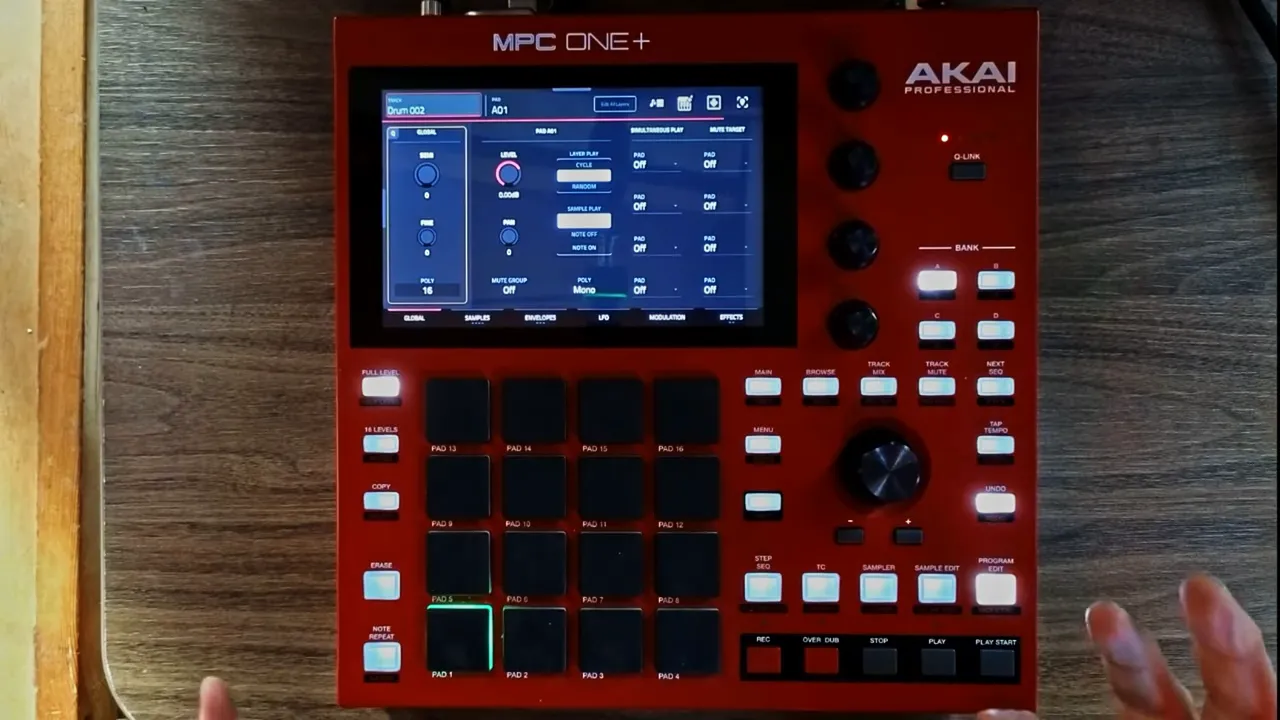
Mute groups are a fast way to achieve musical patterns that sound produced and intentional even without deep editing. They’re essential when working fast on the MPC One House Music sketch because they let the producer shape the performance on-the-fly.
Choosing melodic elements: keys, bass and plugs
Once the drums are locked in, the next step is to add musical elements. Danny searches for chord stabs in the factory/content library, then introduces a Mini Moog-style bass using the Mini D plug-in. The Mini D provides a thick analogue-style low end when lowered an octave or two and placed in chromatic mode. The bass provides the harmonic centre and the foundation for arrangement decisions.
Practical notes on bass and melodic parts:
- Choose a bass patch that supports the groove — a soft, round Mini-style patch is a classic house choice.
- Lower the keyboard zone by an octave or two and switch to chromatic mapping for pad playability.
- Listen for clashes between the second kick and bass notes; choose to edit either the bass note or the kick placement to prevent frequency collisions.
- Consider using frequency-dependent ducking (sidechain EQ techniques or dynamic EQs like Trackspacer) to allow two powerful low-end elements to coexist.
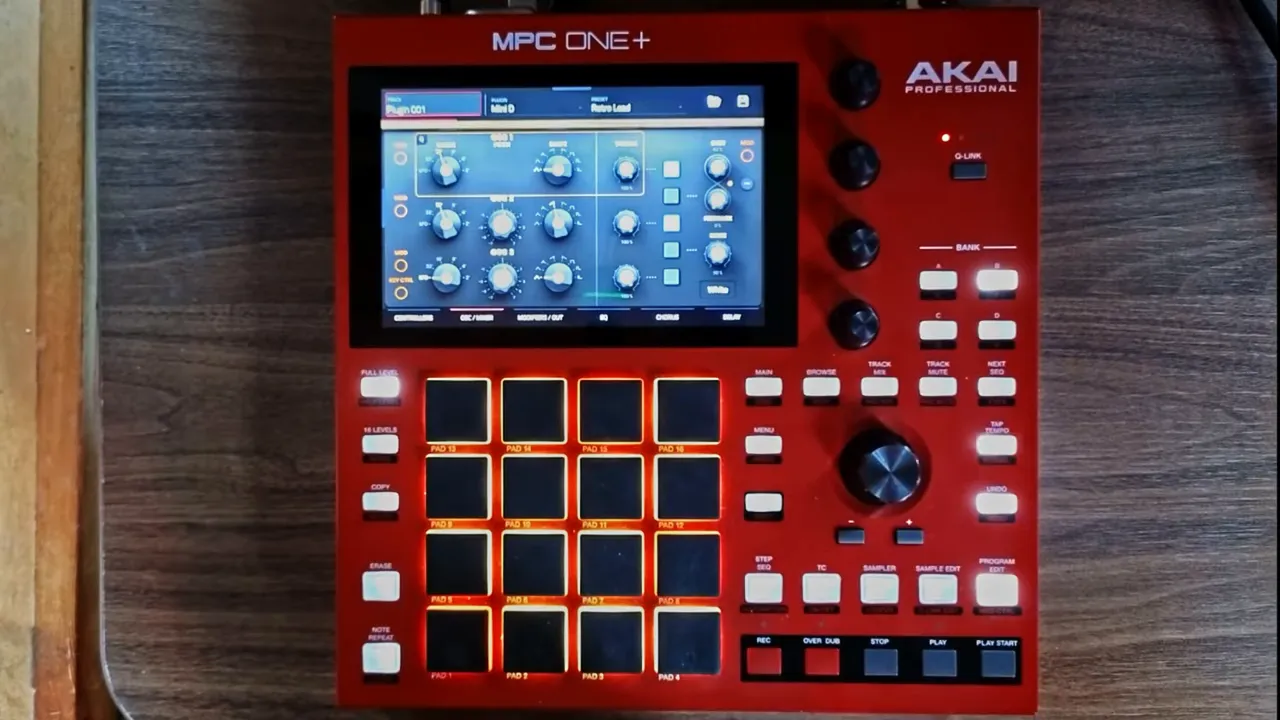
During the sketch, Danny notices a clash between the second kick and a bass note. He experiments by removing the bass note at a specific point to see how the groove breathes. This is a good example of why sketching is about decisions: sometimes removing a note creates space and focus.
Decision-making: remove elements or make space?
When two elements fight, there are always three choices:
- Remove one of the elements in that section (e.g., remove the second kick when bass arrives).
- Create space with EQ or dynamic processing (notch EQ, dynamic EQ or sidechain ducking).
- Re-program the notes so their spectral content doesn’t coincide (retune one element or shift timing slightly).
Danny chooses to keep the second kick for the intro and remove or duck it when the bass comes in — a pragmatic choice that preserves both energy in the intro and clarity in the main loop.
Vocals and chops: quick ideas for character
Vocal chops are a hallmark of many house and garage tracks. During the sketch, Danny loads vocal samples from the factory library and assigns them to the same mute group. This automatically creates choppy vocal patterns without manual slicing. He points out that some of the factory vocal samples are coincidentally in key with the chords, which is part of the luck that occasionally happens during fast sketching.
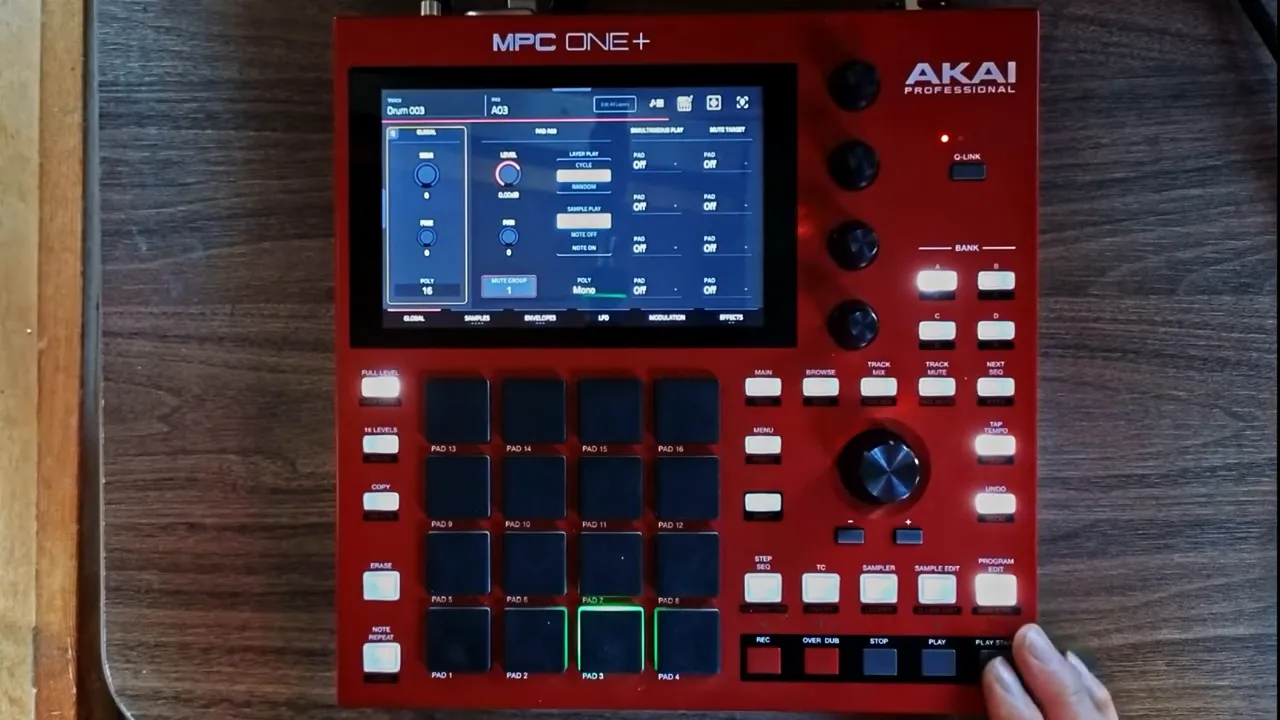
Assigning vocal chops to a mute group allows a single pad to jump between different vocal syllables without overlap, creating an immediate, rhythmic vocal instrument. For MPC One House Music sketches, this is a fast way to add human character to a loop.
Adding textures: synth brass and tension strings
Small textural elements can make a basic loop feel cinematic. Danny experiments with synth brass and tension strings (Selena string plugin). He layers these high-register elements carefully so they don’t muddy the groove. Often, these parts are used sparingly — a stab here, a long-high suspended string there — to add contrast and build moments of tension.
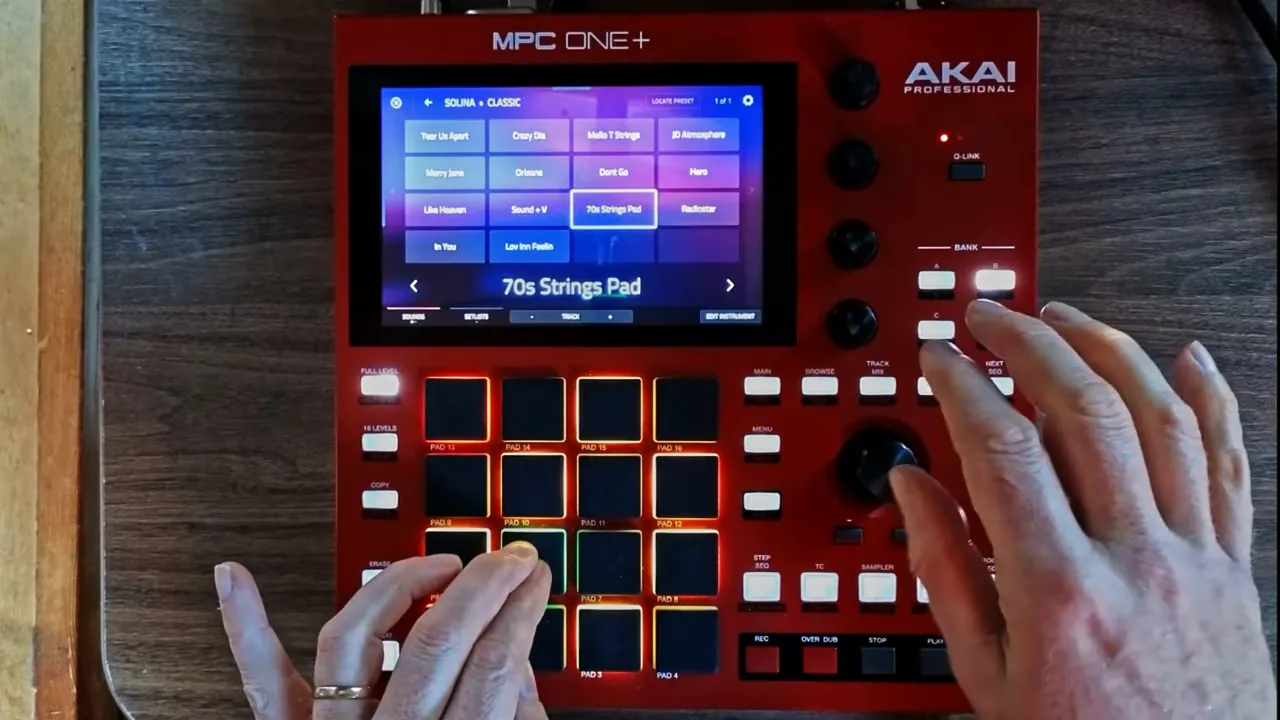
When adding textures in a sketch, keep levels conservative. These parts should support the groove, not compete with it. If the texture wants to be present but not intrusive, consider bussing it and adding gentle reverb or filtering to sit it in the mix.
Mini mixing inside the MPC: quick levels and flavor
Although the MPC One is primarily a sketching tool in this process, it still packs several mixing and coloration tools. Danny briefly demonstrates quick level balancing and introduces a favorite creative plugin called Flavor Pro. Flavor Pro emulates the character of classic samplers and devices (SP-1200, EMU, VHS-style saturation), letting the producer dial in tonal colour quickly.
Key mixing options on the MPC One include:
- Per-pad and per-track volume & pan controls for quick balancing.
- Insert effects such as EQ, compression, reverb, and delay on individual tracks.
- Creative processors like Flavor Pro for adding analogue/tape/bit-reduction personality.
For a house sketch, it’s often sufficient to do broad strokes of mix: rough levels, a touch of compression on the drum bus, and a pinch of saturation to glue elements. Final mix tasks are better left for the DAW after exporting stems, but the MPC’s built-in tools can get a sketch sounding convincing for playback and inspiration.
Preparing for export: explode tracks and separate outputs
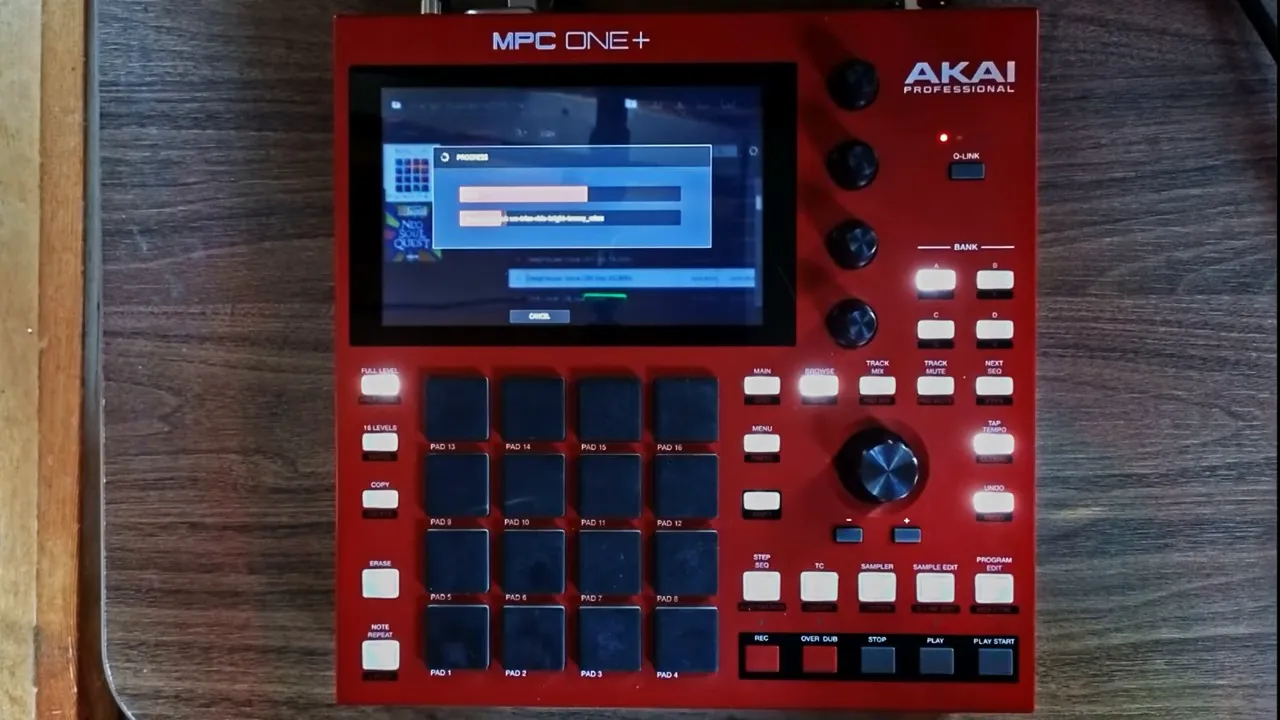
A crucial step for hybrid workflows is exporting discrete audio files. By default, multiple drum pads may be routed to a single drum bus output. To finish the track in a DAW while retaining mix flexibility, Danny uses the “explode track” feature to assign each pad to its own stereo output and then exports “all tracks” to a USB drive with an audio tail appended.
Why this matters:
- Exploding tracks ensures that every individual element — each kick, clap, hat, vocal chop and synth — becomes its own audio file. This preserves editing freedom in the DAW.
- Appending an audio tail protects against accidental truncation of reverb tails, delays, or other decays.
- Exporting with effects on or off is a conscious choice: keep effects if they are part of the character you want to preserve; remove them if you prefer to reprocess in the DAW.
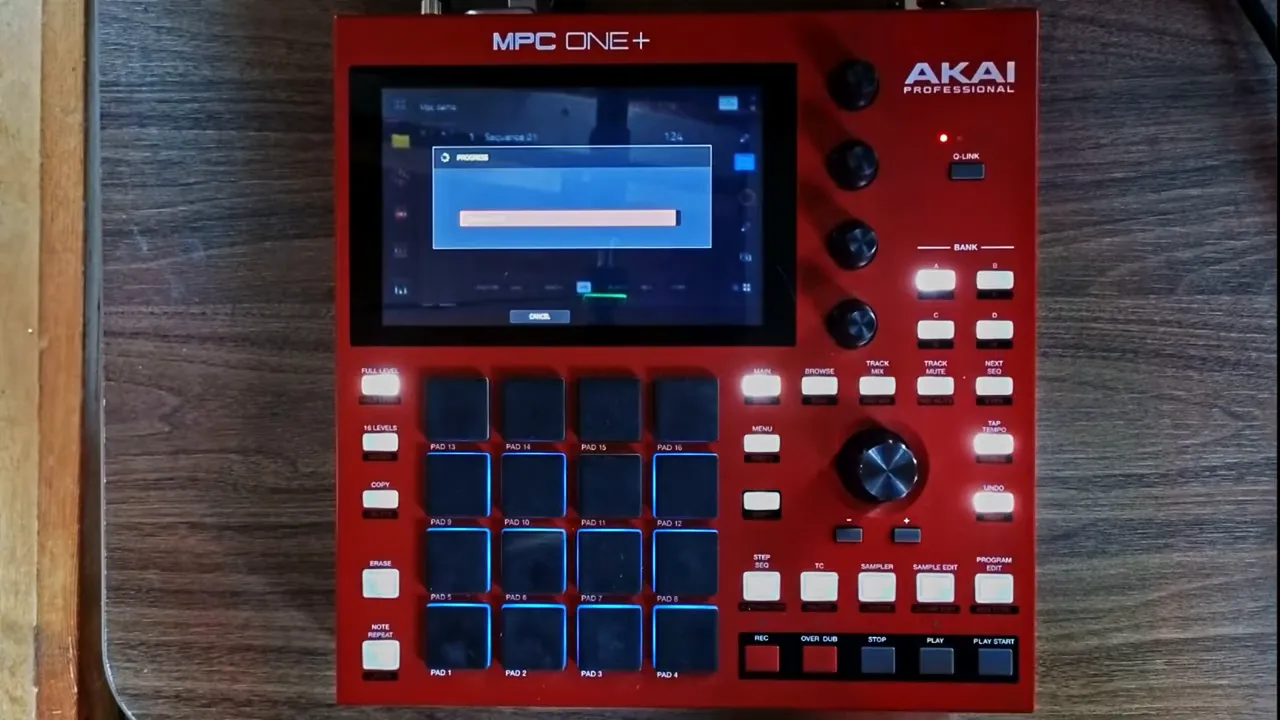
Danny demonstrates saving the project and letting the MPC render each track as an audio file into a folder on the USB drive. This mechanism is the backbone of the MPC One House Music hybrid approach: create confidently on hardware, then finish in the DAW.
Hybrid workflow: finishing the idea in Ableton Live
After exporting, the logical next step is to import the stems into a DAW for arrangement, deeper editing, sound design and final mixing. Danny mentions Ableton Live as his DAW of choice for arrangement and additional processing. Once the audio files are imported, producers can:
- Arrange the stems into an intro, main loop, breakdown and outro.
- Automate mute/unmute and EQing to create interest and avoid clashes (e.g., remove second kick when bass enters).
- Add advanced processing like multiband compression, linear-phase EQ, and precise sidechain ducking to ensure clarity.
- Bring in additional virtual instruments or sample libraries (Native Instruments Complete bundle, Kontakt patches, or external synths) to expand the arrangement.
This hybrid method — sketch on MPC One, finish in Ableton Live — combines the best of tactile hardware creativity with the precision and arrangement flexibility of a DAW. For MPC One House Music sketches, it offers an efficient and scalable production path.
Tips, tricks and production rationale
Danny’s session contains compact but valuable production insights. Below is a refined set of tips drawn from the sketch, useful for anyone attempting an MPC One House Music workflow:
- Set swing/timing early and commit. It will guide the groove and reduce second-guessing.
- Work in contrasts (tight vs loose, short vs long, bright vs warm) to create interest without complex processing.
- Use mute groups for chords and vocals to avoid overlap and keep rhythmic clarity.
- If two elements collide in frequency, consider temporarily removing one for that section rather than endless EQ fights.
- Use Full Level for drum pads during selection to avoid picking samples based on pad velocity differences.
- Save often, and use autosave as an extra safeguard when using beta firmware.
- Explode tracks before exporting to ensure discrete stems for the DAW session.
- Use creative coloration (Flavor Pro, saturation) to give classic hardware warmth; license handling often includes DAW plugin instantiation when purchased on hardware.
Common pitfalls and how to avoid them
The sketching process is vulnerable to a handful of predictable issues. Here are problems that arise frequently and straightforward fixes demonstrated in the MPC One House Music session:
- Problem: Frequency masking between the kick and bass. Fix: Remove the overlapping kick in the bass section or use dynamic EQ/sidechain to carve space.
- Problem: Chords overlapping into a wash. Fix: Assign chords to mute groups so only one plays at a time.
- Problem: Losing sketch due to beta firmware bugs. Fix: Save the project frequently and use manual saving alongside any autosave features.
- Problem: Over-produced sketch that loses spontaneity. Fix: Keep mixing light during sketching; finalise mix in the DAW.
Screenshot gallery: moments to capture while sketching
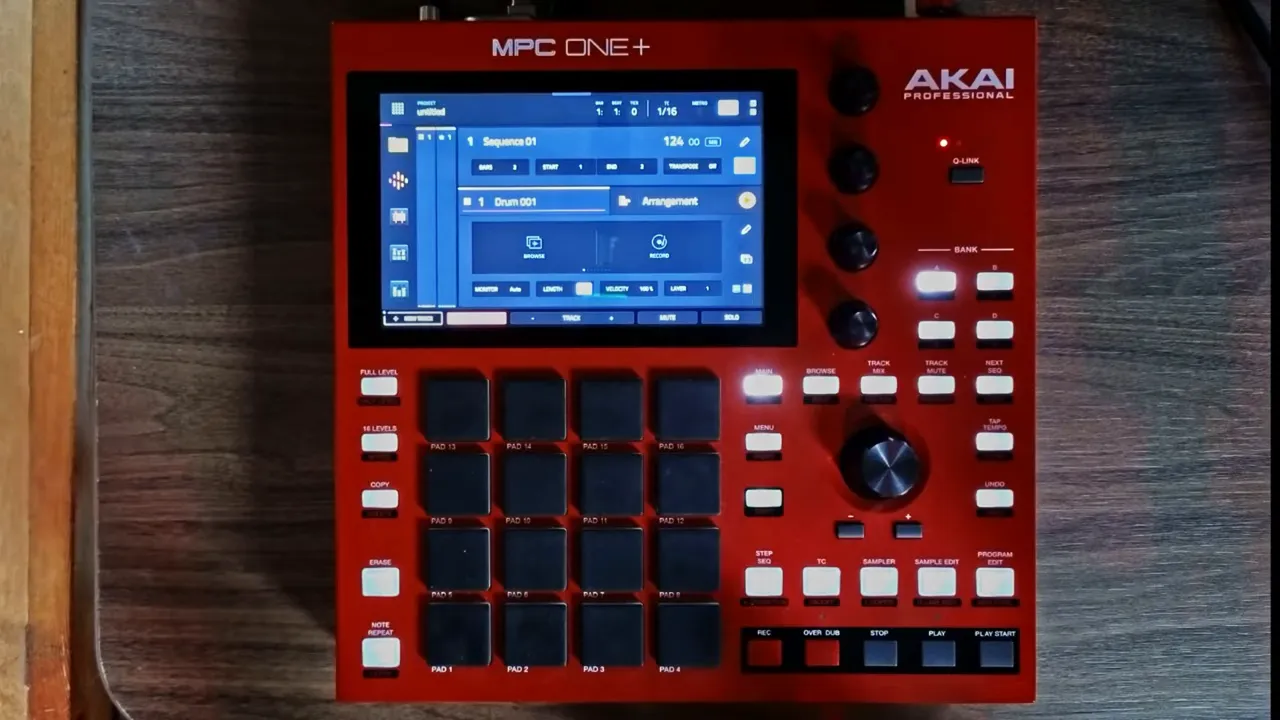
These screenshots illustrate key points from the sketch and offer visual reference when attempting the same workflow:
Resources and links
For readers who want to dive deeper into production techniques, sample packs, and plugin reviews related to this workflow, the following pages are recommended:
- Curated videos and articles on beatmaking:
How To Make Beats Blog | Tutorials, Tips & Tools for Music Producers
- Ramzoid 808 Cooker plugin review:
https://howtomakebeatsblog.com/ramzoid-808-cooker-plugin-review/
- Business case study on Cymatics:
https://howtomakebeatsblog.com/how-cymatic-made-364000-last-month-being-full-time-producers/
- Vocal effect tutorial inspired by Trippie Redd style production:
https://howtomakebeatsblog.com/trippie-redd-vocal-effect-tutorial/
FAQ
What is the fastest way to sketch house ideas on the MPC One?
The fastest way is to commit to a groove early: set swing/time-correction at the start, pick contrasting drum samples quickly (e.g., a punchy kick and a fuller low kick), use mute groups for chords and vocal chops, record using overdub to layer percussion, and keep mixing to a minimum. Export stems for finer mixing and arrangement in a DAW later. This preserves the energy of the sketch while enabling detailed finishing work off the MPC.
Why use mute groups instead of editing envelopes for each sample?
Mute groups (choke groups) are faster and more musically effective for rhythmic instruments and vocal chops because they automatically prevent overlapping notes, creating rhythmic clarity without extra editing. For quick sketching on the MPC One House Music workflow, mute groups let the producer move fast and avoid muddiness caused by overlapping samples.
Should I export effects with the stems when moving to a DAW?
It depends on the role of the effects. If an effect is a defining character (e.g., a specific reverb/tape flavour from Flavor Pro that you want preserved), export it with the stem. If you want maximal flexibility for mixing and processing in the DAW, export dry stems and reapply or adjust effects later. During a sketch, exporting with the effect can keep the mojo intact; during final production, dry stems typically offer better control.
How do you avoid frequency clashes between kick and bass?
There are several strategies: Remove or mute one element where the other plays (arrangement-based fix); use an EQ to carve out space for each (e.g., carve a narrow dip at the bass fundamental in the kick or vice versa); use sidechain compression or dynamic EQ to duck a narrow frequency range when the bass plays; or select complementary kick and bass sounds during sound design to avoid spectral overlap. Danny demonstrates the arrangement option — keeping the extra kick for intro and muting it when the bass enters.
What are the benefits of exploding tracks before export?
Exploding tracks routes individual pads and samples to separate stereo outputs, creating discrete audio stems. This is invaluable for mixing and arrangement in a DAW because it preserves per-element control (volume, panning, processing) and avoids the limitations of a summed drum bus. Exploding tracks ensures each kick, clap, hat, vocal chop and synth gets its own audio file for full post-export flexibility.
Can I finish the entire production on the MPC One without a DAW?
Yes, the MPC One has a capable suite of mixing tools — EQs, dynamics, delays, reverbs and creative processors like Flavor Pro. It’s possible to finish an entire track on the hardware. However, many producers prefer the DAW for arrangement, automation precision, plugin variety and mastering workflows. The MPC One House Music sketch is therefore typically used as the creative and performance-driven first stage, with finalisation in a DAW for ergonomics and detailed processing.
Conclusion
The MPC One House Music sketch approach showcased here captures the spirit of hands-on, tactile music production: rapid sample selection, decision-led arrangement, and efficient export for finishing in a DAW. Danny’s session illustrates how to prioritise momentum, use mute groups and swing to shape groove, and think in contrasts to build interest quickly.
Key takeaways for producers:
- Commit to a groove and set swing early.
- Choose contrasting drum samples to create character without long processing sessions.
- Use mute groups for rhythmically clean chord and vocal chops.
- Explode tracks and export stems to preserve flexibility in the DAW.
- Use the MPC’s mixing tools sparingly for vibe and character, and finish the final mix in the DAW.
The MPC One is a powerful sketching tool for house music ideas. When combined with a hybrid workflow and decisive musical choices, producers can create sketches that translate into finished tracks with minimal friction. The lesson is simple: get ideas down quickly, keep the creative momentum, and use the DAW for the refinement and polish that follow.

