!Let Us HELP YOU!
We have a lot of curated content on this blog.
Take this simple 20 second Quiz to Help You
Find The Exact Content You Are Looking For!
In Logic Pro software samples can enhance your music making journey by enabling you to craft sounds and melodies.Our detailed walkthrough covers a range of sampling methods tailored for individuals to music production well as those, with more experience and expertise bolsterin your ability to express your artistic flair with confidence.
Table of Contents
- Step 1: Understanding the Basics of Sampling
- Step 2: Preparing Your Workspace
- Step 3: Importing Your First Sample
- Step 4: Aligning Samples with Project Tempo
- Step 5: Cutting and Arranging Audio Segments
- Step 6: Using the Slip Tool for Precision
- Step 7: Applying Crossfades for Smoother Edits
- Step 8: Transitioning to Intermediate Sampling Techniques
- Step 9: Utilizing the Quick Sampler
- Step 10: Drawing MIDI Patterns from Samples
- Step 11: Enhancing Samples with Velocity Control
- Step 12: Advanced Sampling Techniques Overview
- Step 13: Creating Unique Sounds from Single Notes
- Step 14: Finalizing Your Sampled Sounds
- Step 15: FAQ on Sampling In Logic Pro
Step 1: Understanding the Basics of Sampling
Music production relies heavily on sampling, a method that enables you to integrate recorded sounds into your music creations whether its, through small audio snippets or full loops included in your compositions grasping the essentials is vital, for making the most of this feature.
Sampling involves taking a portion of audio and incorporating it into a setting to add textures and depths to your music composition Various music genres, like hip hop and electronic music utilize sampling differently to infuse their own individual style into the soundscapes they create.
Step 2: Preparing Your Workspace
Before you start sampling in Logic Pro software program make sure your workspace is organized efficiently as it can really boost your productivity and creative process.
- Open Logic Pro and create a new project.
- Set your project tempo according to the samples you plan to use.
- Organise your tracks: label them clearly to keep track of different samples and sections.
- Import any necessary audio files you may want to sample from.
When you set up your work area properly beforehand it helps you stay fully engaged in the process of experimenting with samples without being sidetracked by any obstacles.
Step 3: Importing Your First Sample
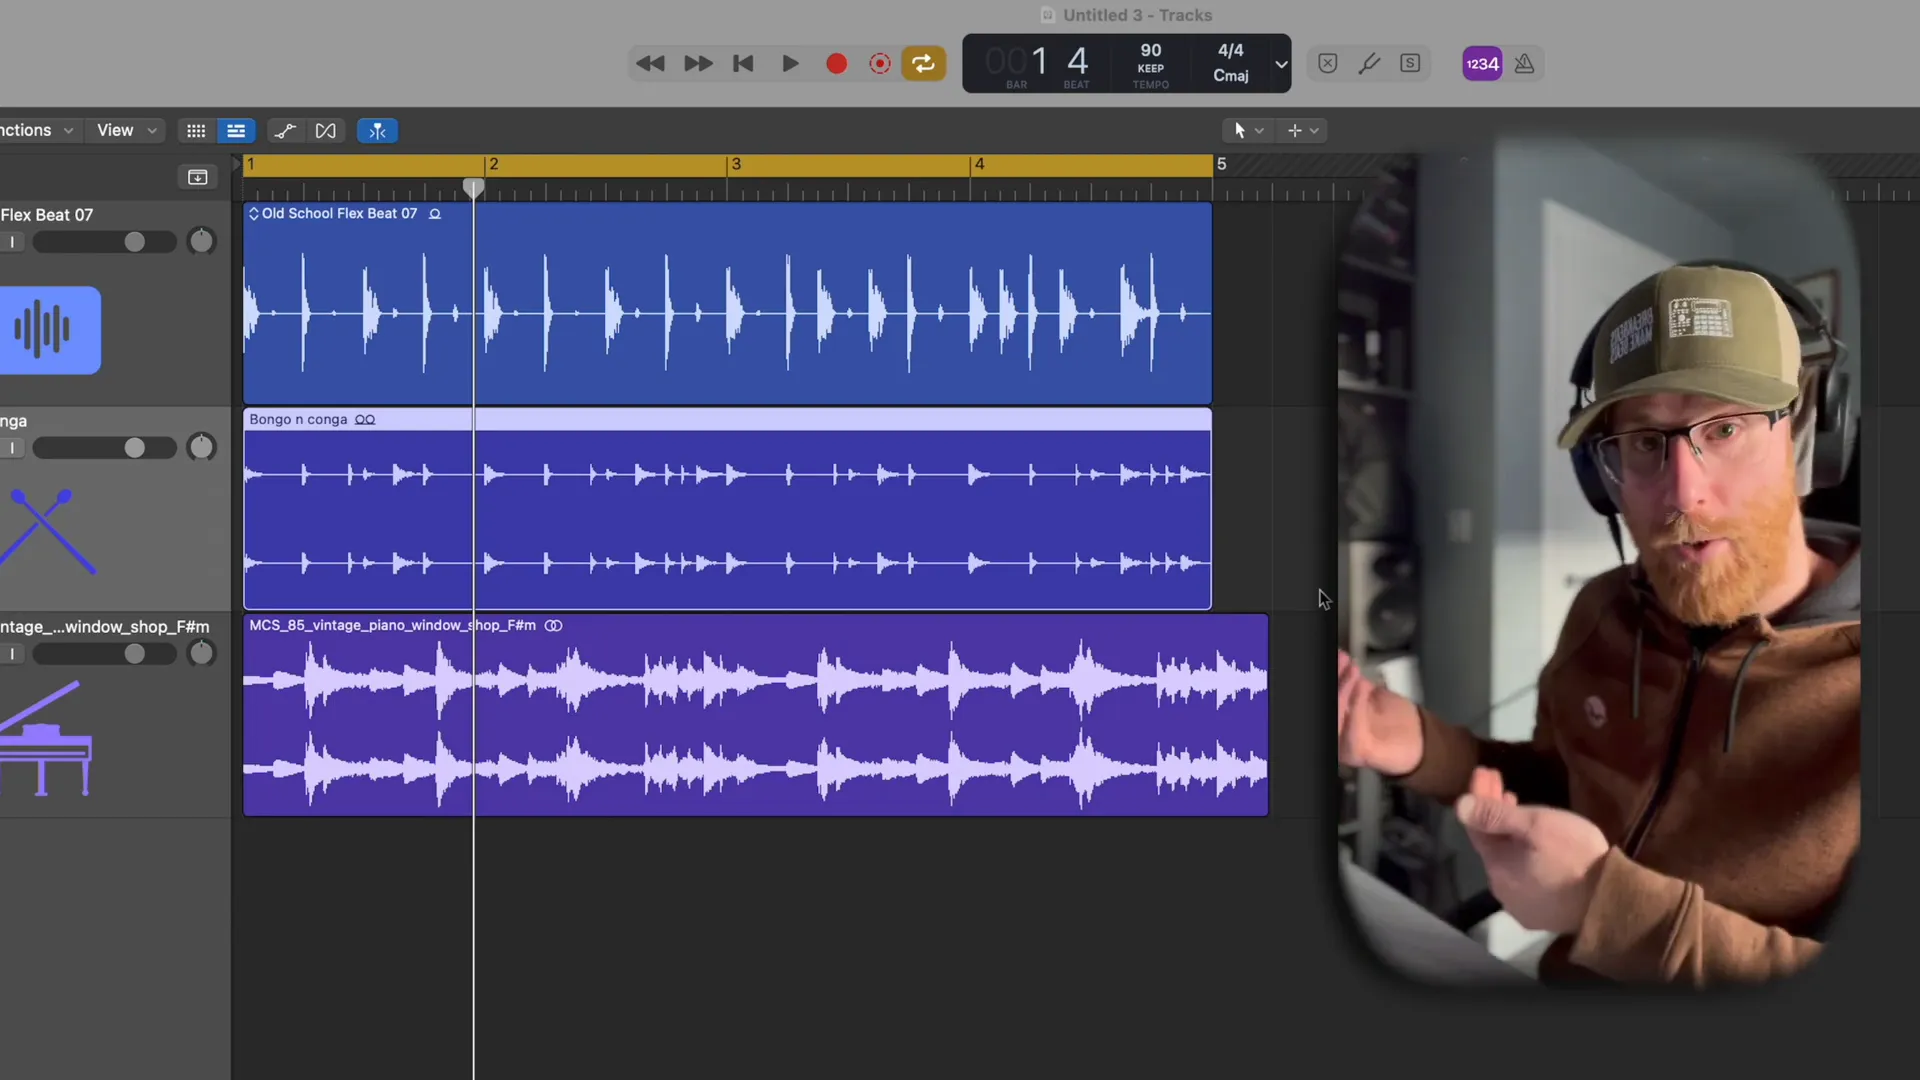
After setting up your workspace efficiently in Logic Pro X software program comes the step of importing your initial sample with ease and simplicity.
- Locate the sample you wish to import on your computer.
- Drag and drop the sample directly into your project timeline.
- Ensure the sample aligns with the project’s tempo and grid settings.
Upon importing the sample into the system take a moment to listen to it in conjunction, with any existing tracks in order to figure out the effective way to incorporate it.
Step 4: Aligning Samples with Project Tempo
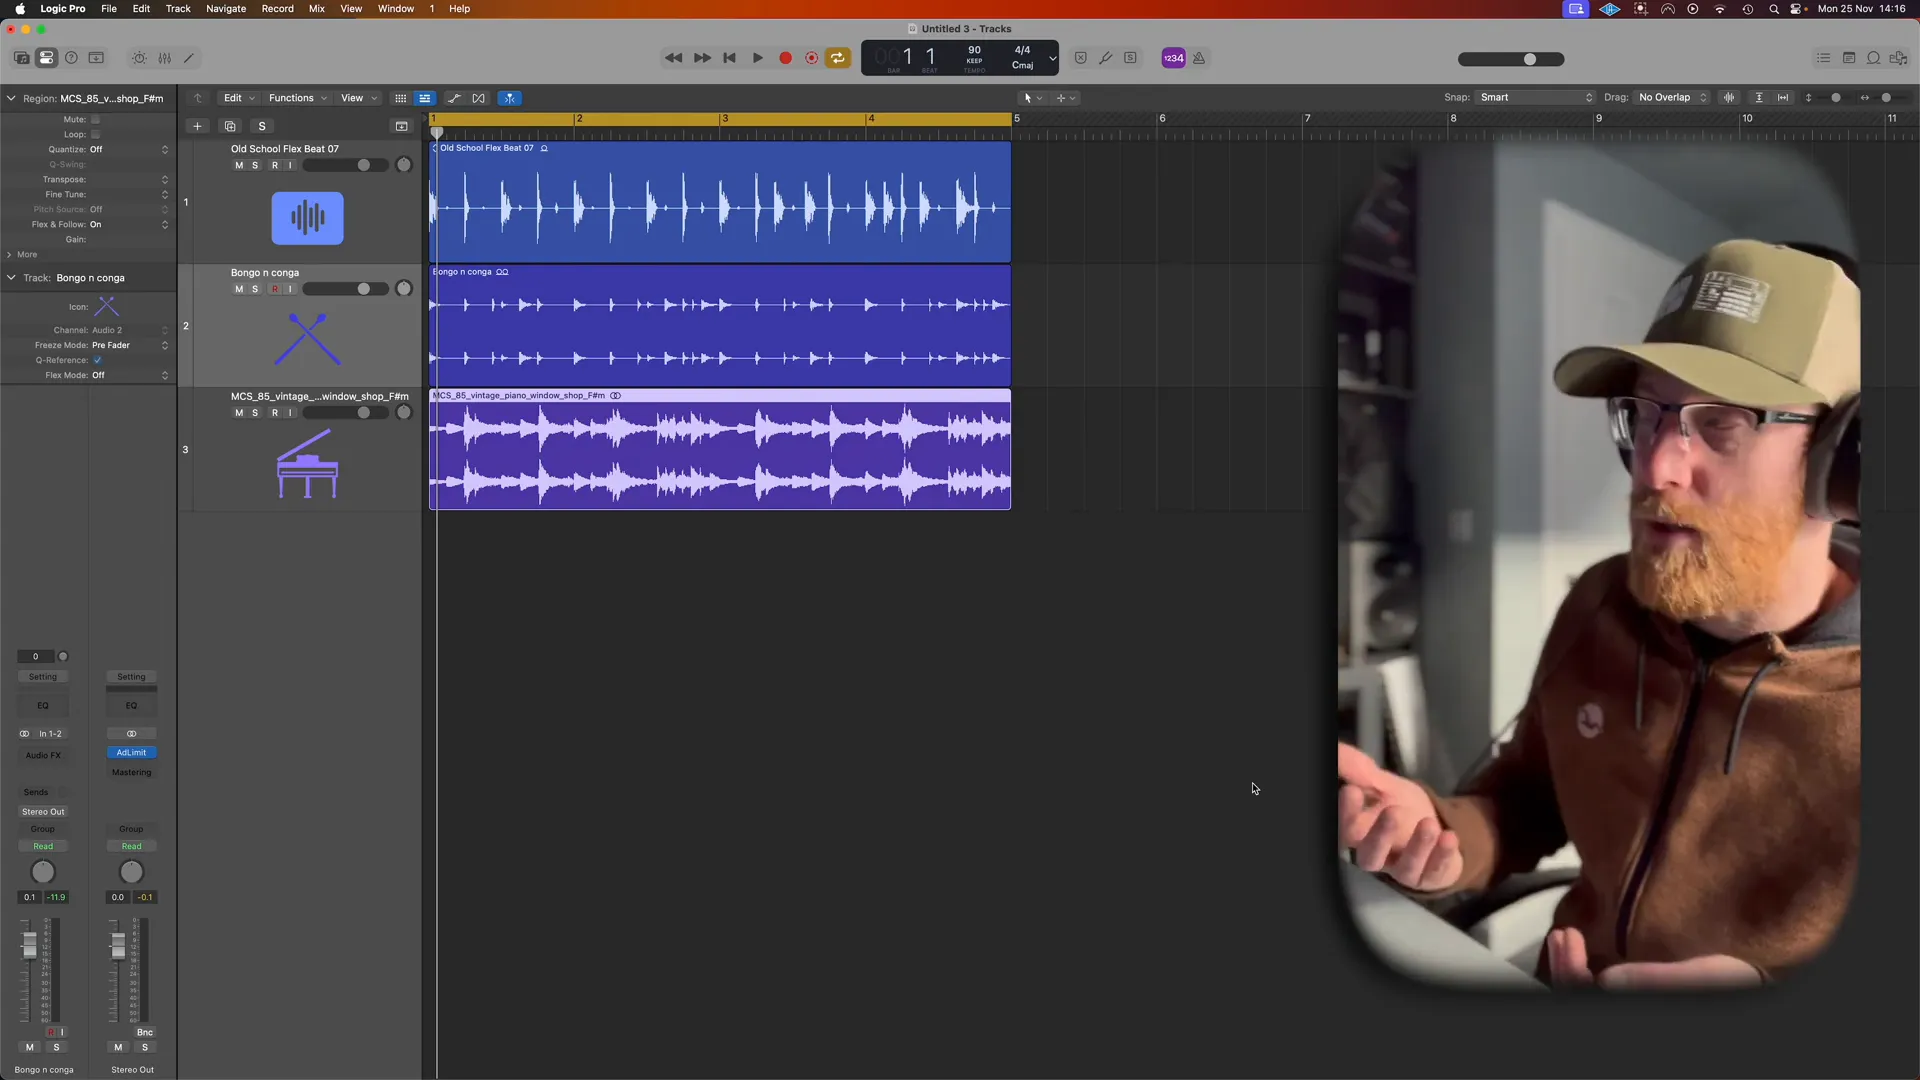
Ensuring that your samples match the tempo of your project is essential, to preserving the flow of your track; using a sample, with a BPM can result in a disjointed sound.
To align samples effectively:
- Right-click on the audio clip and select 'Apply Project Tempo to Region'.
- Alternatively, use the 'Flex Time' feature to stretch or compress the sample to match the project tempo.
- Listen back to ensure that the sample fits well rhythmically with the other elements of your track.
Step 5: Cutting and Arranging Audio Segments
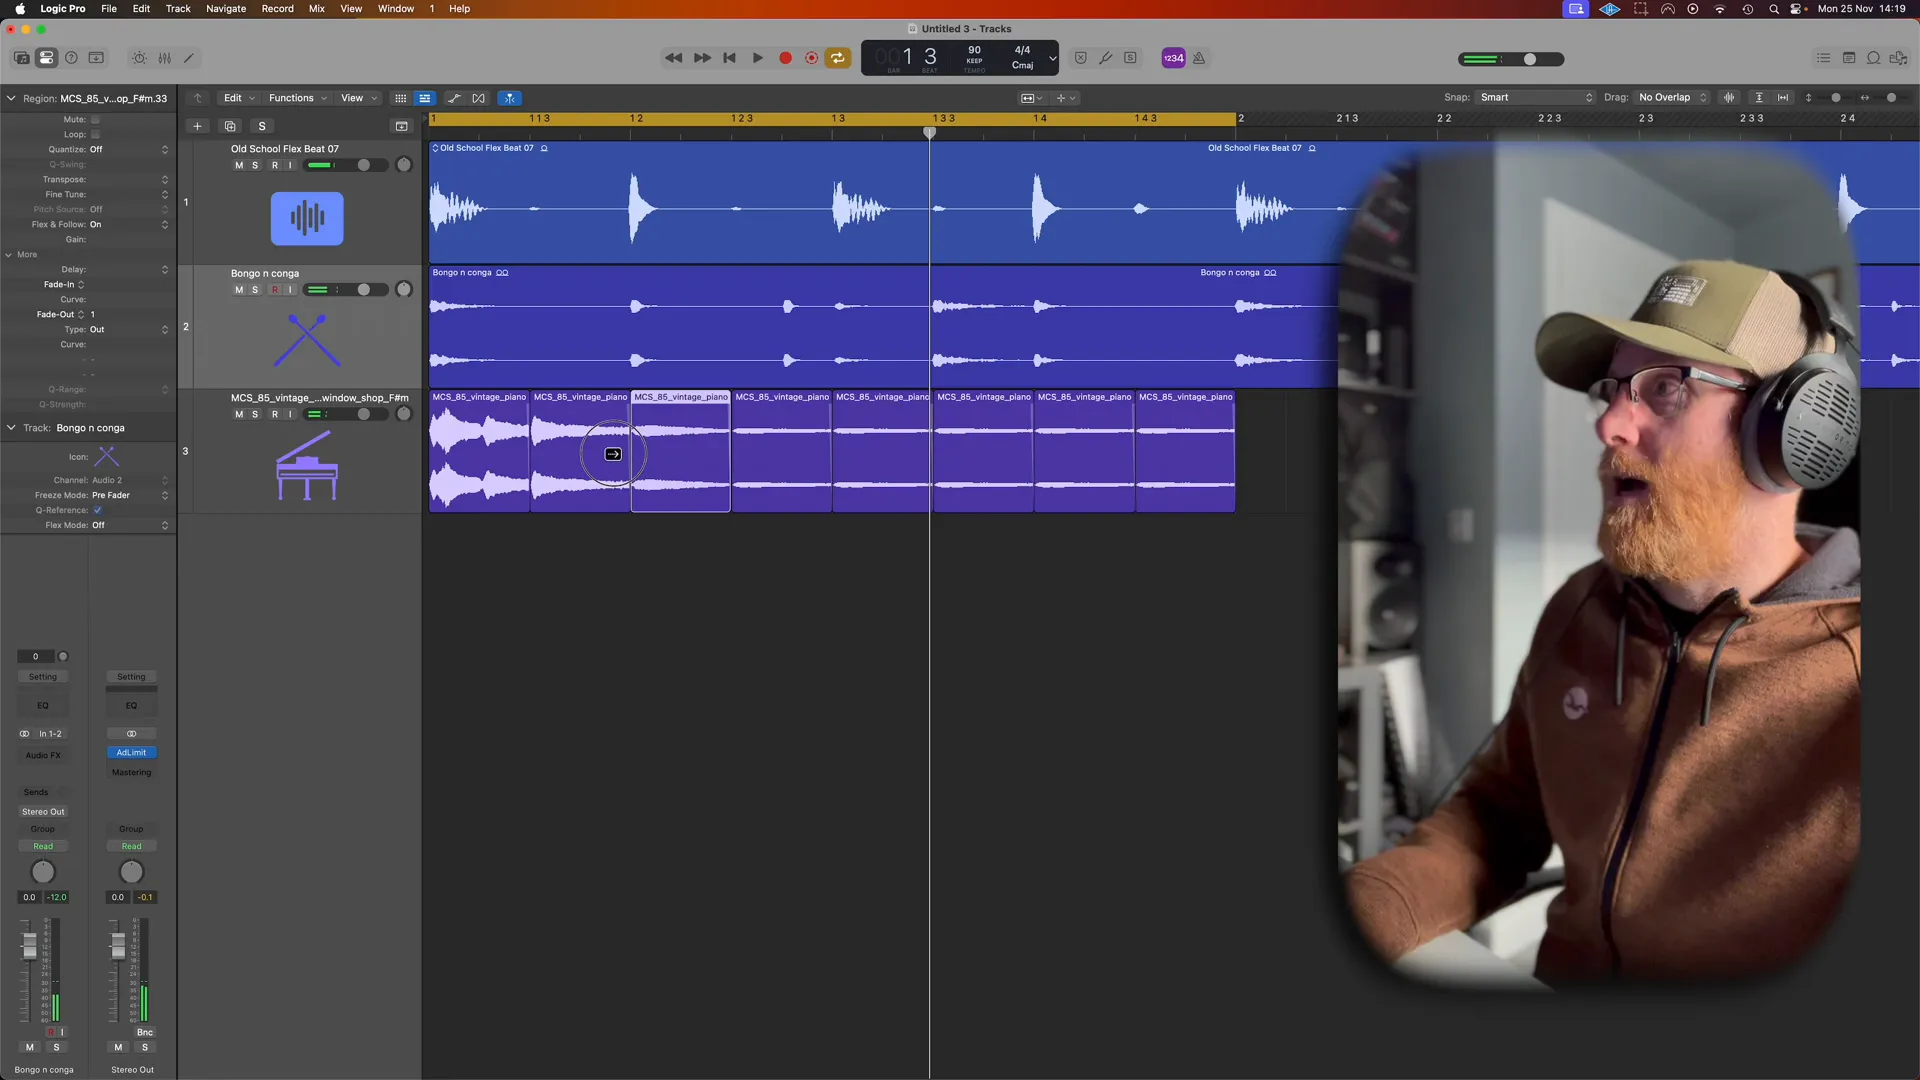
Manipulating and reorganizing clips is the key, to unlocking the creativity, behind sampling music giving you the freedom to craft beats and tunes using pre existing sounds.
- Select the sample in your timeline and use the cutting tool (shortcut 'T') to slice the audio into segments.
- Move these segments around to create new patterns or loops.
- Experiment with different arrangements to discover unique combinations.
Don't forget to apply fades at the start and end of your clips to prevent any clicking or popping sounds in your recordings creating a flow, between different sections.
Step 6: Using the Slip Tool for Precision
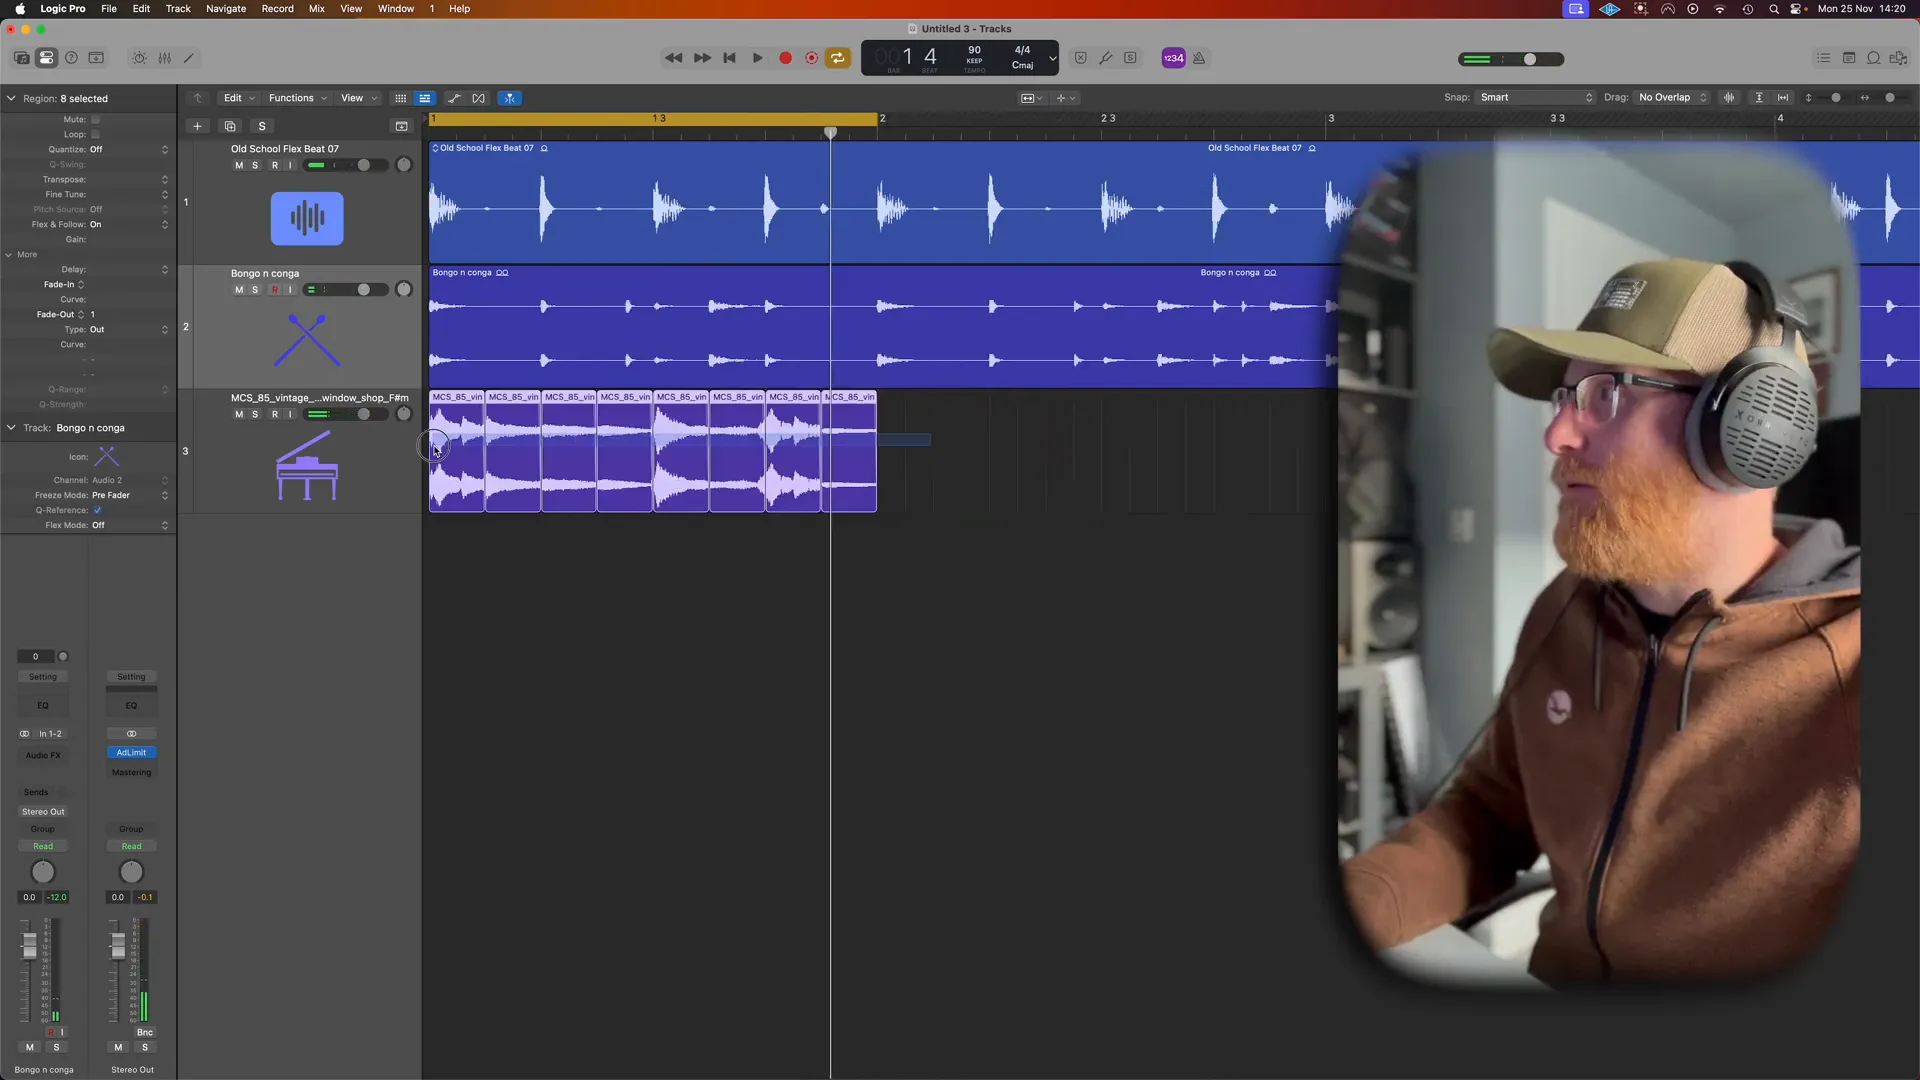
The Slip Tool, in Logic Pro is a function that lets you tweak the timing of your clips without displacing them from their original spot, on the timeline, which can come in handy when you're looking to refine your samples for a more polished sound quality.
WEBSITE RESOURCES FOR MUSICIANS
To use the Slip Tool effectively:
- Select the audio region you wish to adjust.
- Press 'T' to open the Tool menu and select the Slip Tool.
- Click and drag within the audio region to move its content while keeping the region's position intact.
You can mix up sections of your sample to change the rhythm and vibe of your track and make it groove more effectively.
Step 7: Applying Crossfades for Smoother Edits
Using crossfade techniques can greatly enhance the transition, between clips by avoiding sudden cuts or pops that could disrupt the flow of the listening experience.
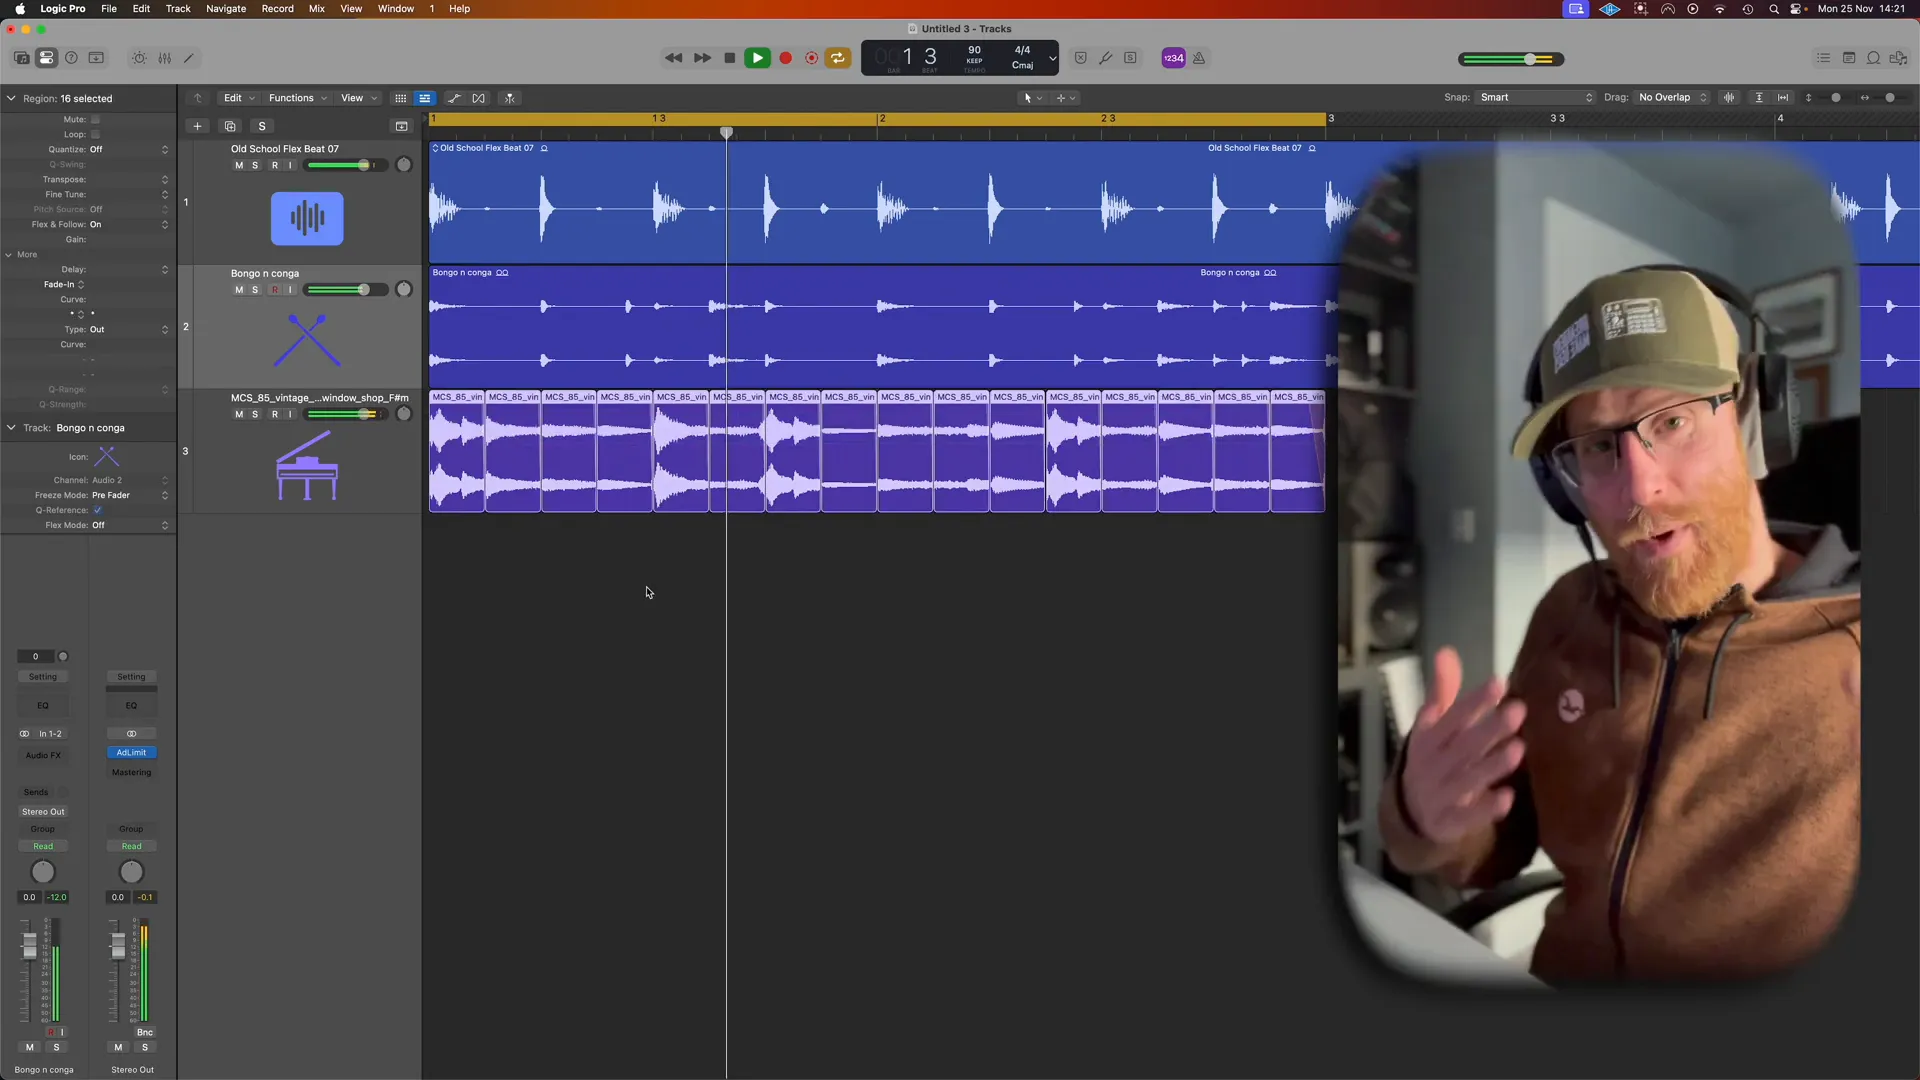
To apply crossfades:
- Overlap two audio regions slightly in the timeline.
- Select the Fade Tool from the Tool menu.
- Click and drag on the overlapping area to create a crossfade.
Try adjusting the duration of the crossfade to discover the blend for your project as seamless transitions can really elevate the rhythm of your track.
Step 8: Transitioning to Intermediate Sampling Techniques
Once you have a grasp of the aspects of sampling techniques and feel at ease, with them on the whole; it's a good idea to delve into more advanced methods that offer enhanced versatility and authority in shaping your audio outputs.Diving into tools, like Quick Sampler and tweaking settings can open up a world of imaginative options for your sounds.
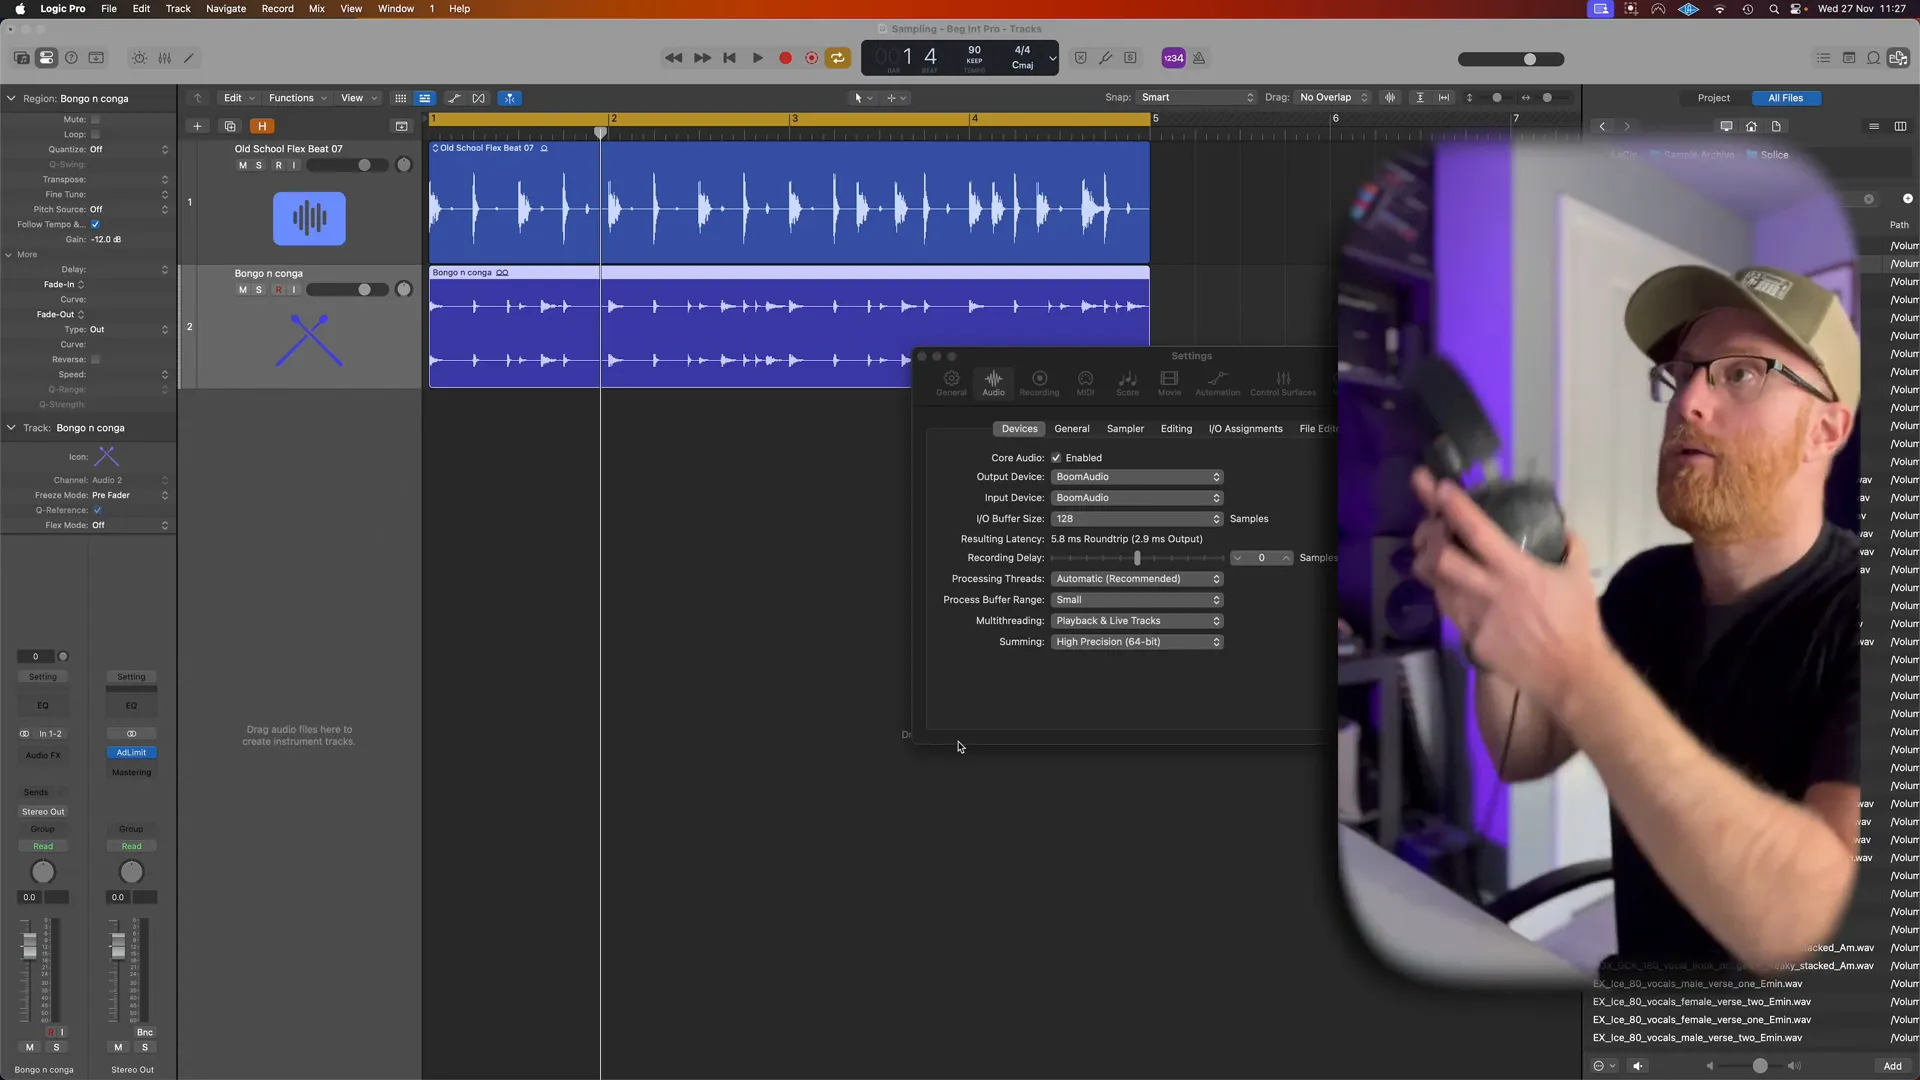
The Quick Sampler makes it simple for you to adjust samples effortlessly and get going smoothly.
- Drag your chosen sample into the Quick Sampler.
- Use the sensitivity control to determine how the sample is chopped.
- Adjust the pitch and tempo settings to match your project.
By following this approach you can use samples to MIDI instruments to create varied arrangements and performances.
Step 9: Utilizing the Quick Sampler
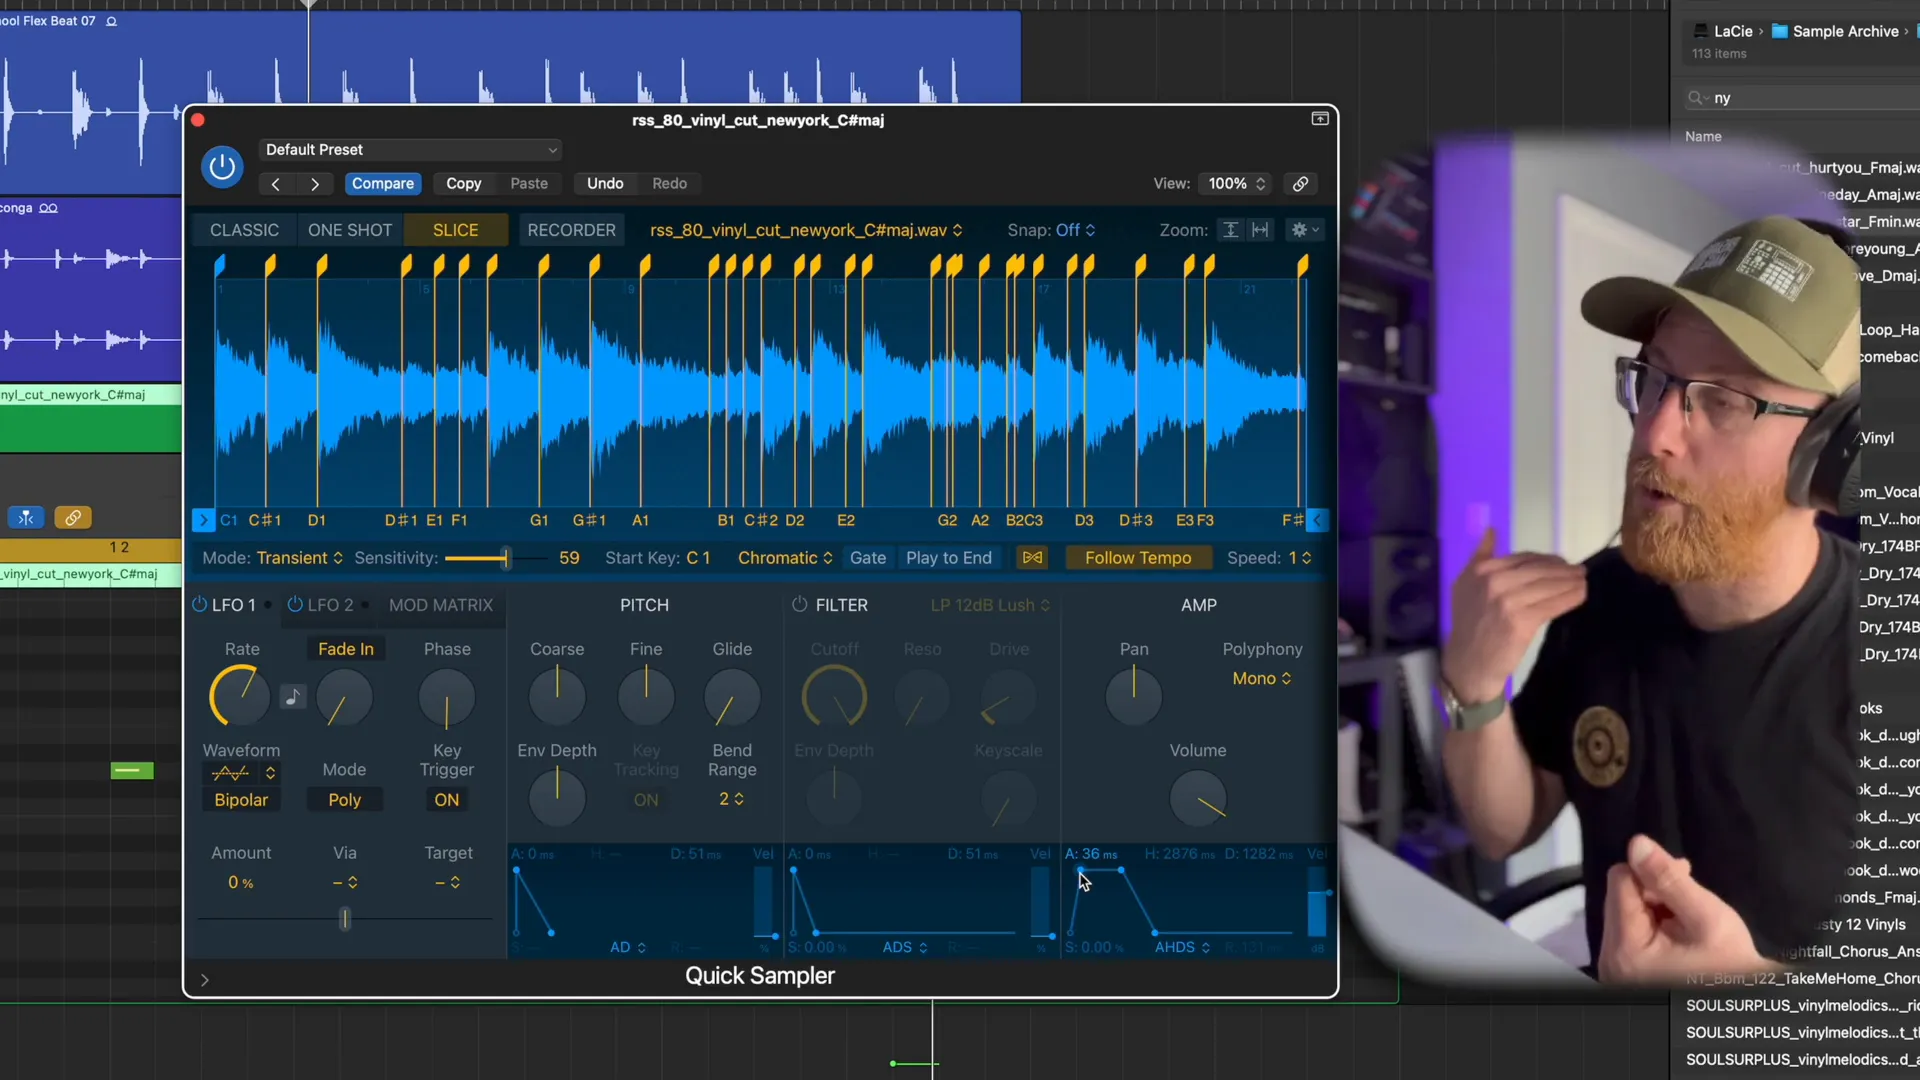
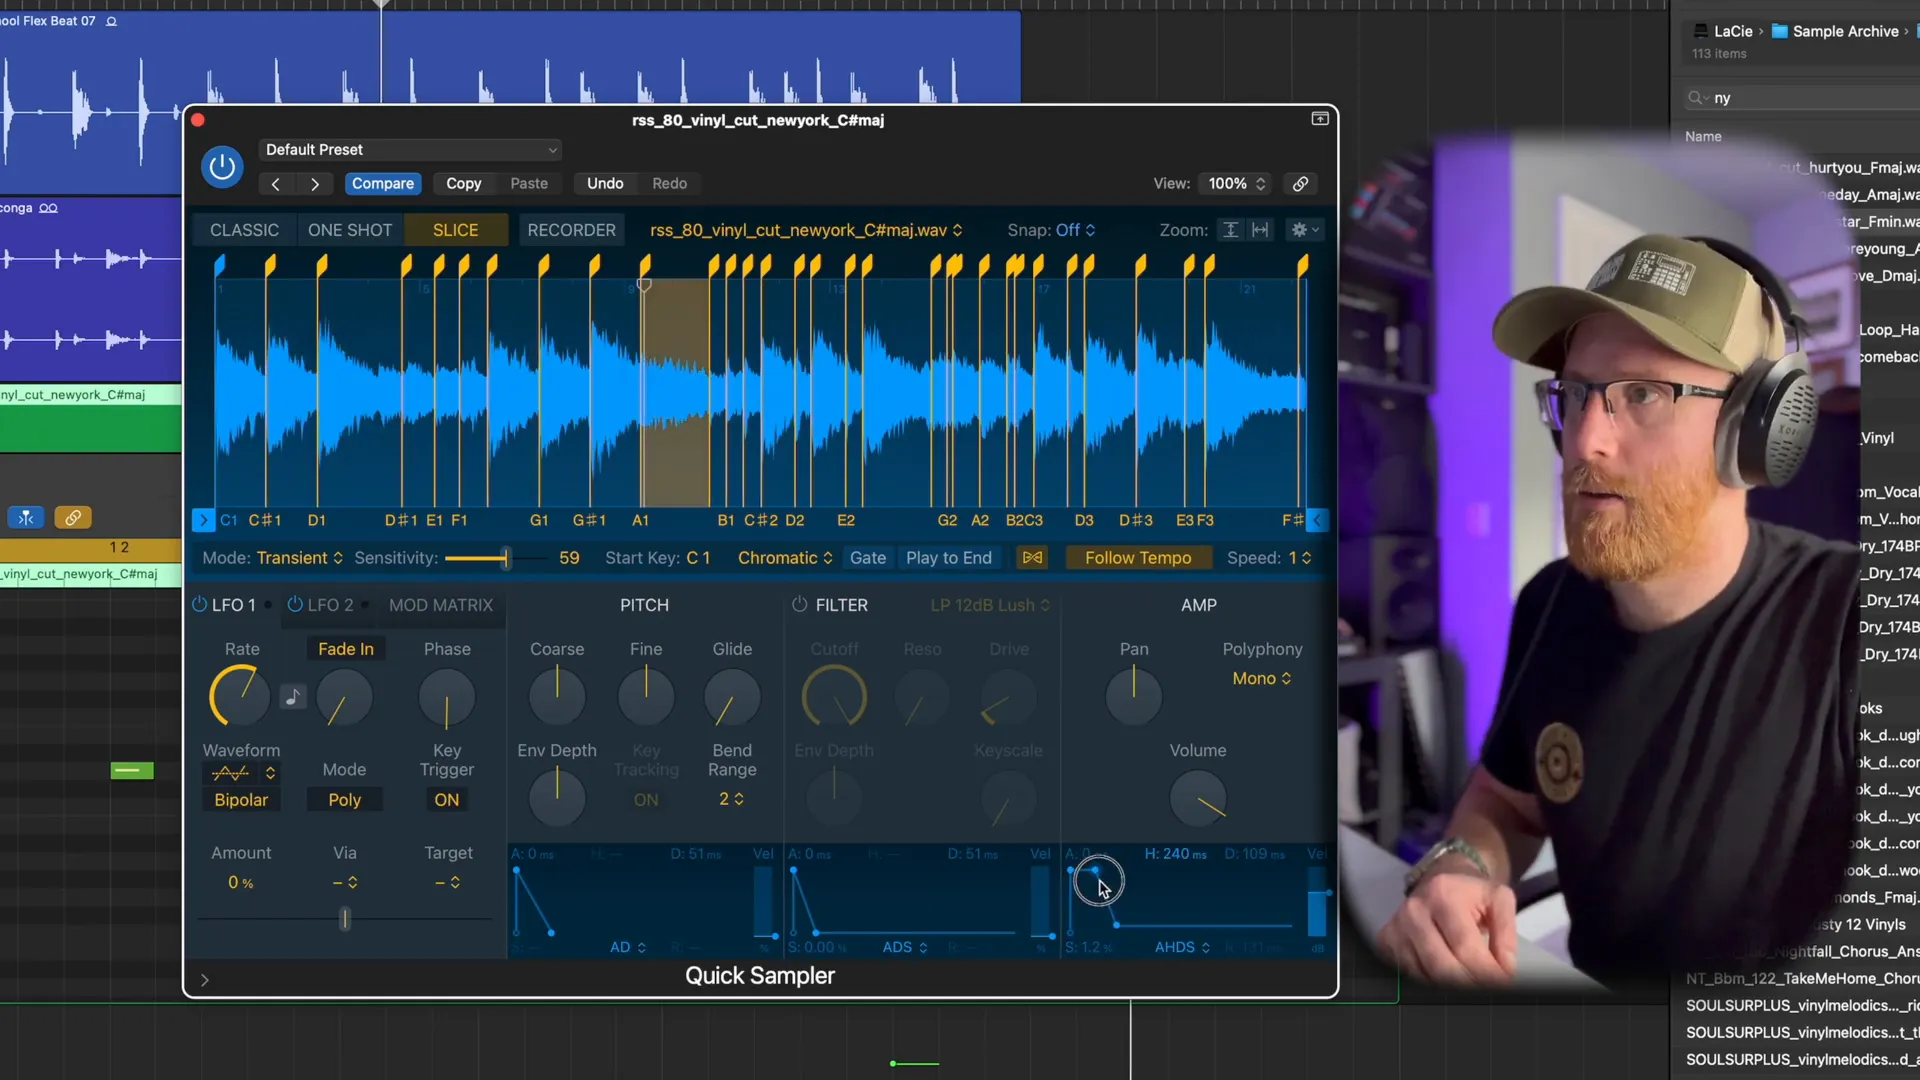
The Quick Sampler, in Logic Pro is a tool that lets you import samples and tweak them using MIDI controls for things like volume envelopes and pitch adjustments—it's popular with music producers, for its range of options.
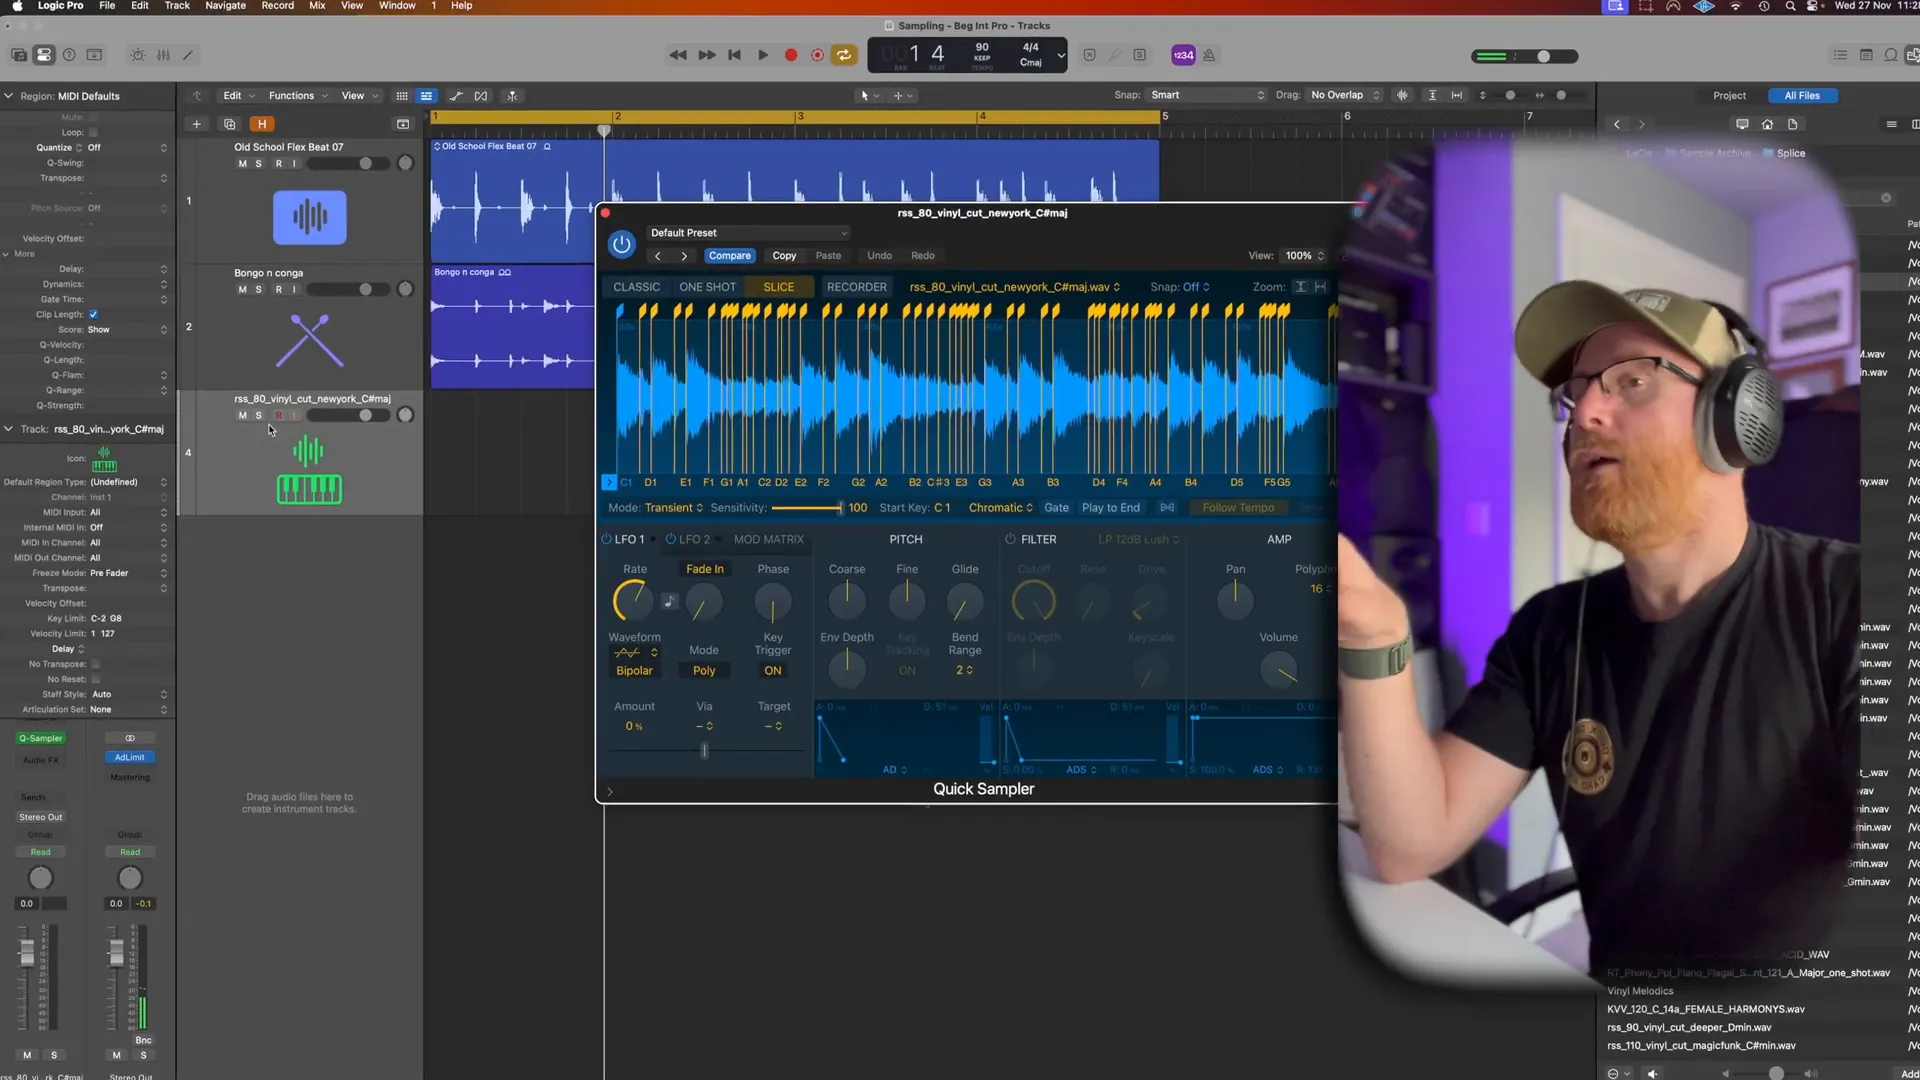
To make the most of the Quick Sampler:
- Load your sample and adjust the sensitivity to determine how much of the sample you want to include.
- Use the ADSR controls to shape the sound—adjust attack, decay, sustain, and release to achieve the desired effect.
- Experiment with velocity settings to create dynamic variations in your playback.
This tool allows you to breathe life into your music production by turning samples into expressive elements.
Step 10: Drawing MIDI Patterns from Samples
Exploring MIDI patterns derived from samples can unlock a realm of possibilities enabling you to craft melodies and rhythms by incorporating your imported audio samples.
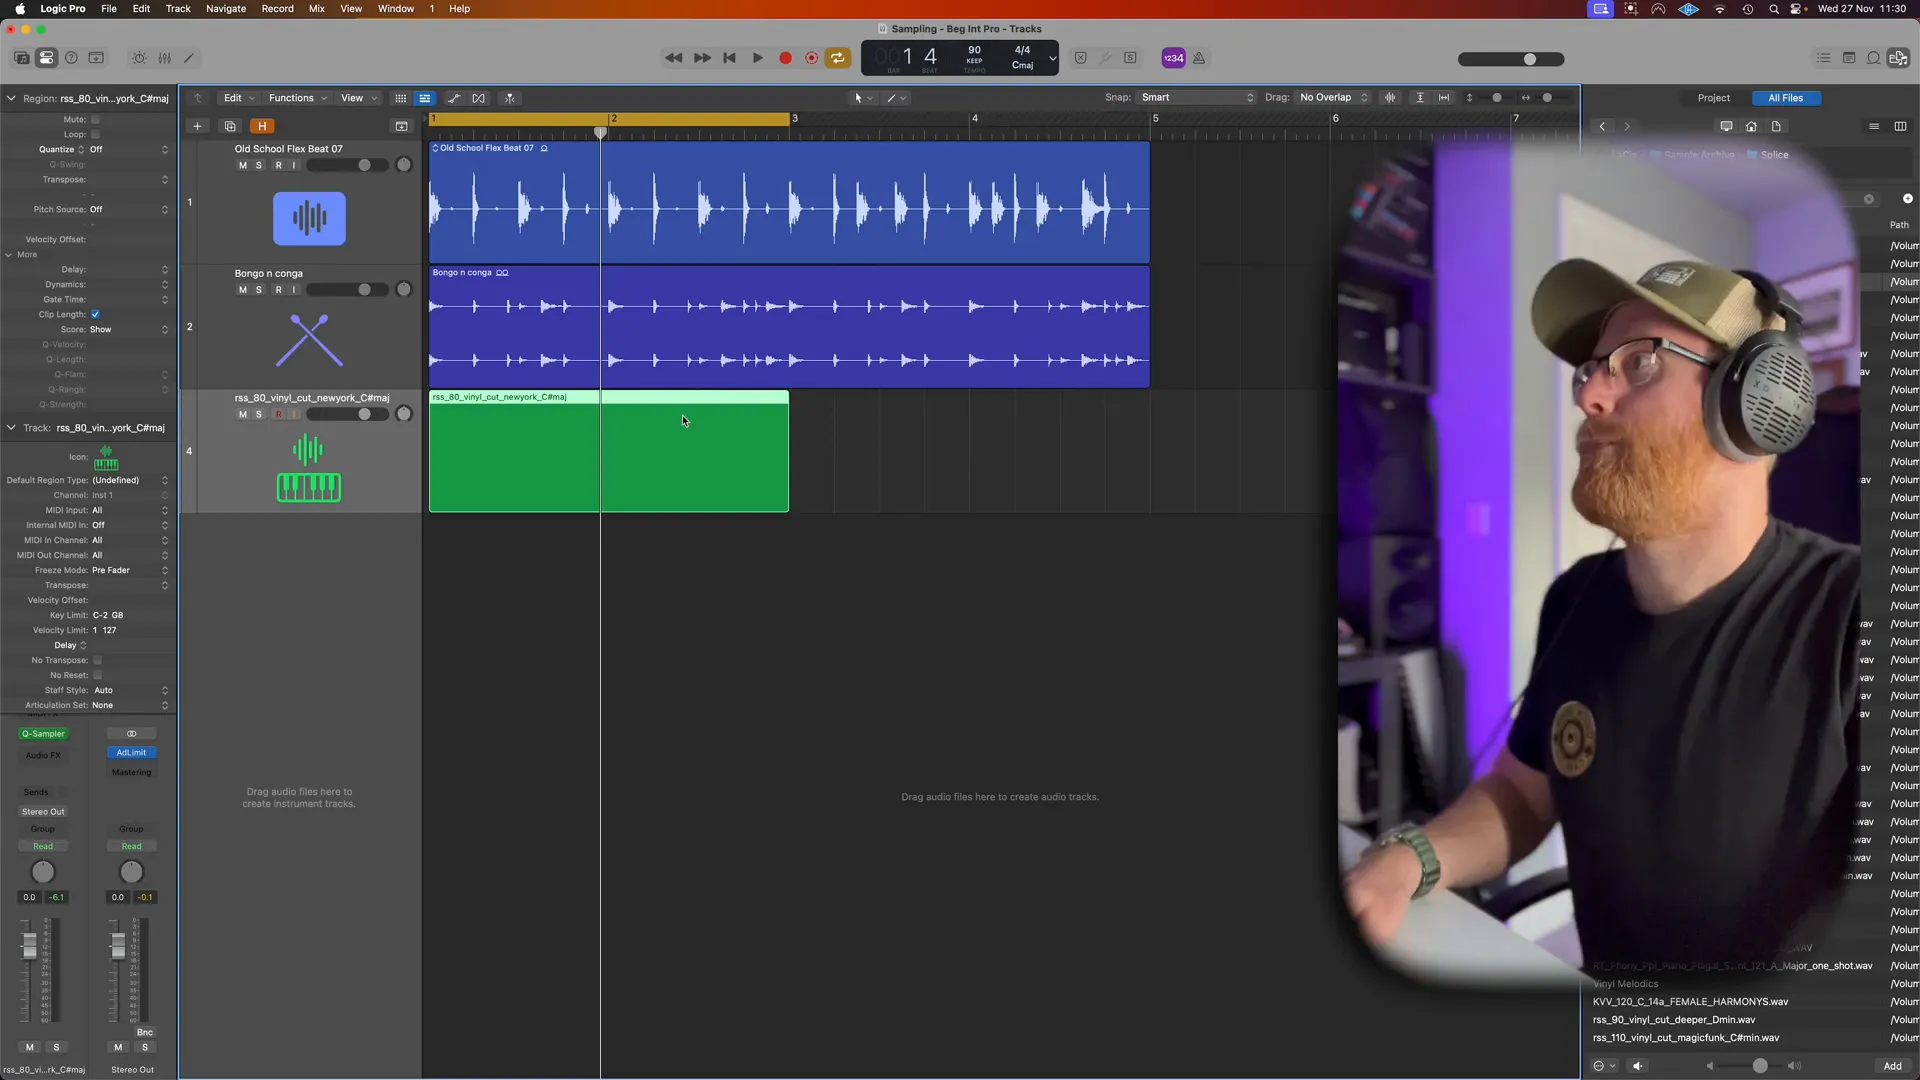
To draw MIDI patterns:
- Open the Piano Roll for your Quick Sampler track.
- Draw in MIDI notes corresponding to the samples you've loaded.
- Adjust the note velocities and lengths to create interesting dynamics.
By adjusting MIDI patterns and exploring possibilities with your sampled sounds you are able to enhance your music production and bring fresh ideas to the forefront.
For more advanced techniques, consider exploring the Ramzoid 808 Cooker Plugin review to see how it can enhance your trap music production.
Additionally, check out the strategies behind generating substantial income in music production for insights on how to monetize your creative efforts effectively.
Step 11: Enhancing Samples with Velocity Control
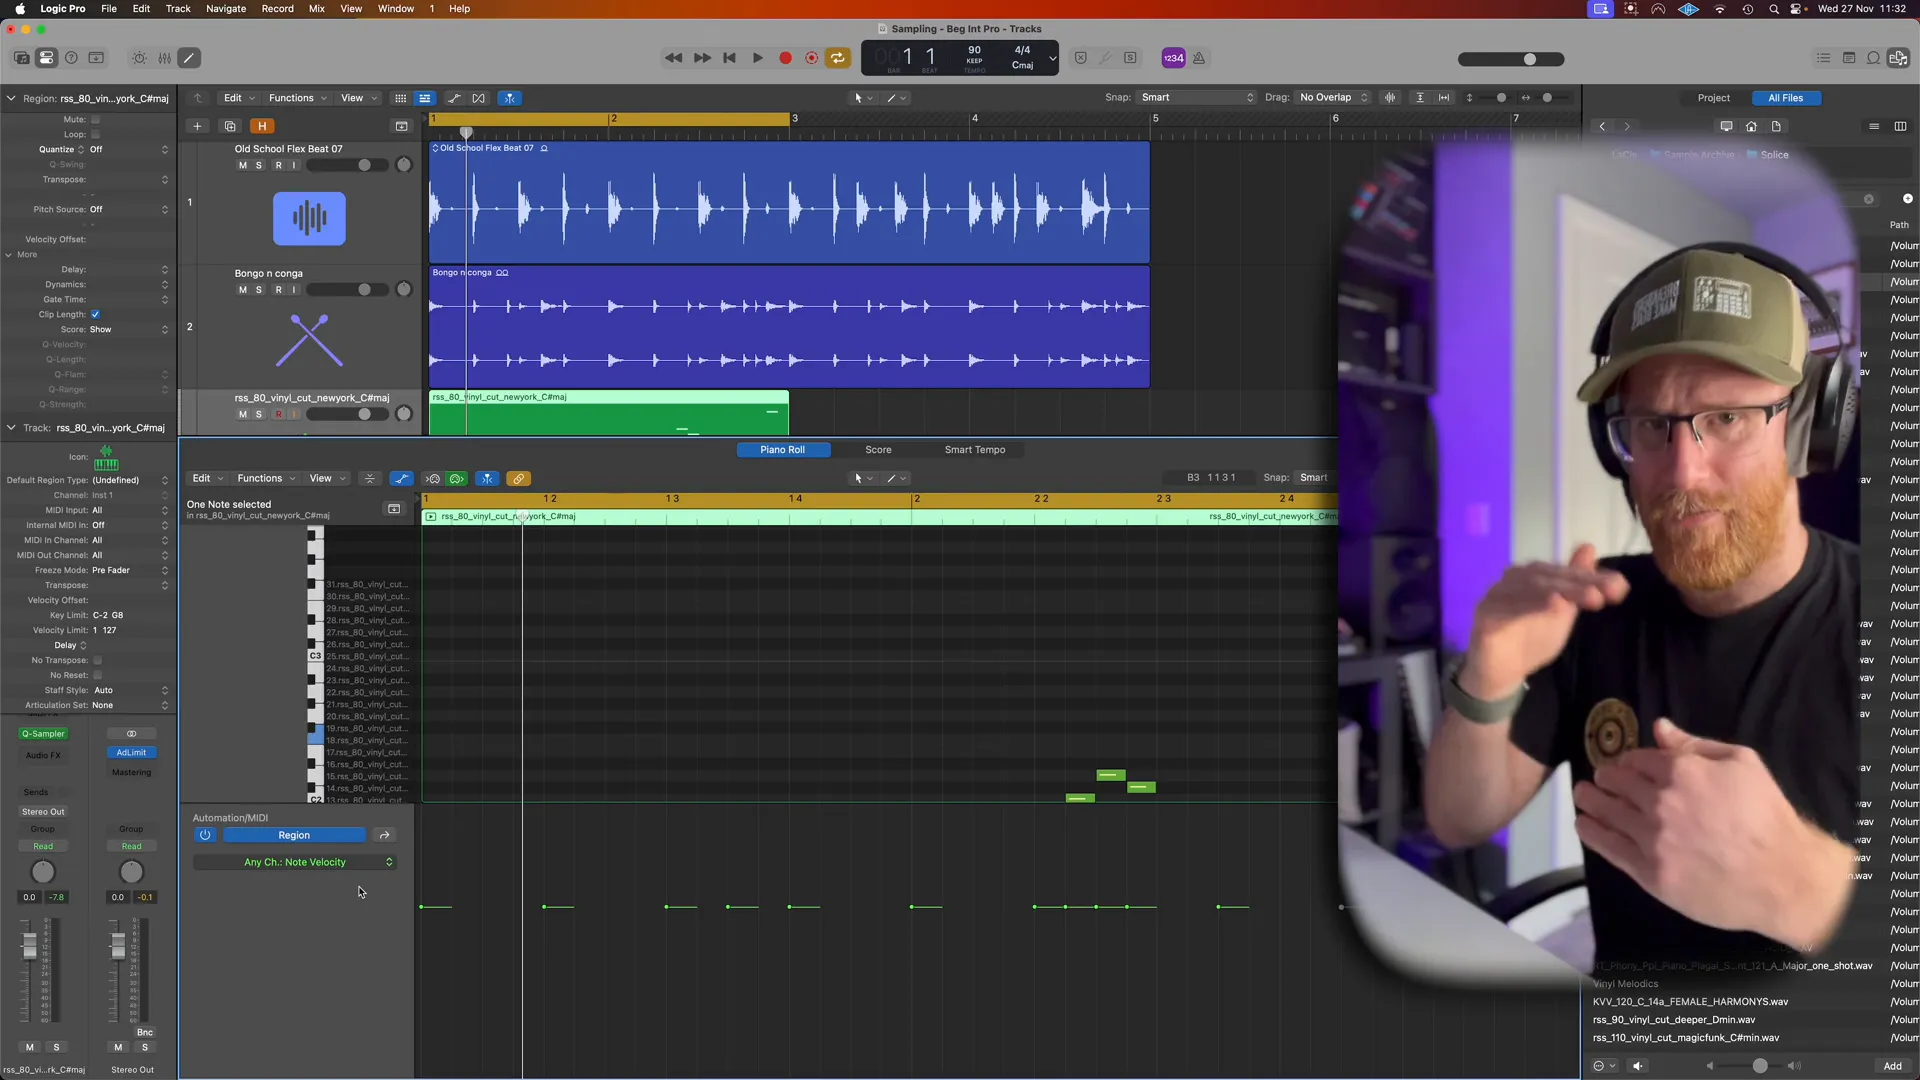
Controlling the speed at which your notes are played is crucial when sampling as it significantly impacts how lively your sounds come across in your music compositions.
In Logic Pros MIDI editor feature you can easily adjust the velocity directly within the interface itself! Here's a quick guide, on how to do it;
- Open the Piano Roll for your sampled track.
- Select the MIDI notes you want to modify.
- Adjust the velocity values in the velocity lane beneath the Piano Roll. Higher values result in louder notes, while lower values create softer sounds.
For instance' boosting the volume of the note, in a phrase can emphasize it strongly and capture the listeners interest effectively.' This method helps infuse your recorded sounds with a sense of authenticity akin, to a live performance experience.
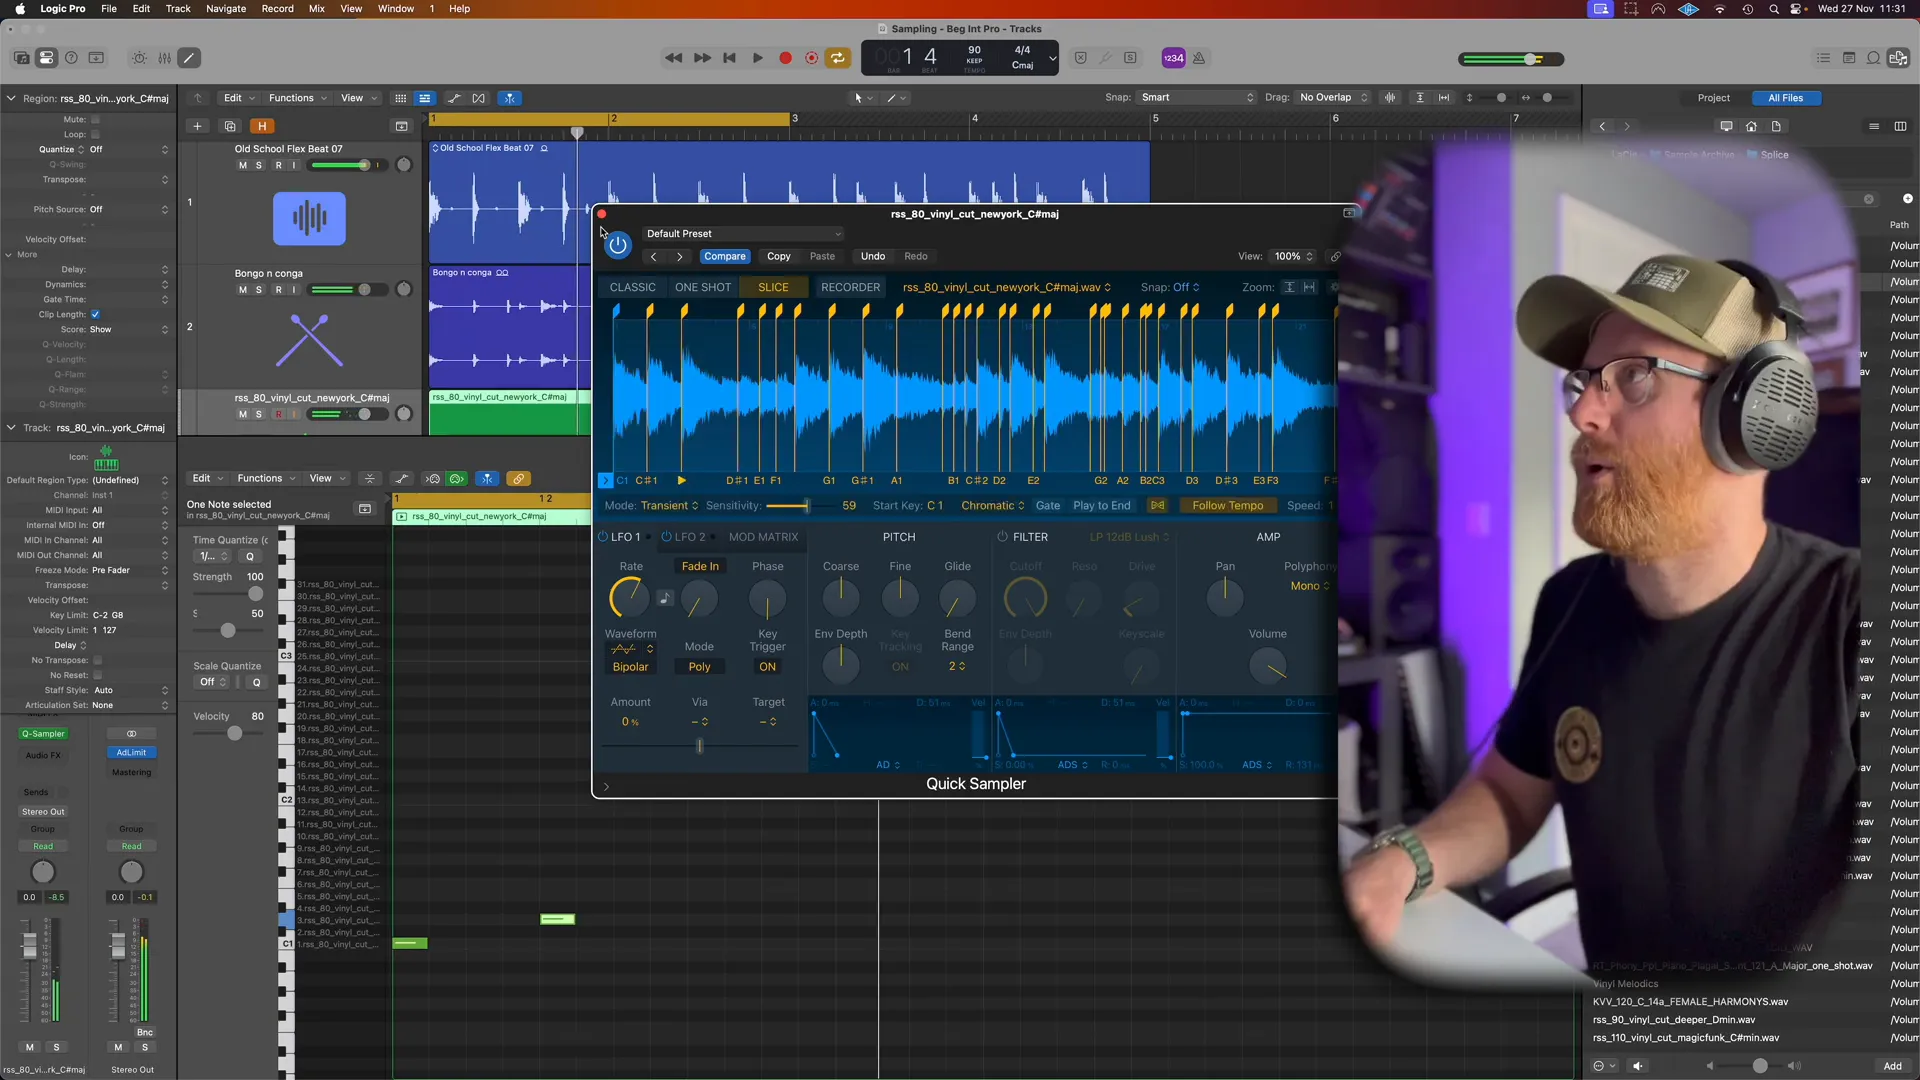
Step 12: Advanced Sampling Techniques Overview
As you become more comfortable with the basics of Sampling In Logic Pro, it's time to delve into advanced techniques that allow for greater creativity and flexibility. Here are some techniques to consider:
- Time Stretching: Alter the length of a sample without changing its pitch. This can create unique textures and atmospheres.
- Pitch Shifting: Change the pitch of a sample while maintaining its duration. This is useful for creating harmonies or transforming a sound's character.
- Layering Samples: Combine multiple samples to create rich, complex sounds. This technique can enhance the depth of your music.
With these sampling methods, at your disposal you can explore horizons of creativity and craft one of a kind sounds, with ease.
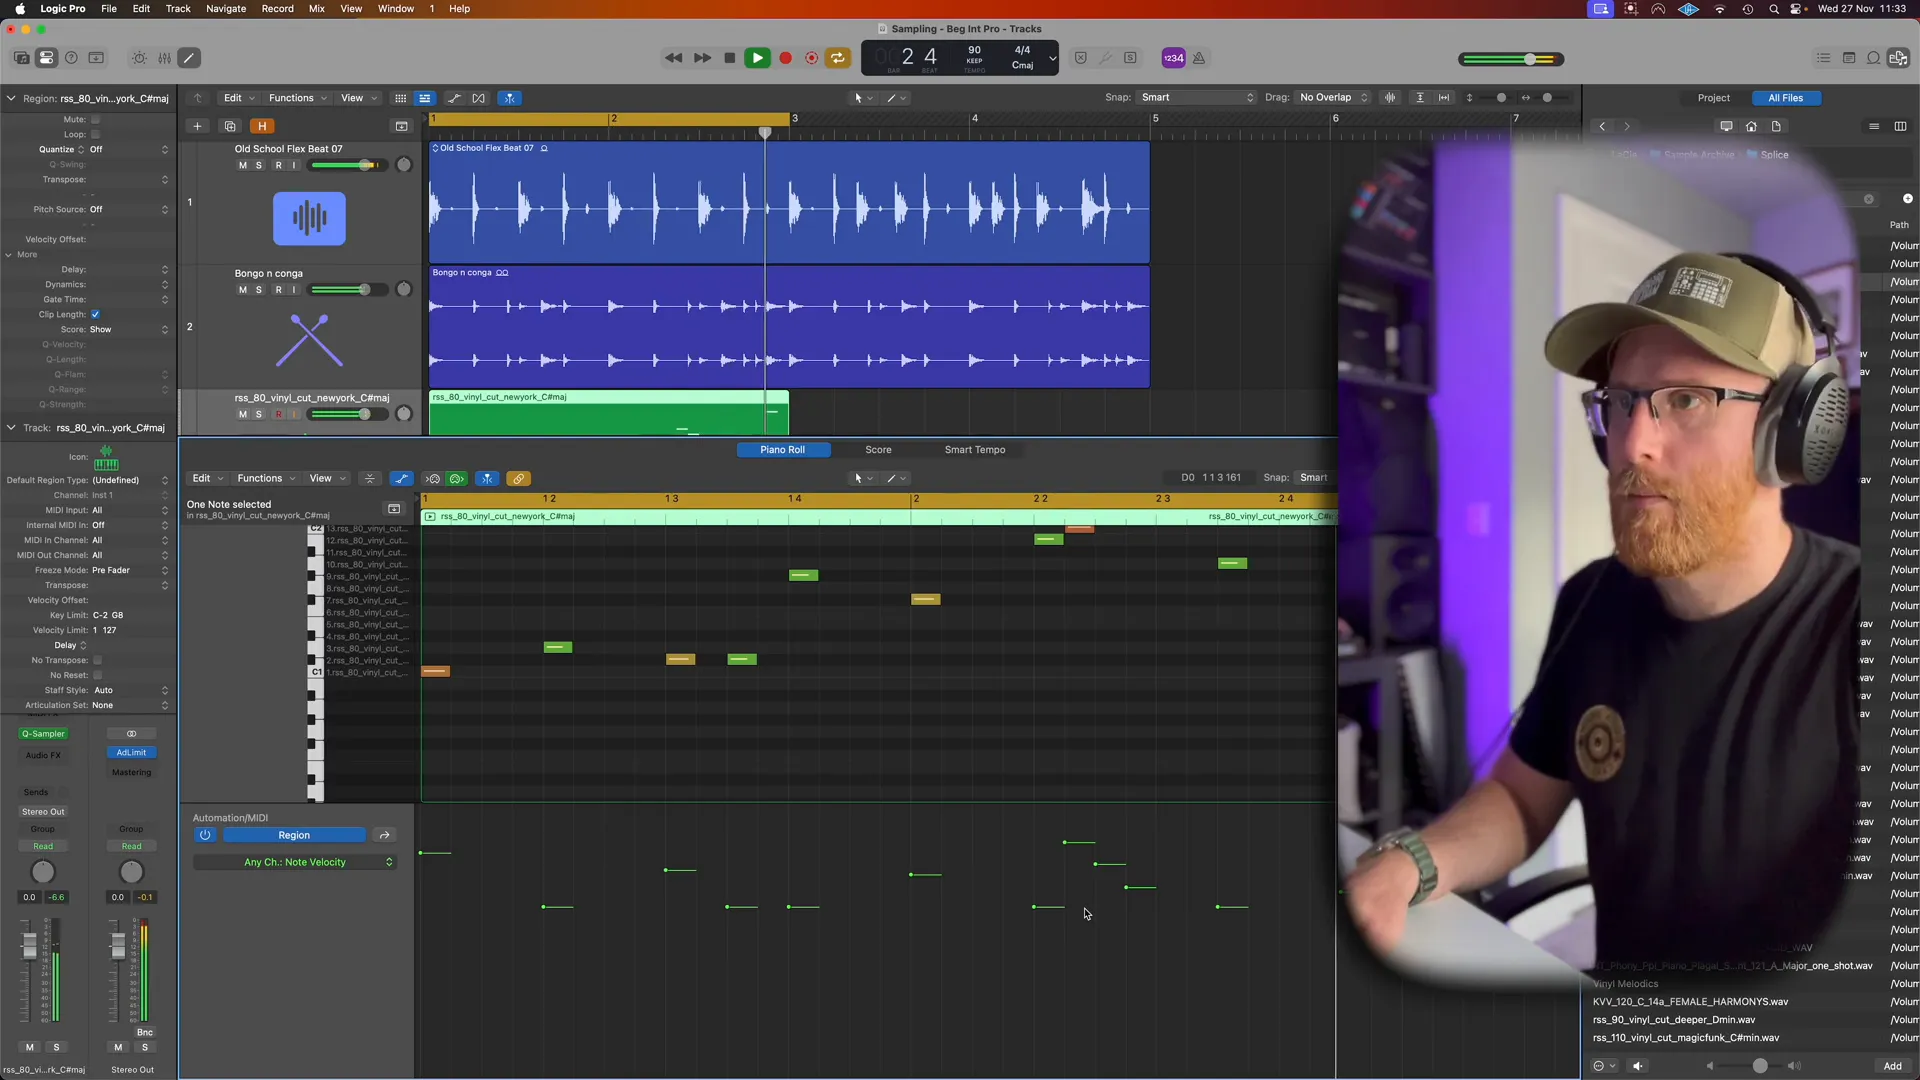
Step 13: Creating Unique Sounds from Single Notes
Crafted into tones and melodies is a method, in the realm of music creation.Play around with a note to craft an array of components and nuances.
To start, follow these steps:
- Choose a single note sample and import it into your project.
- Load the note into a sampler, such as the Quick Sampler or the Sampler in Logic Pro.
- Adjust the pitch, apply filters, and use modulation to shape the sound. Experiment with ADSR settings to create different attack and decay characteristics.
For example you can turn a piano note into a pad or a lively synth sound, with these methods.It's, about trying things and discovering special blends that match your style.
Step 14: Finalizing Your Sampled Sounds
After you have created your selected clips or music samples for your projects soundtrack or composition work, with care in order to complete them effectively and prepare them for the mix, down process where they will be blended smoothly within the overall sound structure and refined to achieve a professional finish.
Here are some guidelines to complete the editing of your selected clips;
- EQing: Use equalization to carve out space for your samples in the mix. Cut unnecessary frequencies and boost areas that enhance the sound.
- Compression: Apply compression to control the dynamics of your samples, ensuring they remain consistent in volume and punch.
- Reverb and Delay: Add effects to create depth and ambiance. These can help your samples blend seamlessly with other elements in your track.
Ensuring your samples are perfected is essential to achieve a quality, in your work.Take the time to enhance each component so that it enhances the harmony of the piece.
Step 15: FAQ on Sampling In Logic Pro
Here are some frequently asked questions about Sampling In Logic Pro:
- What types of samples can I use? You can use any audio file, including loops, one-shots, and recordings. Just ensure they are in a compatible format (e.g., WAV, AIFF).
- Can I create my own samples? Absolutely! You can record sounds from your environment or instruments and import them into Logic Pro for sampling.
- How do I ensure my samples are in key? Use pitch correction tools or analyze your samples with a spectrum analyzer to identify their key.
- What are the best practices for sampling? Always respect copyright laws when using samples from other artists. Additionally, experiment freely and trust your creative instincts.
These asked questions may provide clarity, on doubts and improve your experience with sampling, in Logic Pro.
