!Let Us HELP YOU!
We have a lot of curated content on this blog.
Take this simple 20 second Quiz to Help You
Find The Exact Content You Are Looking For!
Building a home studio sounds like a huge project and can feel overwhelming for anyone new to music production. But a lot of people are surprised that the way you define your goals at the very start influences every single decision, from room size to the mics you buy. Most folks think the secret is in expensive gear or fancy soundproofing, yet the real difference begins with a clear plan. Unlocking professional sound is a lot less about unlimited spending and much more about getting intentional from day one.
Table of Contents
Quick Summary
| Key Point | Explanation |
| 1. Define your purpose clearly | Determine your musical goals to guide studio design and investment decisions effectively. |
| 2. Select an optimal space | Choose a room with suitable dimensions and minimal external noise to enhance recording quality. |
| 3. Invest in essential equipment | Prioritize key items like a DAW and audio interface to establish a solid production foundation. |
| 4. Optimize your studio acoustics | Implement sound treatment solutions to control reflections and enhance sound clarity. |
| 5. Test and fine-tune regularly | Conduct sound checks and make adjustments to ensure professional sound reproduction in your recordings. |
Step 1: Define Your Purpose and Goals
Building a home studio for music production begins with a crystal clear understanding of your specific goals and purpose. Your studio’s design and investment will directly reflect your musical ambitions, whether you’re creating beats, recording live instruments, mixing tracks, or producing full albums.
Start by conducting an honest self assessment of your current musical capabilities and long term objectives. Are you a hip hop beat maker looking to create professional tracks? A singer songwriter wanting to record acoustic demos? An electronic music producer aiming to craft complex electronic soundscapes? Each musical direction requires different equipment, acoustic treatment, and technical setup.
According to Lebanon Valley College’s Music Production program, defining clear objectives is fundamental to developing an effective production environment. This means you need to map out not just your immediate needs but also anticipate potential future requirements. For instance, if you currently produce hip hop beats but plan to expand into live instrument recording, your studio design should accommodate flexible recording capabilities.
Consider creating a detailed roadmap that outlines your musical goals across different timelines:
-
Short term objectives (next 6 months)
-
Medium term goals (1-2 years)
-
Long term aspirations (3-5 years)
This strategic planning will help you make informed decisions about equipment purchases, studio layout, and potential future expansions. By understanding your purpose from the start, you’ll avoid unnecessary expenses and create a home studio that genuinely supports your musical journey.
Remember that your purpose isn’t just about technical specifications—it’s about creating a space that inspires creativity and helps you produce the highest quality music possible. Your home studio should feel like an extension of your musical vision, a personal sanctuary where sonic ideas can flourish and transform into professional productions.
This step-by-step summary table provides an overview of each main stage in building your home studio, including the main focus and the key outcome for each phase.
| Step | Main Focus | Key Outcome |
| 1. Define Purpose & Goals | Clarify creative direction | Studio design aligns with ambitions |
| 2. Choose Appropriate Space | Select optimal room for sound | Space meets basic acoustic needs |
| 3. Invest in Equipment | Acquire must-have tools and gear | Core tools for music production |
| 4. Optimize Acoustics | Apply sound treatment solutions | Improved clarity and balanced sound |
| 5. Set Up Recording Environment | Arrange equipment and workflow | Efficient, inspiring workspace |
| 6. Test & Fine-Tune | Adjust setup and acoustics | Professional-quality recordings |
Step 2: Choose an Appropriate Space
Selecting the right space for your home studio is more than just finding an empty room—it’s about creating an acoustic environment that will support your musical production goals. The physical characteristics of your chosen space will dramatically impact your sound quality and recording capabilities.
According to the Library of Congress recording guidelines, optimal studio spaces typically feature non-square or non-rectangular layouts that help break up sound waves and minimize unwanted acoustic reflections. Bedrooms, home offices, basements, and spare rooms can all become potential studio spaces with the right approach.
When evaluating potential rooms, consider several critical factors beyond just available square footage. Room dimensions matter significantly—irregular wall heights and asymmetrical spaces can naturally improve sound dispersion. Avoid rooms with parallel walls, which create standing waves and problematic acoustic interference. High ceilings are preferable, as they provide more volume for sound to develop and reduce compression.
Pay close attention to potential noise interference sources.
Listen carefully during different times of day to ambient sounds like street traffic, household appliances, plumbing, or neighboring activities. External noise can completely derail a recording session, so choose a space with minimal acoustic interruptions. Rooms with solid walls, away from high traffic areas, and potentially with some natural sound isolation, work best.
Consider these verification criteria for your chosen space:
WEBSITE RESOURCES FOR MUSICIANS
-
Minimal external noise sources
-
Relatively symmetrical room layout
-
Sufficient electrical outlets
-
Comfortable temperature and humidity control
-
Adequate space for equipment placement
Remember that no space is perfect immediately. You’ll likely need to implement acoustic treatments, sound absorption panels, and strategic equipment positioning to optimize your studio environment. The goal is creating a flexible, adaptable space that transforms your musical creativity into professional quality productions.
Step 3: Invest in Essential Equipment
Building a functional home studio requires strategic equipment investments that balance quality and budget. Your equipment is the foundation of your musical production capabilities, transforming creative ideas into professional sound recordings.
According to the Incorporated Society of Musicians, selecting the right Digital Audio Workstation (DAW) forms the core of your studio setup. Popular options like Logic Pro, Ableton Live, and FL Studio offer unique workflows tailored to different musical genres and production styles. Your computer’s processing power and RAM will significantly impact your DAW’s performance, so prioritize a robust machine with sufficient computational resources.
An audio interface serves as the critical bridge between your instruments, microphones, and computer. Look for interfaces with multiple input channels, low latency, and high sample rates. Professional producers recommend interfaces that support at least 24-bit/96kHz recording to capture nuanced sound details. Complementing your interface, invest in quality studio monitors and reference headphones that provide accurate sound representation across different frequency ranges.
Microphone selection requires careful consideration based on your specific recording needs. Large diaphragm condenser microphones work excellently for vocals and acoustic instruments, while dynamic microphones excel in capturing louder sound sources like electric guitars and drums. A versatile microphone collection allows you to tackle diverse recording scenarios.
Consider these essential equipment verification criteria:
-
Reliable computer with minimum 16GB RAM
-
Professional DAW software
-
Multi-channel audio interface
-
Studio monitors with flat frequency response
-
Reference headphones
-
Minimum two different microphone types
Remember that equipment is an ongoing investment. Start with foundational pieces and gradually expand your setup as your musical skills and production requirements evolve. Your home studio should grow alongside your creative ambitions, enabling increasingly sophisticated musical productions.
The table below summarizes essential home studio equipment, their primary purposes, and recommended specifications based on the guide. This will help you prioritize investments for a functional music production setup.
| Equipment | Primary Purpose | Recommended Specs/Notes |
| Computer | DAW operation and music processing | Minimum 16GB RAM |
| DAW Software | Core production platform | Choose based on workflow (Logic, FL, etc.) |
| Audio Interface | Connects instruments/mics to computer | Multi-channel, 24-bit/96kHz |
| Studio Monitors | Accurate sound playback | Flat frequency response |
| Reference Headphones | Detailed monitoring and mixing | Studio-grade, accurate reference |
| Microphones | Recording vocals/instruments | At least 1 condenser and 1 dynamic mic |
Step 4: Optimize Your Acoustics
Acoustic optimization transforms your home studio from a basic recording space into a professional sound environment. Sound treatment is about controlling how sound waves interact with your room, minimizing unwanted reflections and creating a balanced listening experience.
According to the National Association of Music Merchants, understanding acoustic challenges is crucial for achieving high quality recordings. Start by identifying primary reflection points where sound waves bounce off walls, creating echo and frequency distortions. These typically include areas directly adjacent to your speakers and behind your listening position.
Begin with basic acoustic treatments that are both effective and budget friendly. Sound absorption panels made from specialized foam or rockwool can dramatically improve room acoustics. Place these strategically at first reflection points, focusing on the walls flanking your speakers and the wall behind your listening position. Bass traps in room corners help control low frequency resonance, which can muddy your mix and create inaccurate sound perception.
Consider investing in diffusion panels that scatter sound waves, preventing direct reflections and creating a more natural acoustic environment. These panels break up sound waves, reducing standing waves and creating a more balanced frequency response.
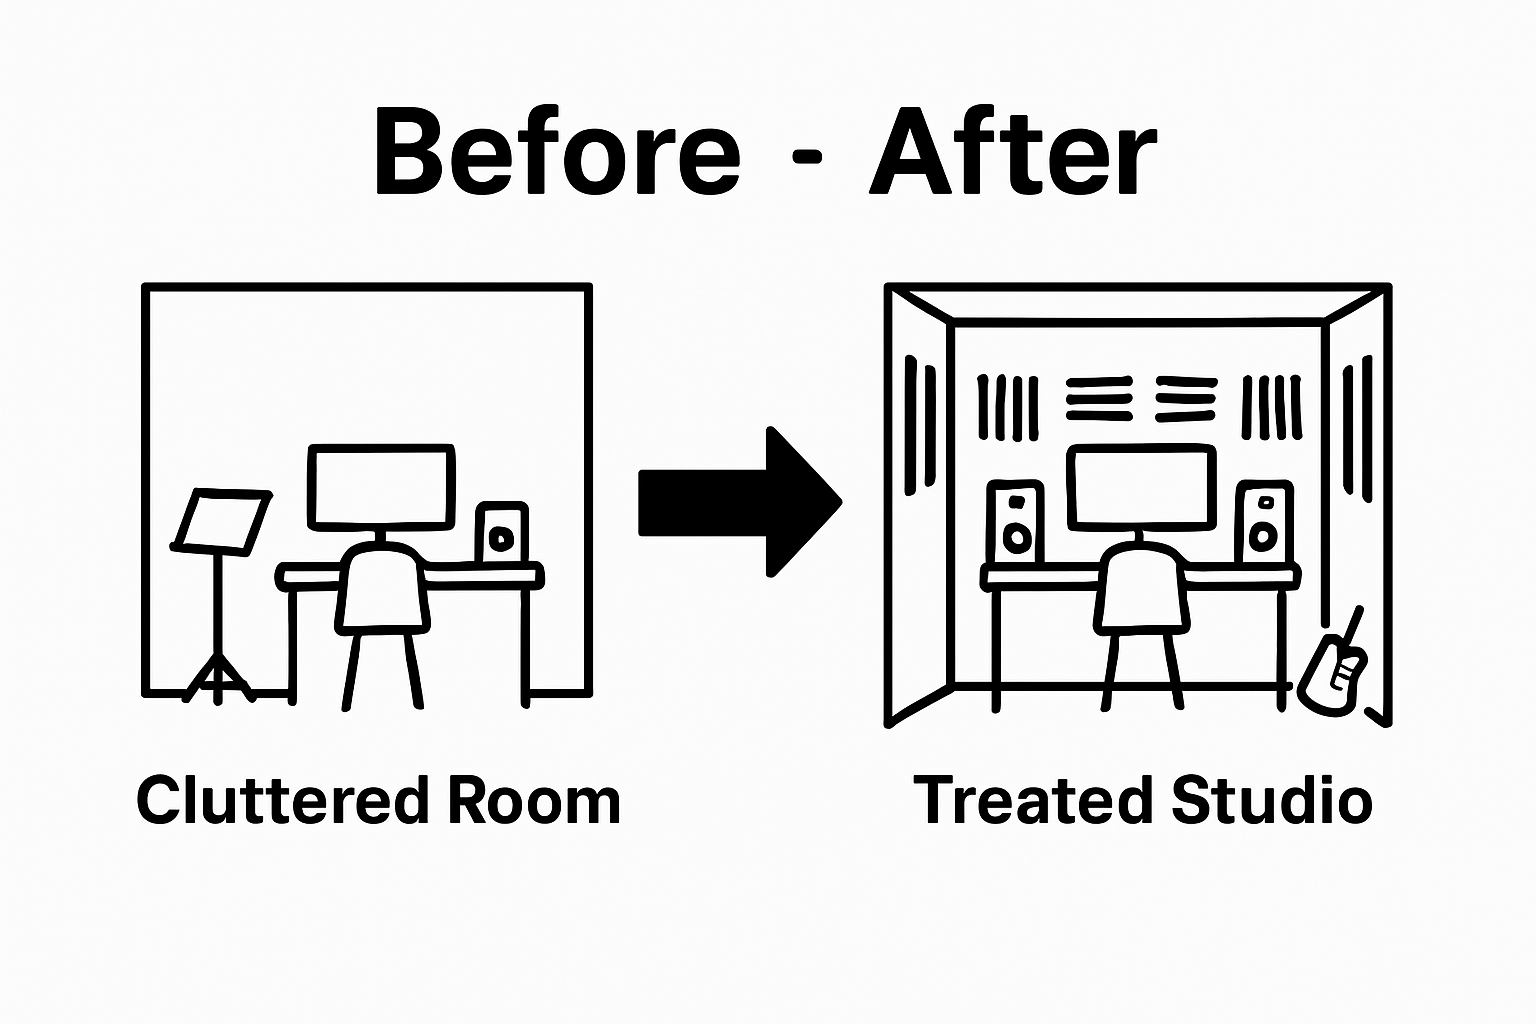 You can purchase commercial diffusion panels or explore DIY options using materials like wooden blocks or specialized acoustic diffuser designs.
Verify your acoustic treatment effectiveness through these criteria:
-
Reduced echo and flutter in recordings
-
Balanced sound across different frequencies
-
Minimal low end muddiness
-
Consistent sound representation across monitoring systems
For producers looking to dive deeper into mastering techniques, understanding room acoustics becomes even more critical. Your acoustic treatment sets the foundation for professional sound production, ensuring that what you hear is an accurate representation of your musical creation.
Step 5: Set Up Your Recording Environment
Creating an optimal recording environment goes beyond acoustic treatment—it’s about designing a functional space that supports your creative workflow and technical requirements. Your studio setup should seamlessly integrate equipment, facilitate smooth recording processes, and inspire musical creativity.
According to the International Agency for Research on Cancer’s studio design research, strategic studio configuration is critical for achieving professional sound quality. Begin by positioning your studio monitors in an equilateral triangle formation, with speakers angled precisely toward your listening position. This configuration ensures accurate stereo imaging and minimizes frequency phase cancellations.
Consider cable management as more than just aesthetic organization. Proper cable routing prevents signal interference and reduces potential noise contamination in your recordings. Use cable ties, cable raceways, or dedicated cable management solutions to keep audio, power, and digital cables neatly separated. This approach not only looks professional but also prevents signal degradation and accidental disconnections during critical recording moments.
Ergonomics play a crucial role in your studio environment. Your workstation should support long creative sessions without causing physical strain. Position your computer monitor at eye level, ensure your chair provides proper lumbar support, and arrange your MIDI controllers and audio interfaces within comfortable reaching distance. Keyboard and mouse placement can significantly impact your long term comfort and productivity.
Verify your recording environment meets these essential criteria:
-
Minimal external noise interference
-
Proper monitor positioning
-
Ergonomic workstation setup
-
Clean and organized cable management
-
Adequate lighting for comfortable work
If you’re looking to build a home recording studio on a budget, remember that thoughtful setup matters more than expensive equipment. A well organized, comfortable space will always outperform a cluttered, poorly designed studio.
Use the following checklist to verify and optimize your recording environment, making sure every critical detail is covered for the best creative workflow and technical performance.
| Verification Item | What to Check For |
| External Noise Interference | Quiet room, minimal outside interruptions |
| Monitor Positioning | Equilateral triangle, aimed at the listener |
| Ergonomic Workstation | Proper chair, screen height, gear within reach |
| Cable Management | Neatly organized, avoids signal interference |
| Lighting | Sufficient for long, comfortable sessions |
Step 6: Test and Fine-Tune Your Studio
Testing and fine tuning your home studio is the critical final stage that transforms your technical setup into a professional music production environment. Your goal is to create a space where every sound is captured with precision and clarity, revealing the nuanced details of your musical creativity.
According to Berklee Online’s studio setup guidelines, comprehensive testing involves multiple layers of acoustic and technical verification. Begin by performing systematic sound checks across different frequencies and volume levels. Record several test tracks using various instruments and vocal styles to understand how your room interacts with different sound sources. Listen critically for any unwanted resonances, echoes, or frequency imbalances that might color your recordings.
Utilize reference tracks from professionally mixed albums in your genre as benchmarks. Play these tracks through your studio monitors and compare their sound with your room’s acoustic response. Pay special attention to bass frequencies, stereo imaging, and overall clarity. This comparison helps identify potential acoustic treatment improvements or speaker positioning adjustments. Consider using spectrum analyzer software to visualize frequency responses and pinpoint problematic areas in your studio’s sound reproduction.
Calibration is an ongoing process.
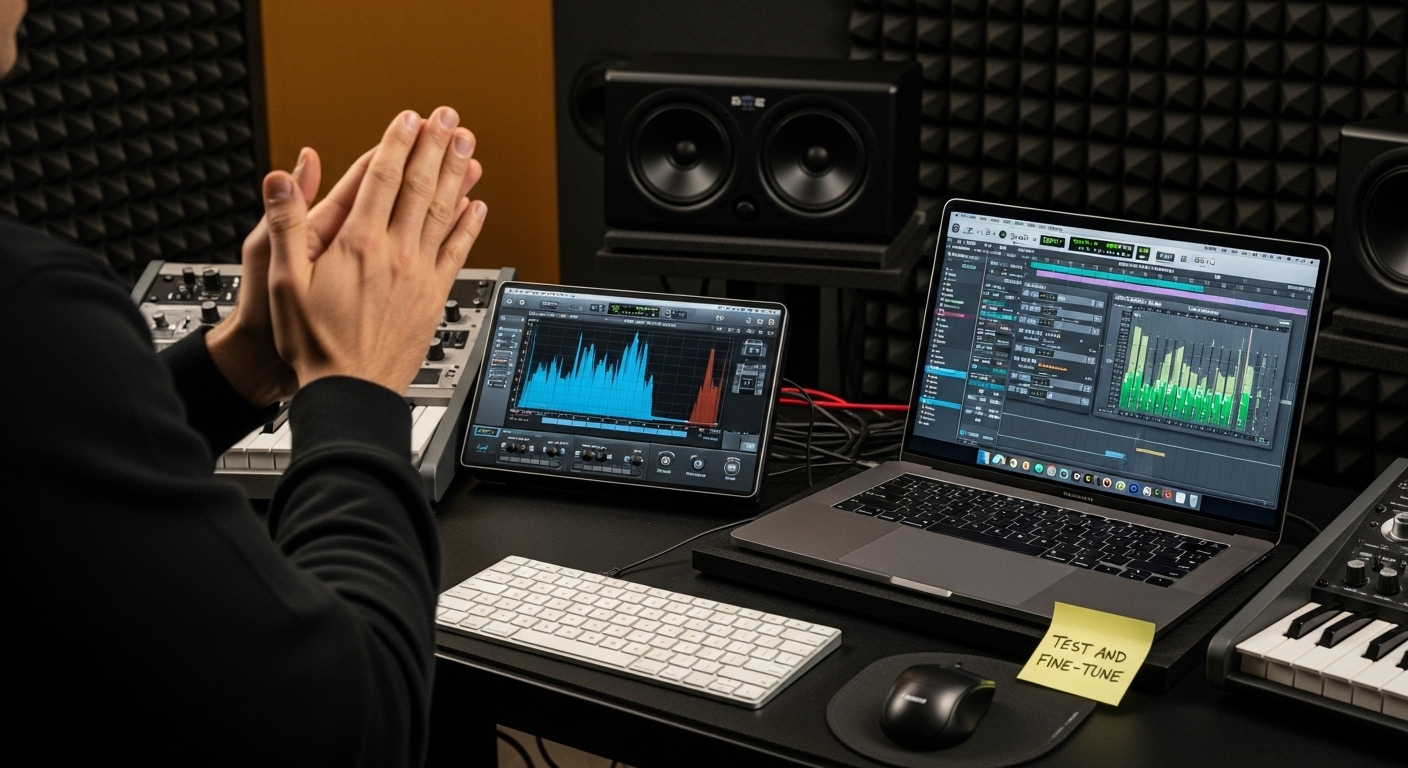 Invest time in understanding your monitoring system’s unique characteristics. Develop a consistent method for speaker and headphone reference checks, ensuring that what you hear represents an accurate sonic representation. Experiment with minor adjustments in speaker angle, listener position, and acoustic treatment to incrementally improve your studio’s sound quality.
Verify your studio’s performance through these essential criteria:
-
Consistent sound reproduction across multiple tracks
-
Minimal room resonance and unwanted reflections
-
Accurate stereo imaging
-
Balanced frequency response
-
Reliable translation of mixes to different playback systems
If you’re interested in exploring advanced mastering techniques, understanding your studio’s acoustic characteristics becomes even more crucial. Remember that a well tested and fine tuned studio is your secret weapon in creating professional quality music productions.
Elevate Your Home Studio Experience with Expert Beatmaking Resources
You have learned the essential steps for building a home studio and now you want every track to sound as professional as possible. Yet, setting up your gear and optimizing your DAW can still leave you feeling stuck if your mixes are muddy or your workflow is slow. Maybe you struggle choosing the best DAW or wish you had insider tips for gear and beat production that match your goals. Getting from basic setup to actual music creation that stands out is where many producers get frustrated.
Take the next step toward polished, radio-quality beats. Explore hands-on tutorials, actionable gear reviews, and exclusive production tips at How to Make Beats Blog. Check out in-depth guides like mixing and mastering for beatmakers or practical strategies to build a home studio kit on a budget. Every resource is designed to turn your home studio investment into next-level tracks across any genre. Visit today and start mastering the tools and skills that make your music stand out now.
Frequently Asked Questions
What are the essential purposes to consider when building a home studio for music production?
When building a home studio, it’s crucial to define your specific goals, such as producing beats, recording instruments, or mixing tracks. Understanding your creative aspirations will guide your studio design and equipment choices.
How do I choose the right space for my home studio?
Select a room with non-square dimensions, minimal external noise, and sufficient electrical outlets. Look for irregular wall shapes that can improve sound dispersion and avoid areas with high traffic or disruptive sounds.
What essential equipment do I need to start a home studio for music production?
Key equipment includes a reliable computer with a minimum of 16GB RAM, a Digital Audio Workstation (DAW), a multi-channel audio interface, quality studio monitors, reference headphones, and at least two types of microphones for versatile recording.
How can I optimize the acoustics in my home studio?
To optimize acoustics, identify primary reflection points, and use sound absorption panels to control echoes. Incorporate bass traps in corners to manage low frequency resonance and consider diffusion panels to scatter sound waves for a balanced listening environment.

