!Let Us HELP YOU!
We have a lot of curated content on this blog.
Take this simple 20 second Quiz to Help You
Find The Exact Content You Are Looking For!
Setting up your first home recording studio kit can feel overwhelming, but it doesn’t have to be. In this guide, Kara walk’s you through her carefully curated setup, designed specifically for beginners on a budget of $1,000. You’ll discover the essential audio gear and hear how it all comes together in a vocal recording session.The content of this blog post is curated from this video: Best Home Studio Setup on a $1,000 Budget 2025. In this video, KARA breaks down how to set up a complete home recording studio on a budget of under $1000—perfect for beginners looking to start making music without breaking the bank!
Table of Contents
- Intro
- The Best Headphones for Home Studios
- Choosing a MIDI Controller
- Picking the Right Studio Monitors
- The Importance of Quality Cables
- Choosing Your DAW
- KARRA Vocal Template
- Understanding Acoustic Treatments
- Recording Your First Session
- Total Cost Breakdown
- FAQ
Intro
Welcome to the journey of building your very own home recording studio kit! It’s an exciting process that can transform your creative ambitions into reality. Whether you’re a budding musician, a seasoned producer, or simply someone who loves to experiment with sound, having a dedicated space to record and produce your music is essential. In this guide, Kara walk’s you through the key components that make up a successful home studio, focusing on how to achieve excellent sound quality without breaking the bank.
The Importance of a Computer
Your computer is the heart of your home recording studio kit. It’s where all the magic happens, from recording tracks to mixing and mastering your songs. You don’t need the most expensive model; even a mid-range computer can handle music production tasks effectively. For 2025, She recommend’s at least 1TB of SSD storage and 32GB of RAM. This ensures smooth performance when running multiple software applications and handling large audio files.
If you’re on a budget, consider purchasing a refurbished model. Brands like Apple and Dell offer excellent options that retain their value over time. Remember, a reliable computer can make all the difference in your recording experience.
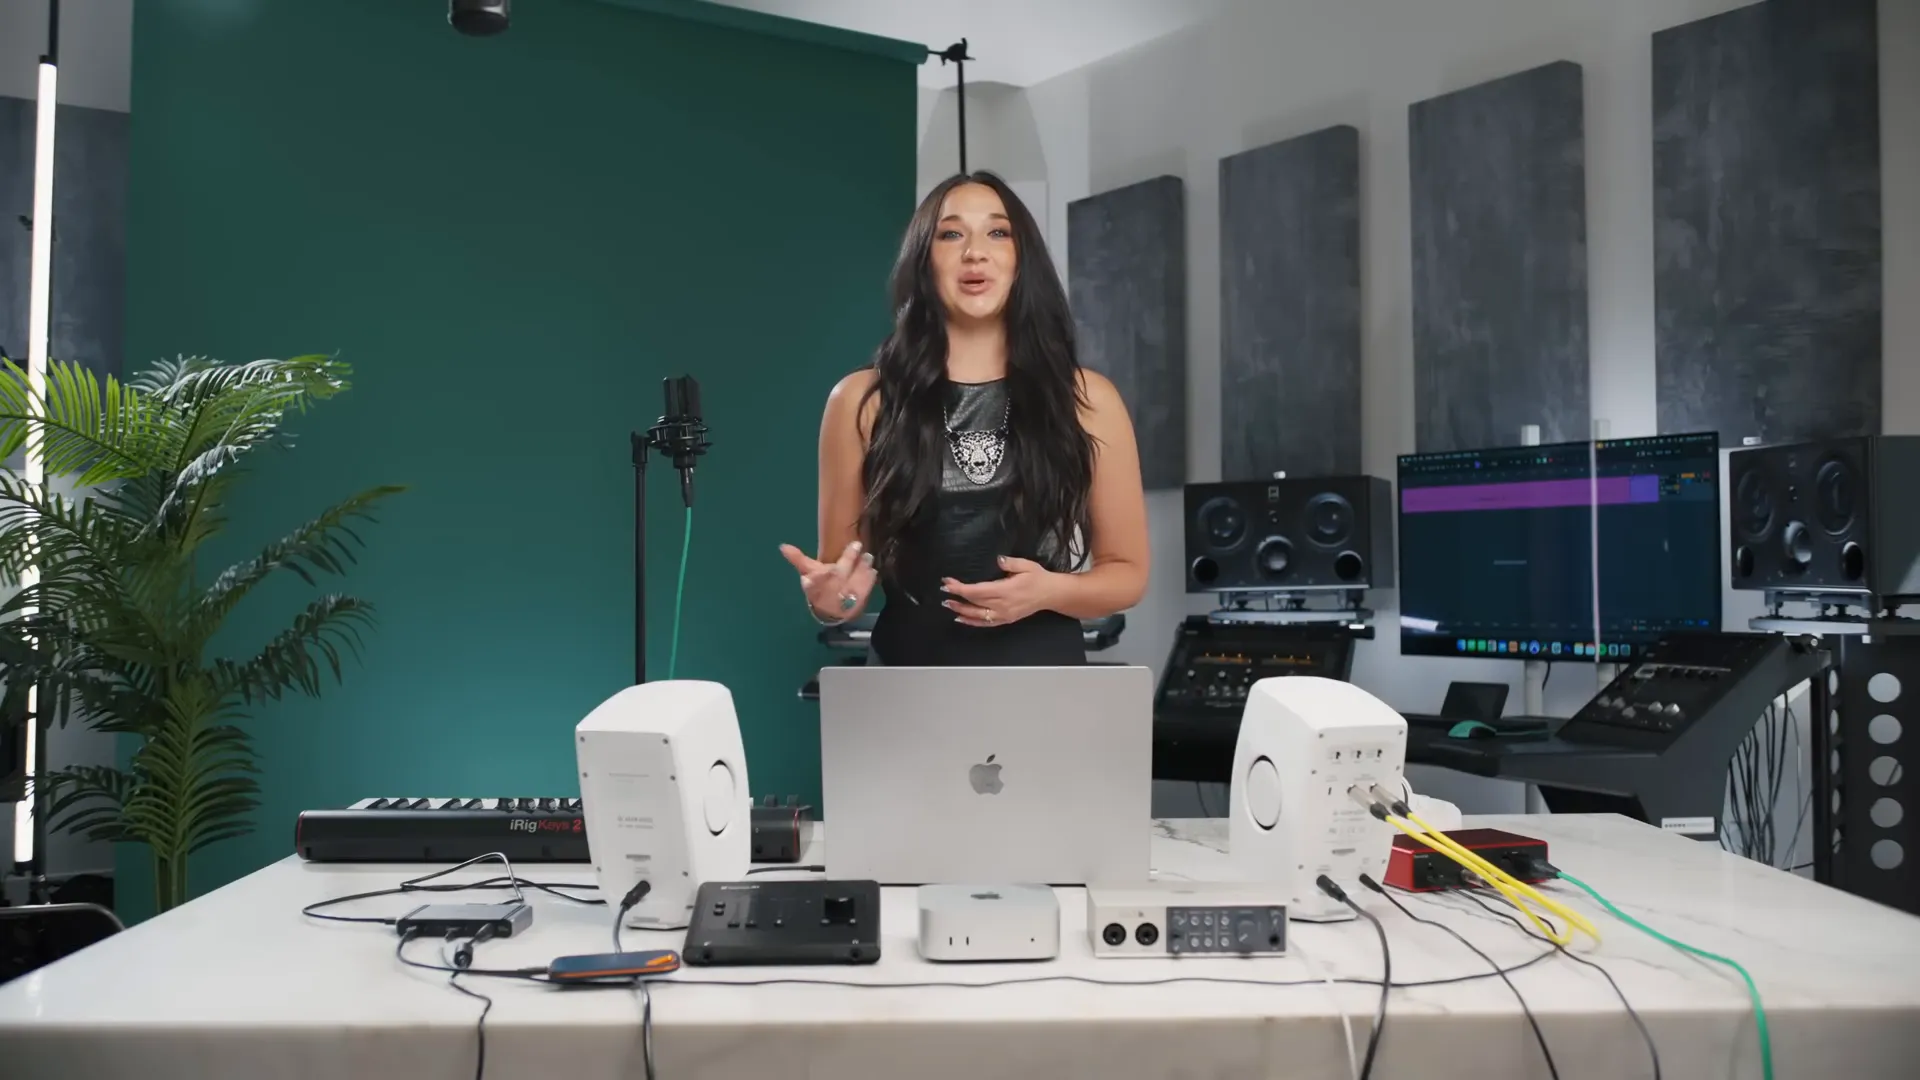
Choosing Your Audio Interface
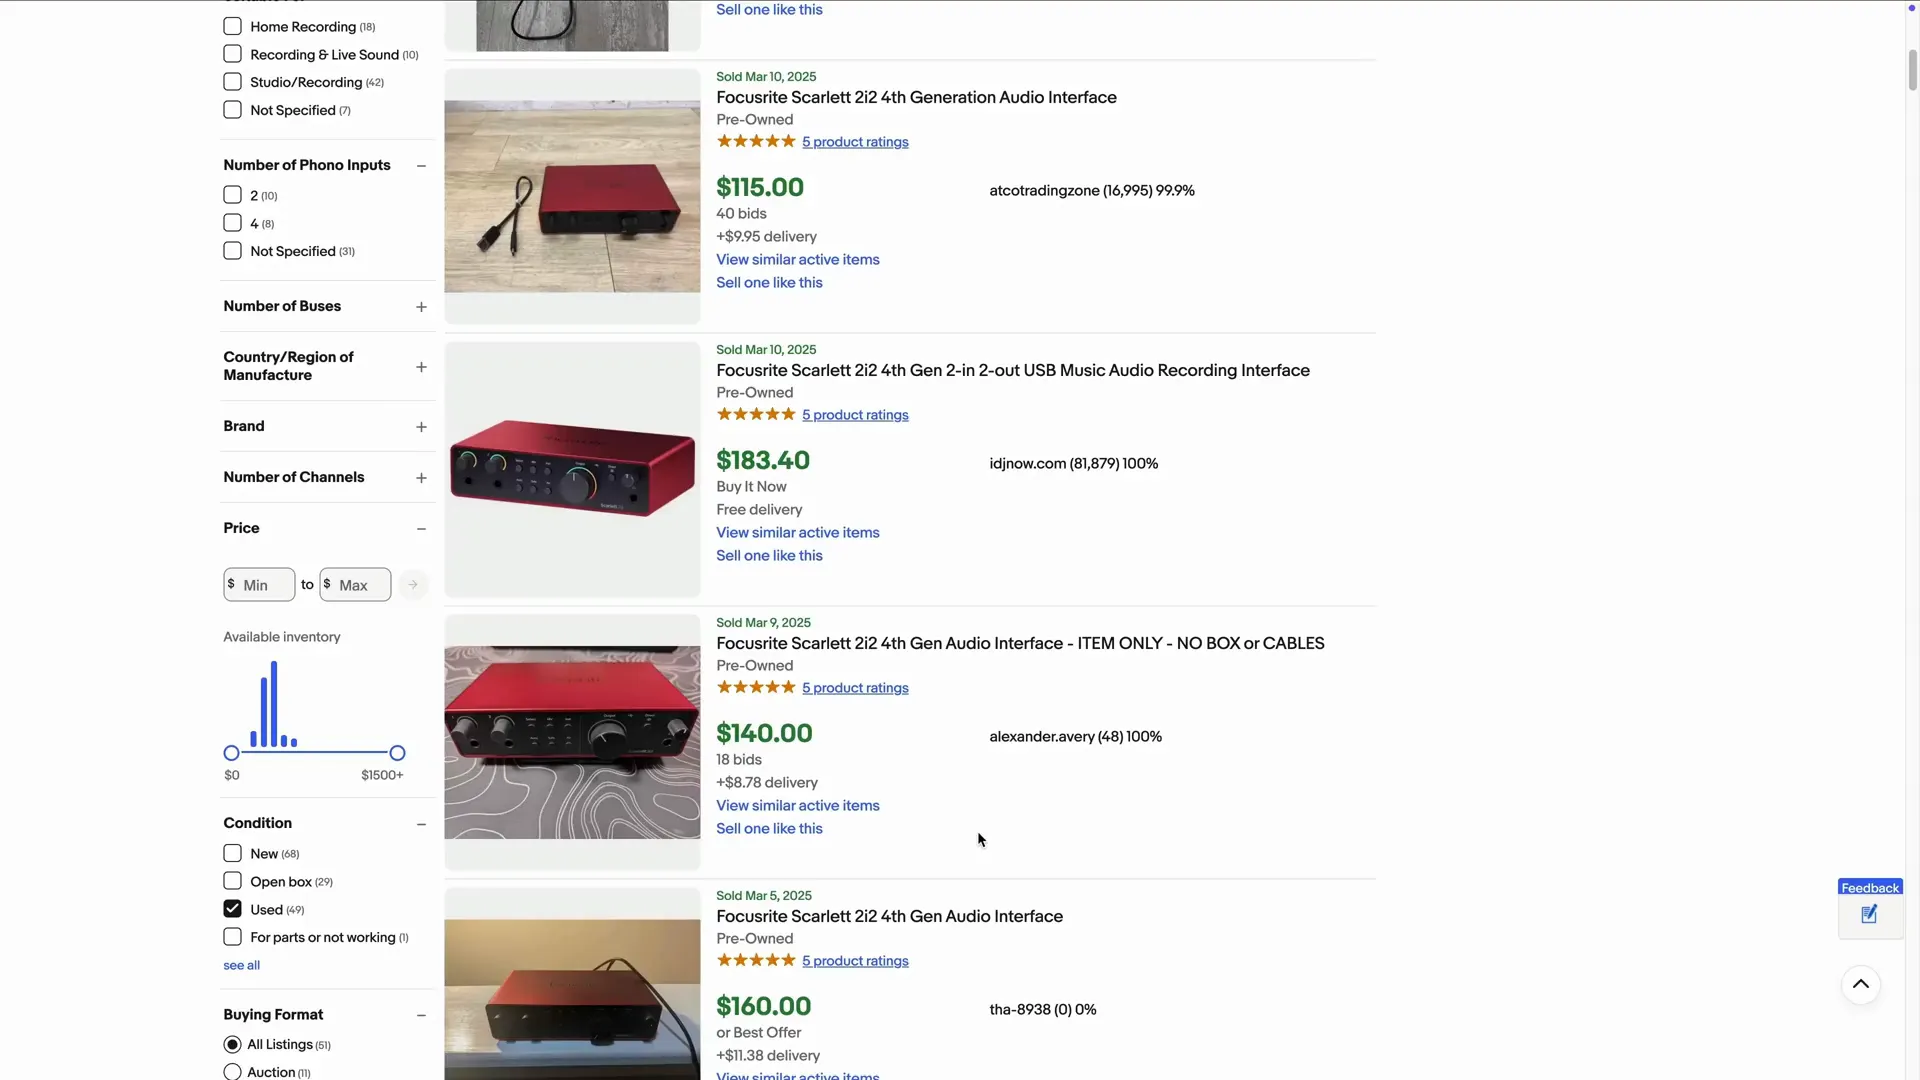
The audio interface is crucial for connecting your instruments and microphones to your computer. My top pick for beginners is the Focusrite Scarlett 2i2 (4th Gen). It’s user-friendly and delivers exceptional sound quality. With two inputs, it covers nearly all recording scenarios, whether you’re tracking vocals or instruments.
While the new model retails for around $199, you can often find it used for about $140. This makes it an accessible option without sacrificing quality. Other alternatives worth considering include the Volt 2 by Universal Audio and the Quantum ES2 by PreSonus, which offer similar features and performance.

Selecting the Right Microphone
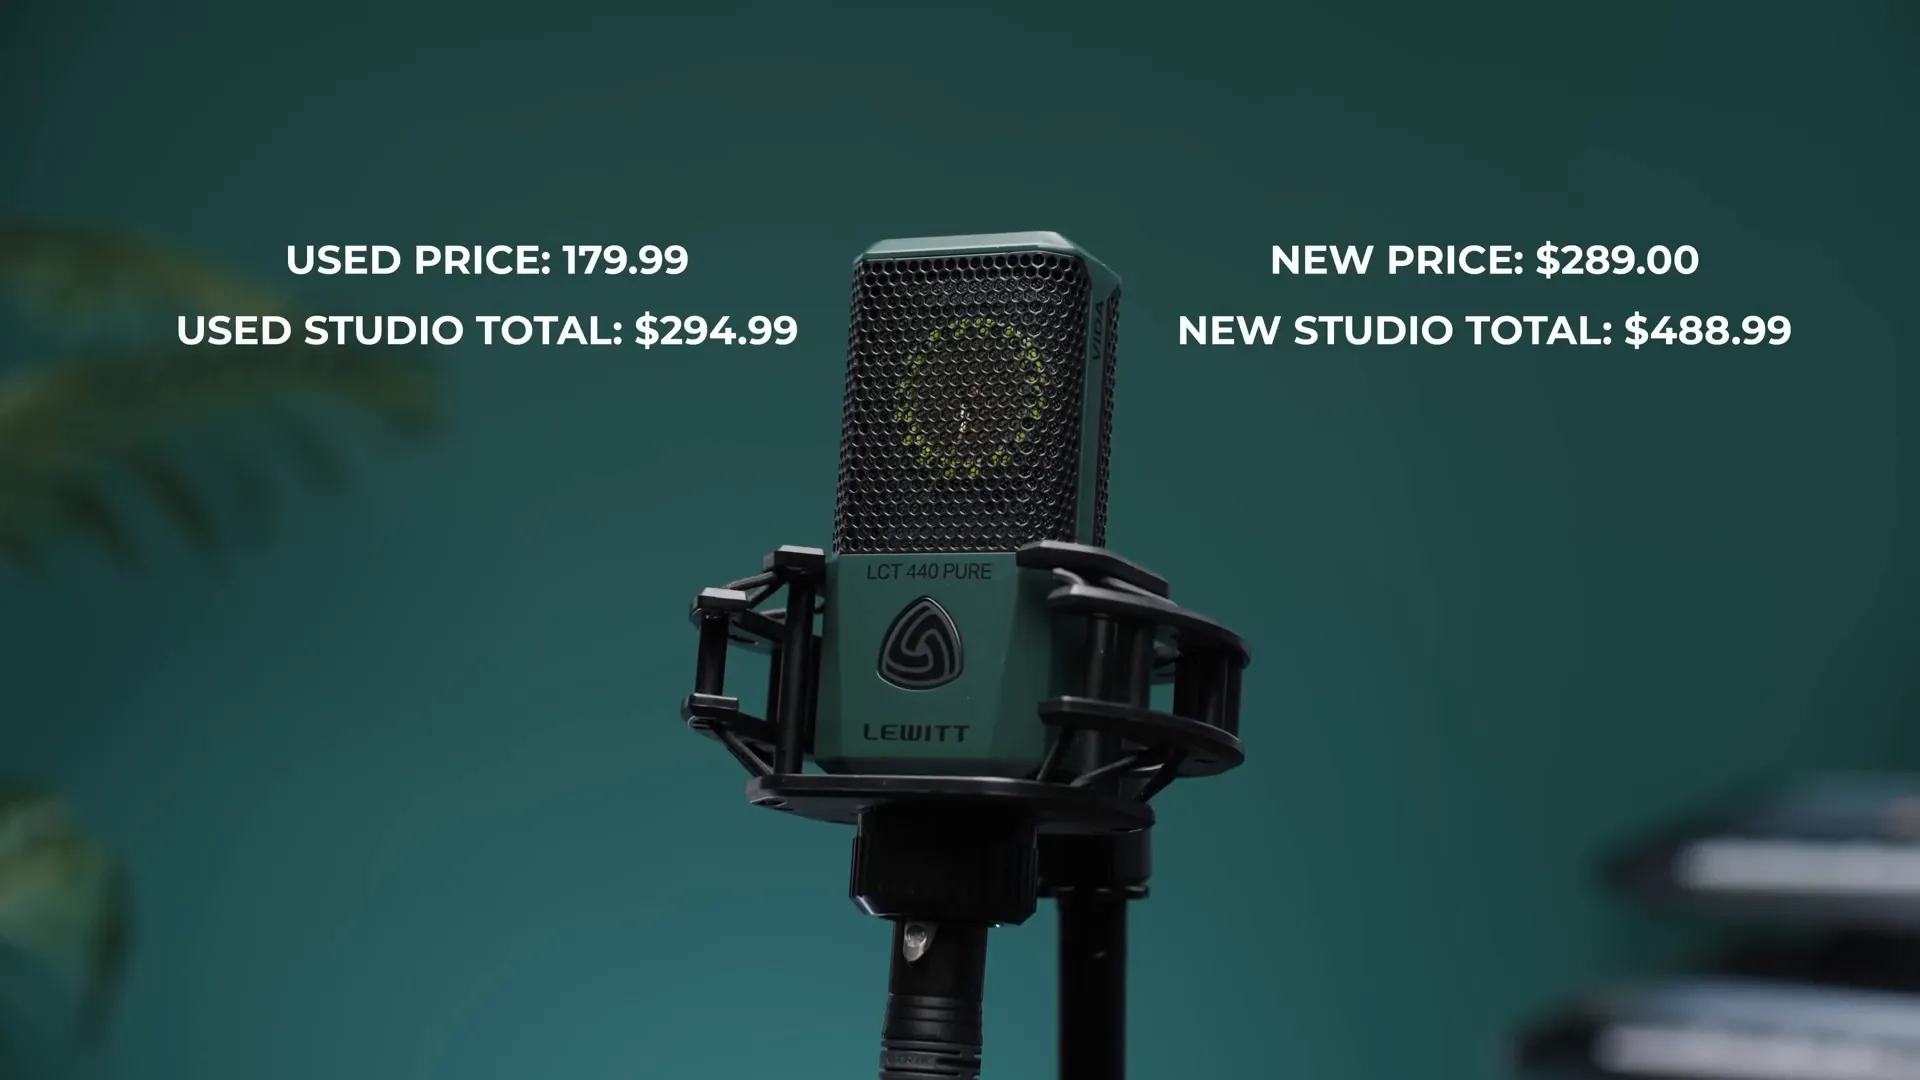
When it comes to microphones, the Lewitt LCT 440 Pure is my go-to recommendation for beginners. This microphone provides exceptional clarity and warmth, making it ideal for vocal recordings. It comes with a shock mount and pop filter, so you’re all set right out of the box.
New, this microphone costs around $289, but you can often find it used for about $170. This is a solid investment for anyone serious about recording high-quality audio at home.
Finding a Reliable Microphone Stand
A sturdy microphone stand is essential for achieving the best recording quality. She recommends the Pyle Pro microphone stand, which is both affordable and reliable. Priced at around $30, it can easily support heavier microphones without compromising stability.
Depending on your recording setup, you might also consider tabletop stands or boom stands that can be adjusted for height and angle. This flexibility allows you to create an ergonomic recording environment that suits your needs.

The Best Headphones for Home Studios
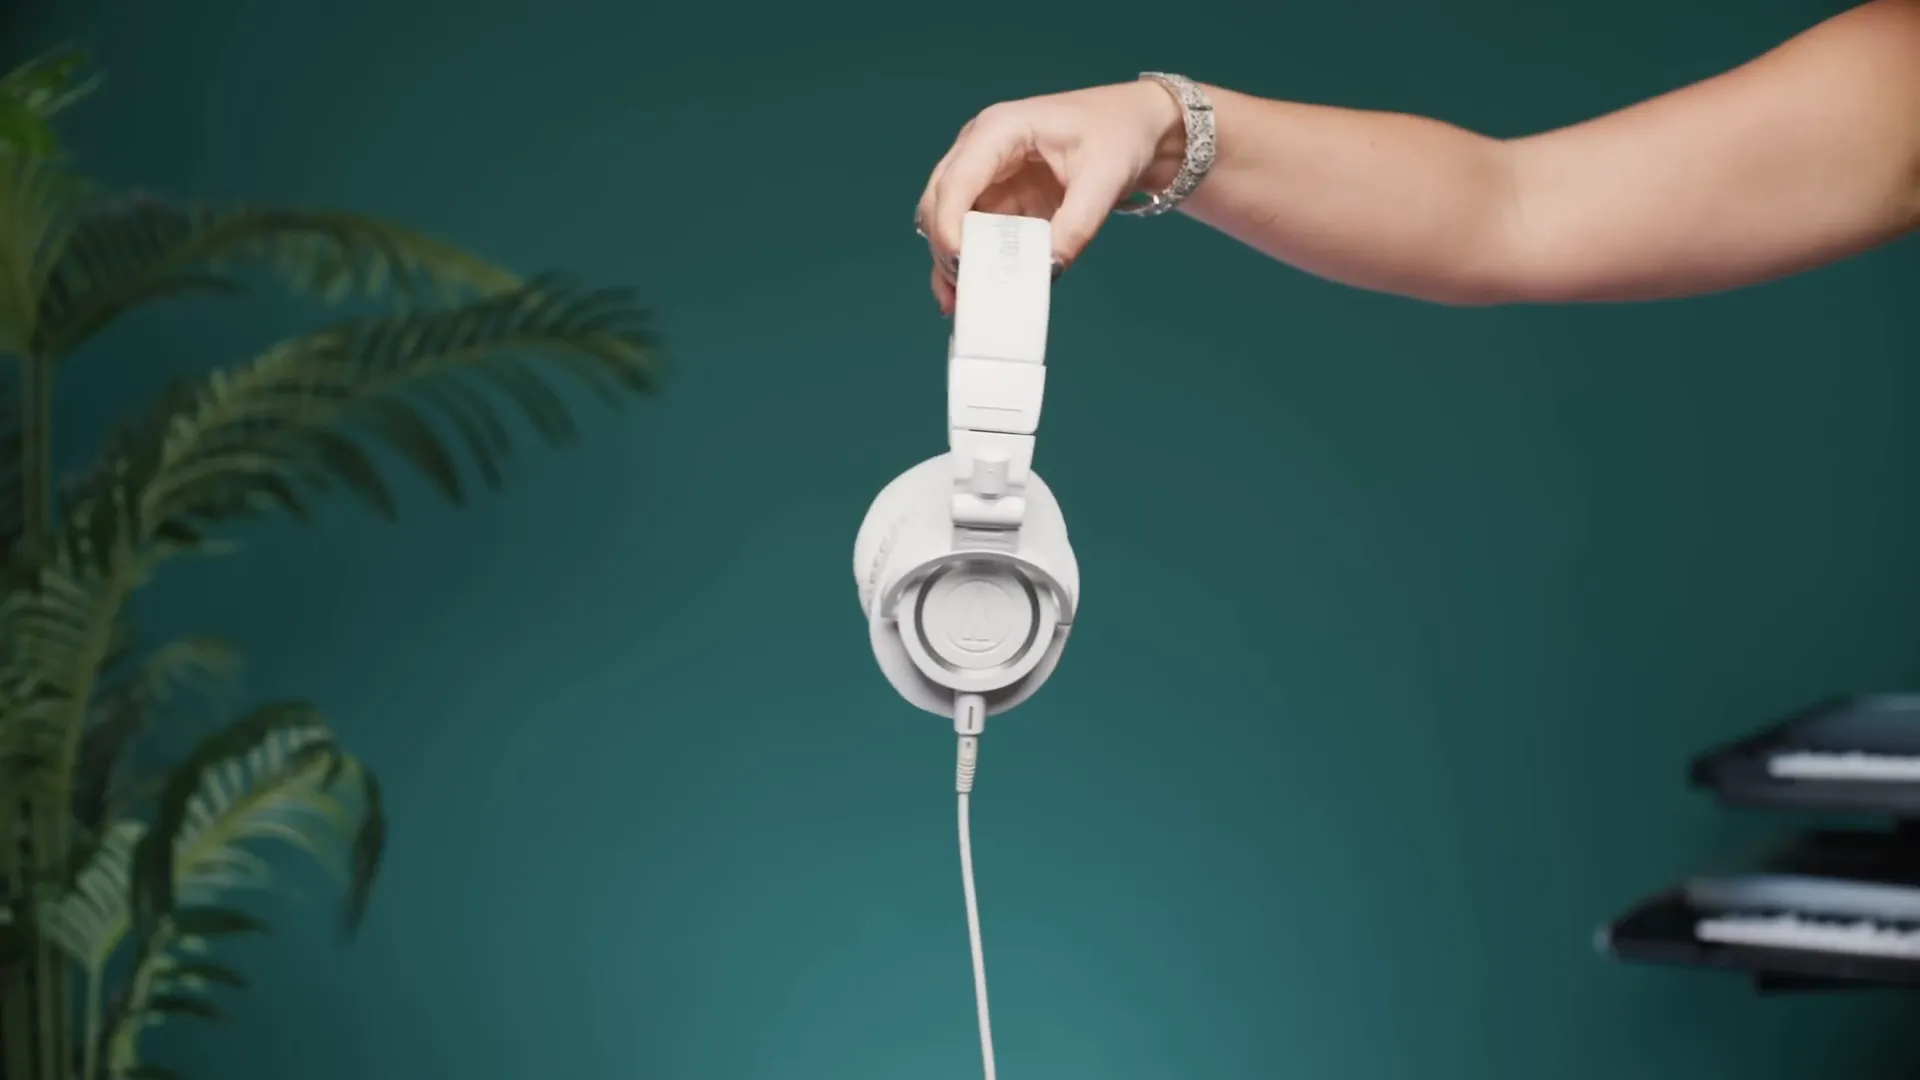
When it comes to monitoring your audio, having a good pair of headphones is non-negotiable. My top recommendation for a home recording studio kit is the Audio Technica ATH-M50x. These headphones deliver exceptional sound quality and comfort, making them suitable for long hours of mixing and producing.
Not only do they provide clarity across a wide frequency range, but they also excel in noise isolation. This means you can focus on your music without distractions, perfect for late-night sessions. I’ve personally used these headphones for over a decade, and they have never let me down.
Choosing a MIDI Controller
A MIDI controller is essential for anyone looking to produce music. My favourite is the IRIK Keys by IK Multimedia. It’s compact yet offers full-sized keys, making it easy to play and produce music without feeling cramped.
WEBSITE RESOURCES FOR MUSICIANS
This MIDI controller features a weighted touch, providing a more realistic playing experience. While you might think that only producers need one, I believe that vocalists should also understand the basics of production. Having a MIDI controller helps bridge that gap.

Why You Need One
- Instant Plug and Play: Just plug it in, and you’re ready to go.
- Learning Tool: Helps you understand music production better.
- Affordable Options: You can find great used deals online.
This particular model retails for around $169, but you can often find it used for about $60. That’s a massive saving for a device that will enhance your creative workflow.
Picking the Right Studio Monitors
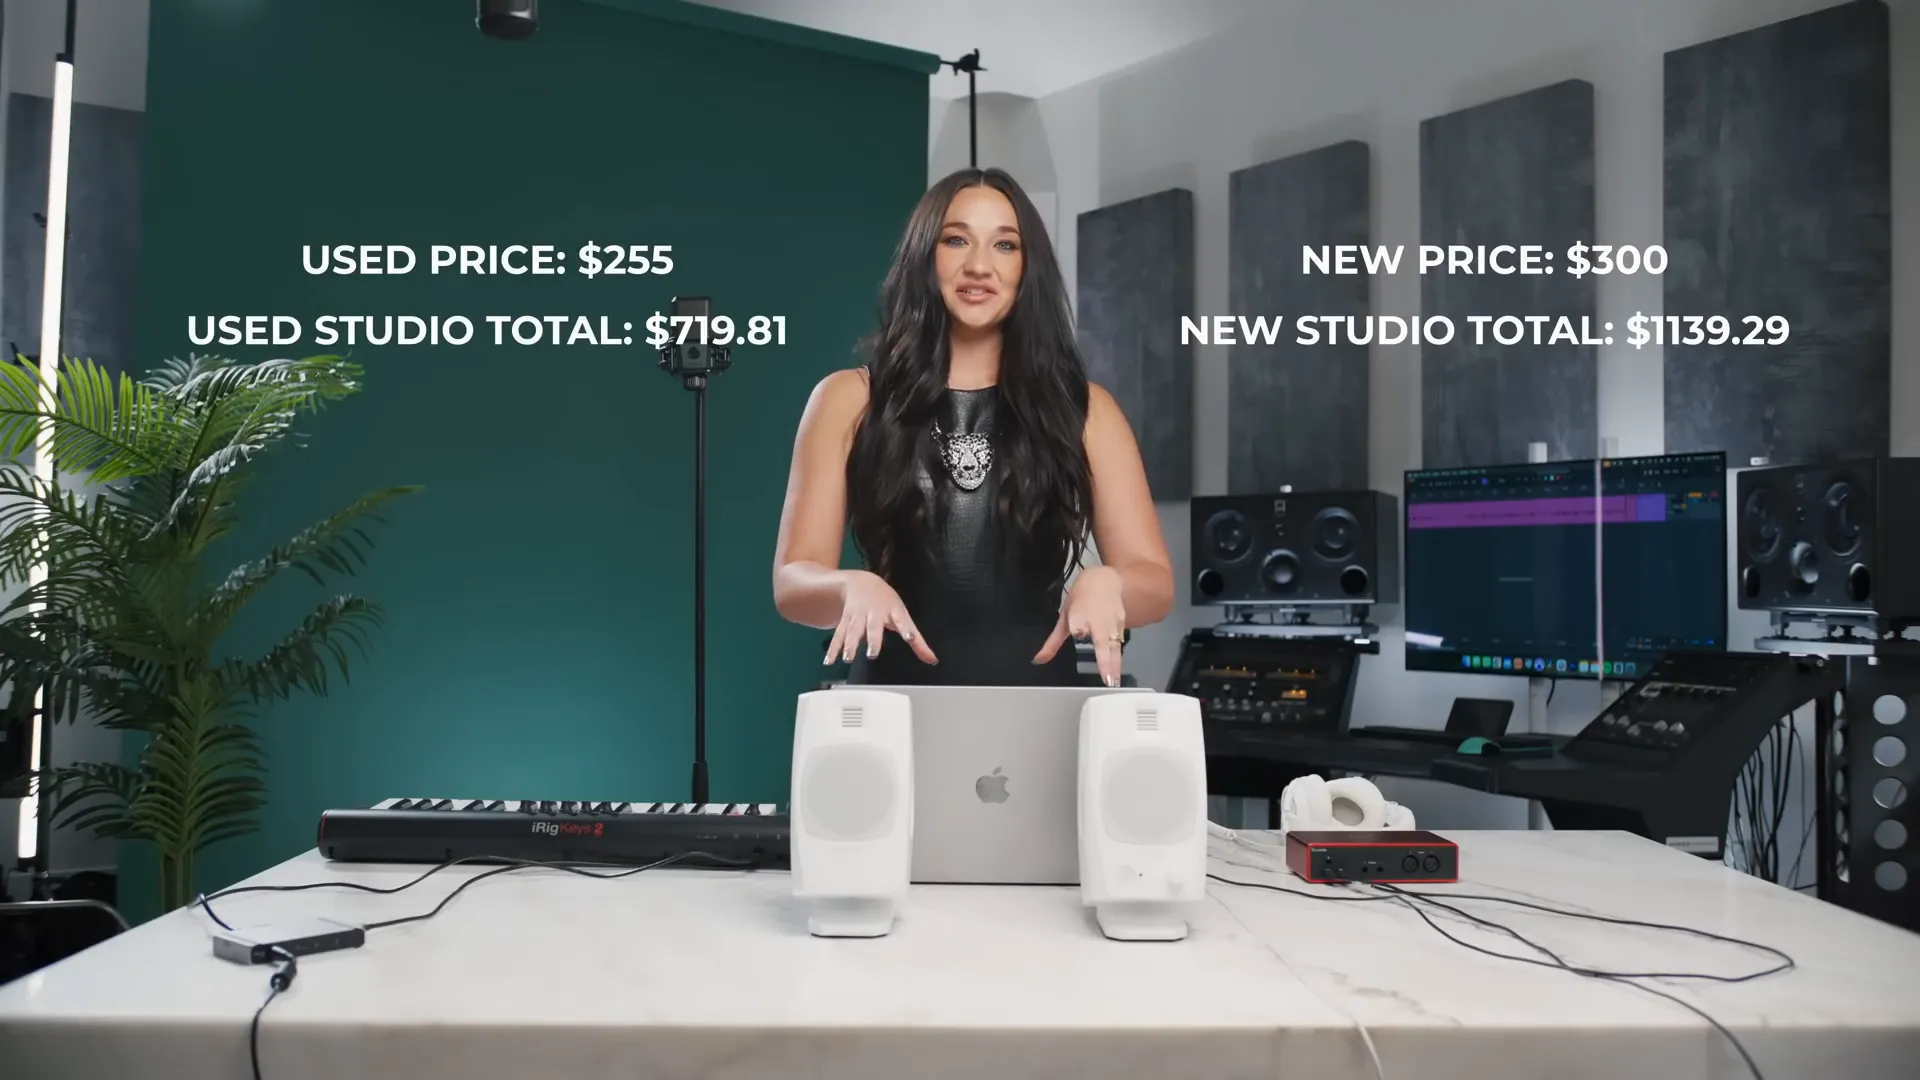
Choosing the right studio monitors can make or break your mixing process. For beginners, Kara recommends the Adam Audio T3V studio monitors. These compact speakers deliver impressive sound quality and clarity, and they are easy to set up.
The Adam T3V monitors are designed to provide a flat response, allowing you to hear your mixes accurately. If you’re looking for something more budget-friendly, the Yamaha HS5 monitors are also a fantastic choice and widely available on the used market.
Studio Monitor Features to Consider
- Size: Ensure they fit your workspace without overwhelming it.
- Power: Look for monitors with adequate power to fill your room.
- Connectivity: Make sure they can easily connect with your audio interface.
Both the Adam T3V and Yamaha HS5 are excellent options to consider, with prices starting around $300 and $400 per pair, respectively. The used market can often yield even better deals.
The Importance of Quality Cables
Don’t overlook the significance of quality cables in your home recording studio kit. Poor cables can introduce noise and degrade your audio quality. I highly recommend Kinari cables for their durability and performance.
These cables are available in various colours and lengths, allowing you to customise your setup aesthetically. They also feature high-quality connectors that ensure a solid connection between your gear.

Why Kinari Cables Stand Out
- Customisation: Choose your cable colour and length.
- Durability: Soft memory materials that resist tangling.
- Connector Quality: High-quality connectors ensure minimal signal loss.
For a typical setup, you’ll need an XLR cable for your microphone and TRS cables for your monitors. Expect to spend around $60 to $90 total for quality Kinari cables.
Choosing Your DAW
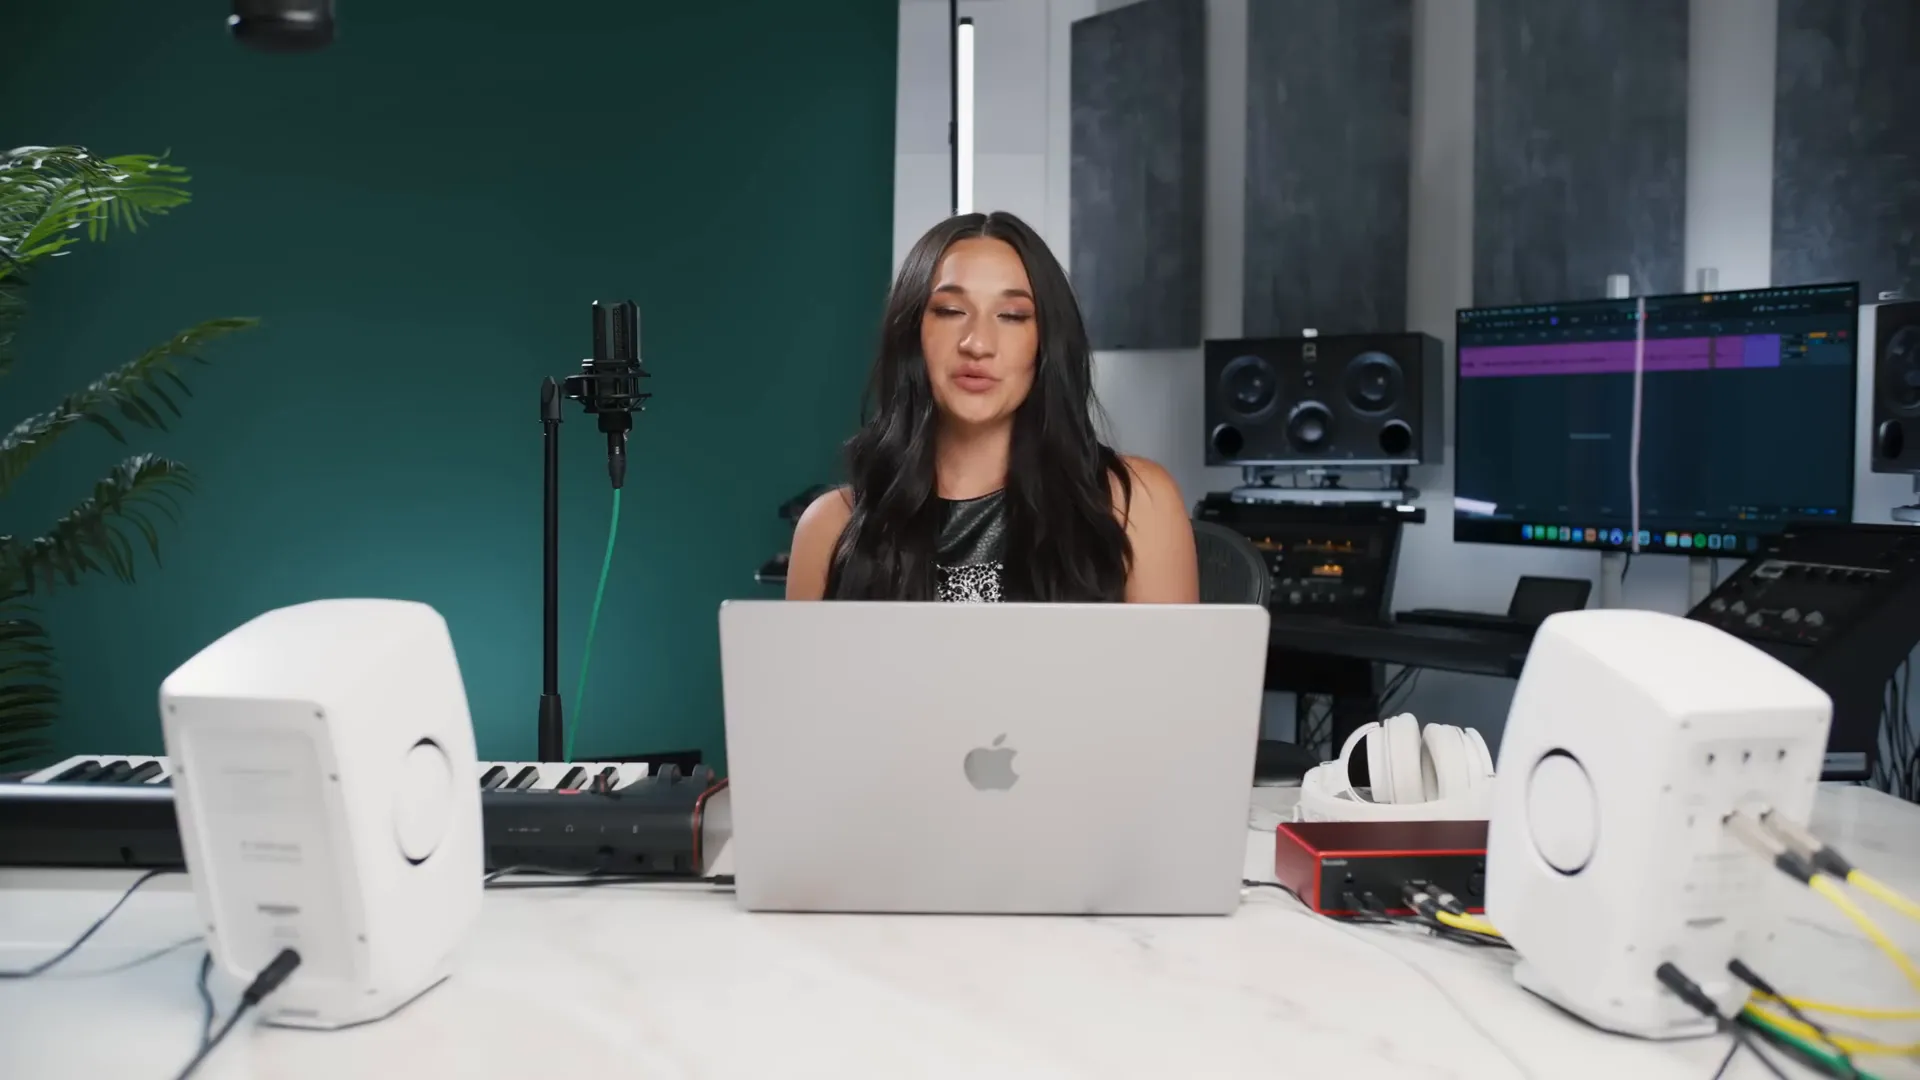
Your Digital Audio Workstation (DAW) is the software backbone of your home recording studio kit. For beginners, Here are Howtomakebeatsblog.com we also recommend starting with Logic Pro. It’s user-friendly and packed with features that cater to both novice and experienced producers.
Logic Pro comes with a comprehensive suite of stock plugins and instruments, making it easy to create a complete song from scratch. Plus, the vast array of tutorials available will help you learn the ins and outs of the software quickly.
DAW Features to Look For
- Ease of Use: A user-friendly interface will help you get started faster.
- Stock Plugins: Ensure it has a variety of built-in tools for mixing and mastering.
- Support and Tutorials: A large community and resources can help you overcome challenges.
While there are many DAWs out there, taking the time to choose one that aligns with your music style and workflow is crucial. She created templates for Logic that can ease your learning curve, making it easier to record and mix your vocals.
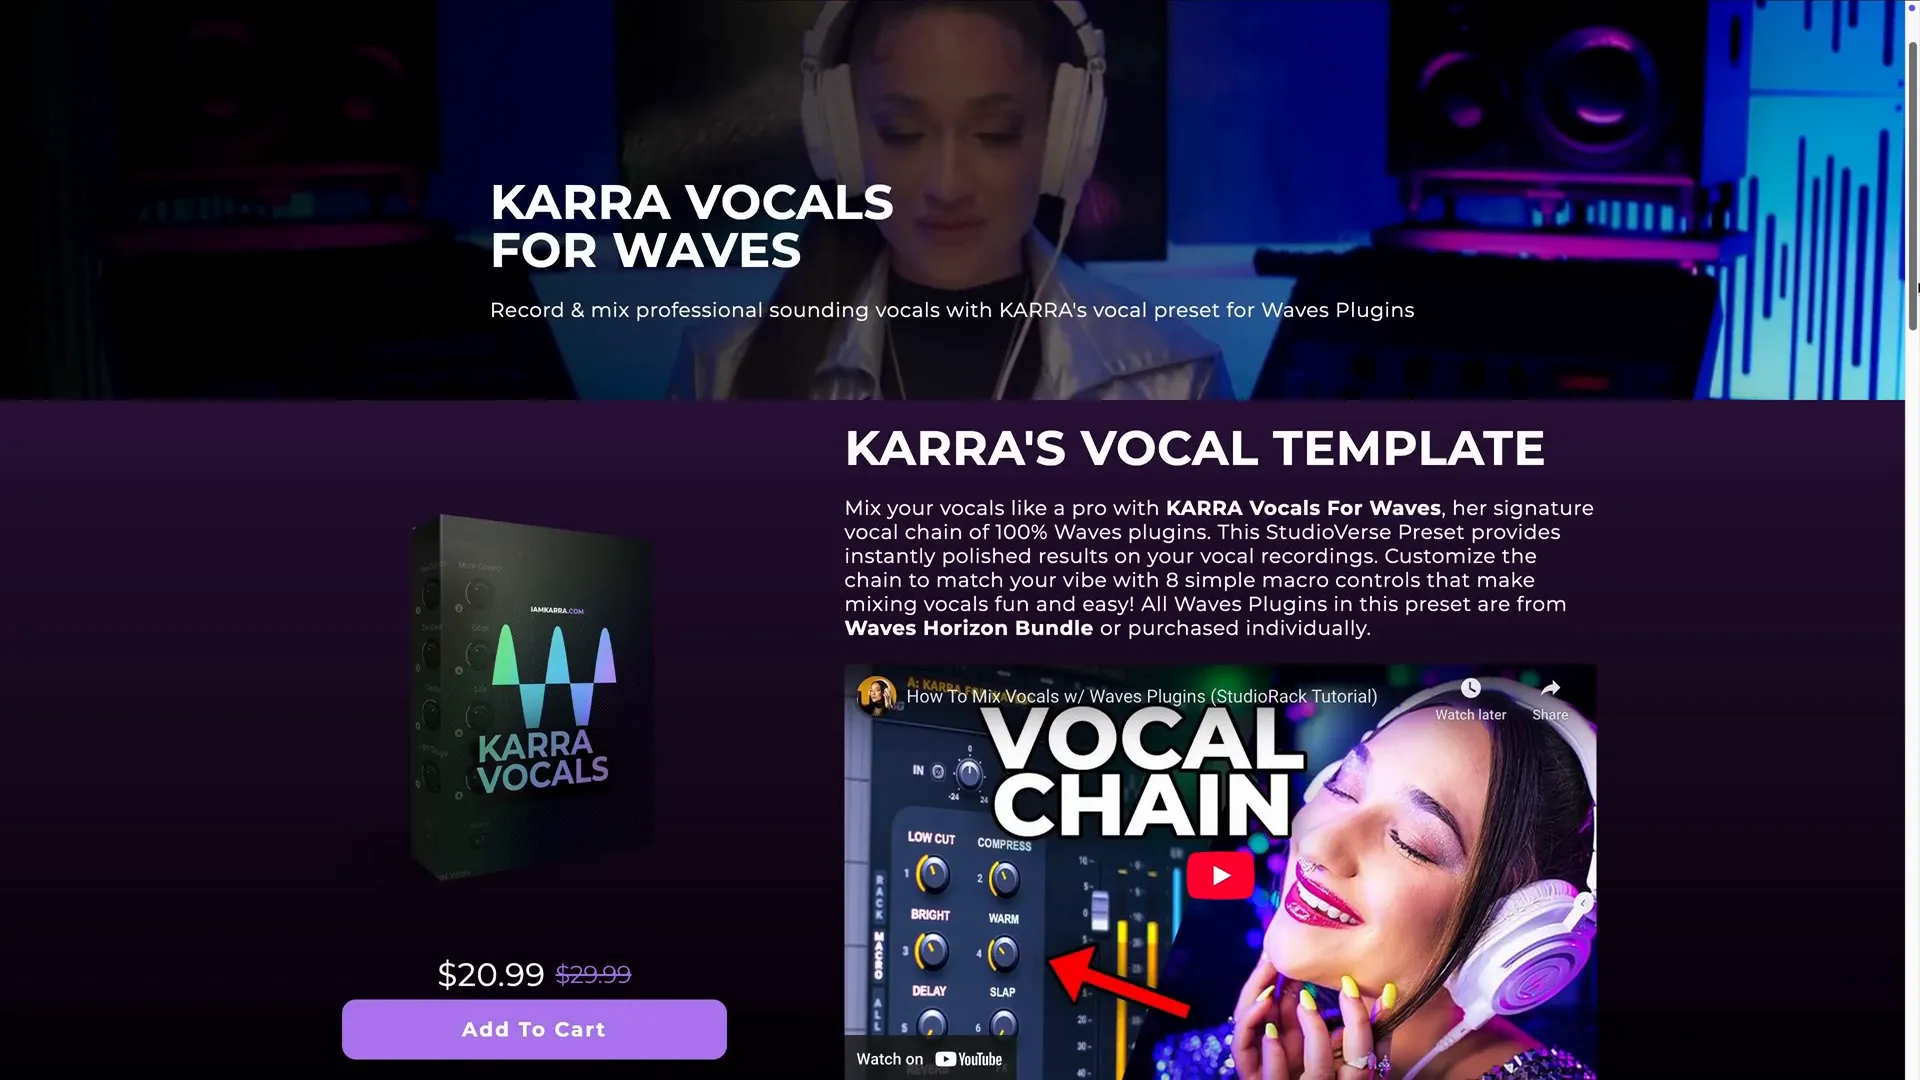
KARRA Vocal Template
To streamline your recording process, She developed the KARRA Vocal Template. This template is designed specifically for beginners, making it easier to get started with vocal production. It includes pre-set track layouts, essential plugins, and routing configurations that will help you achieve a polished sound right from the start.
When you open the template in your DAW, you’ll find dedicated tracks for vocals, harmonies, and effects. Each track is pre-loaded with suggested plugins that enhance the vocal quality, such as EQ, compression, and reverb. This not only saves you time but also provides a solid foundation for your recordings.
How to Use the KARRA Vocal Template
- Import Your Vocals: Drag and drop your vocal recordings into the designated tracks.
- Adjust Levels: Use the faders to balance your vocal tracks with the instrumental.
- Experiment with Effects: Tweak the pre-set plugins to fit your style. Don’t hesitate to add or remove effects as needed.
- Mix and Master: Once satisfied, mix and master your track to ensure it sounds great on all playback systems.
This template not only helps you get started but also teaches you about vocal production techniques as you work with it. It’s perfect for those who may feel overwhelmed by the mixing process.
Understanding Acoustic Treatments
Acoustic treatments are vital for improving sound quality in your home recording studio kit. They help to absorb unwanted reflections and echo, ensuring that your recordings are clear and professional. While you might be tempted to skip this step, investing in proper acoustic treatment can elevate your sound significantly.
Types of Acoustic Treatments
- Absorption Panels: Made from materials like rock wool, these panels absorb sound waves and reduce echoes.
- Diffusers: These help to scatter sound waves, preventing them from creating dead spots in your room.
- Bass Traps: These are designed to tackle low frequencies, which can often muddy your mix.
When setting up your acoustic treatments, aim to cover the first reflection points in your room. These are typically the walls beside and in front of your recording area. By absorbing sound at these points, you can create a more controlled recording environment.
Recording Your First Session
Now that your home recording studio kit is set up, it’s time to dive into your first recording session. Follow these steps to ensure a smooth experience:
Step-by-Step Recording Process
- Set Your Levels: Open your DAW and set the input levels on your audio interface. Aim for peaks around -12dB to -6dB to avoid clipping.
- Check Your Monitoring: Put on your headphones and listen to your input signal. Ensure that everything sounds clear and balanced.
- Record a Test Take: Before recording your final take, do a test recording to check levels and get comfortable with the setup.
- Record Your Vocals: Once you’re happy with the levels and sound, go ahead and record your vocals. Don’t be afraid to do multiple takes!
Remember, the more comfortable you are during the recording process, the better your performance will be. Take breaks if needed and keep your energy high!
Total Cost Breakdown
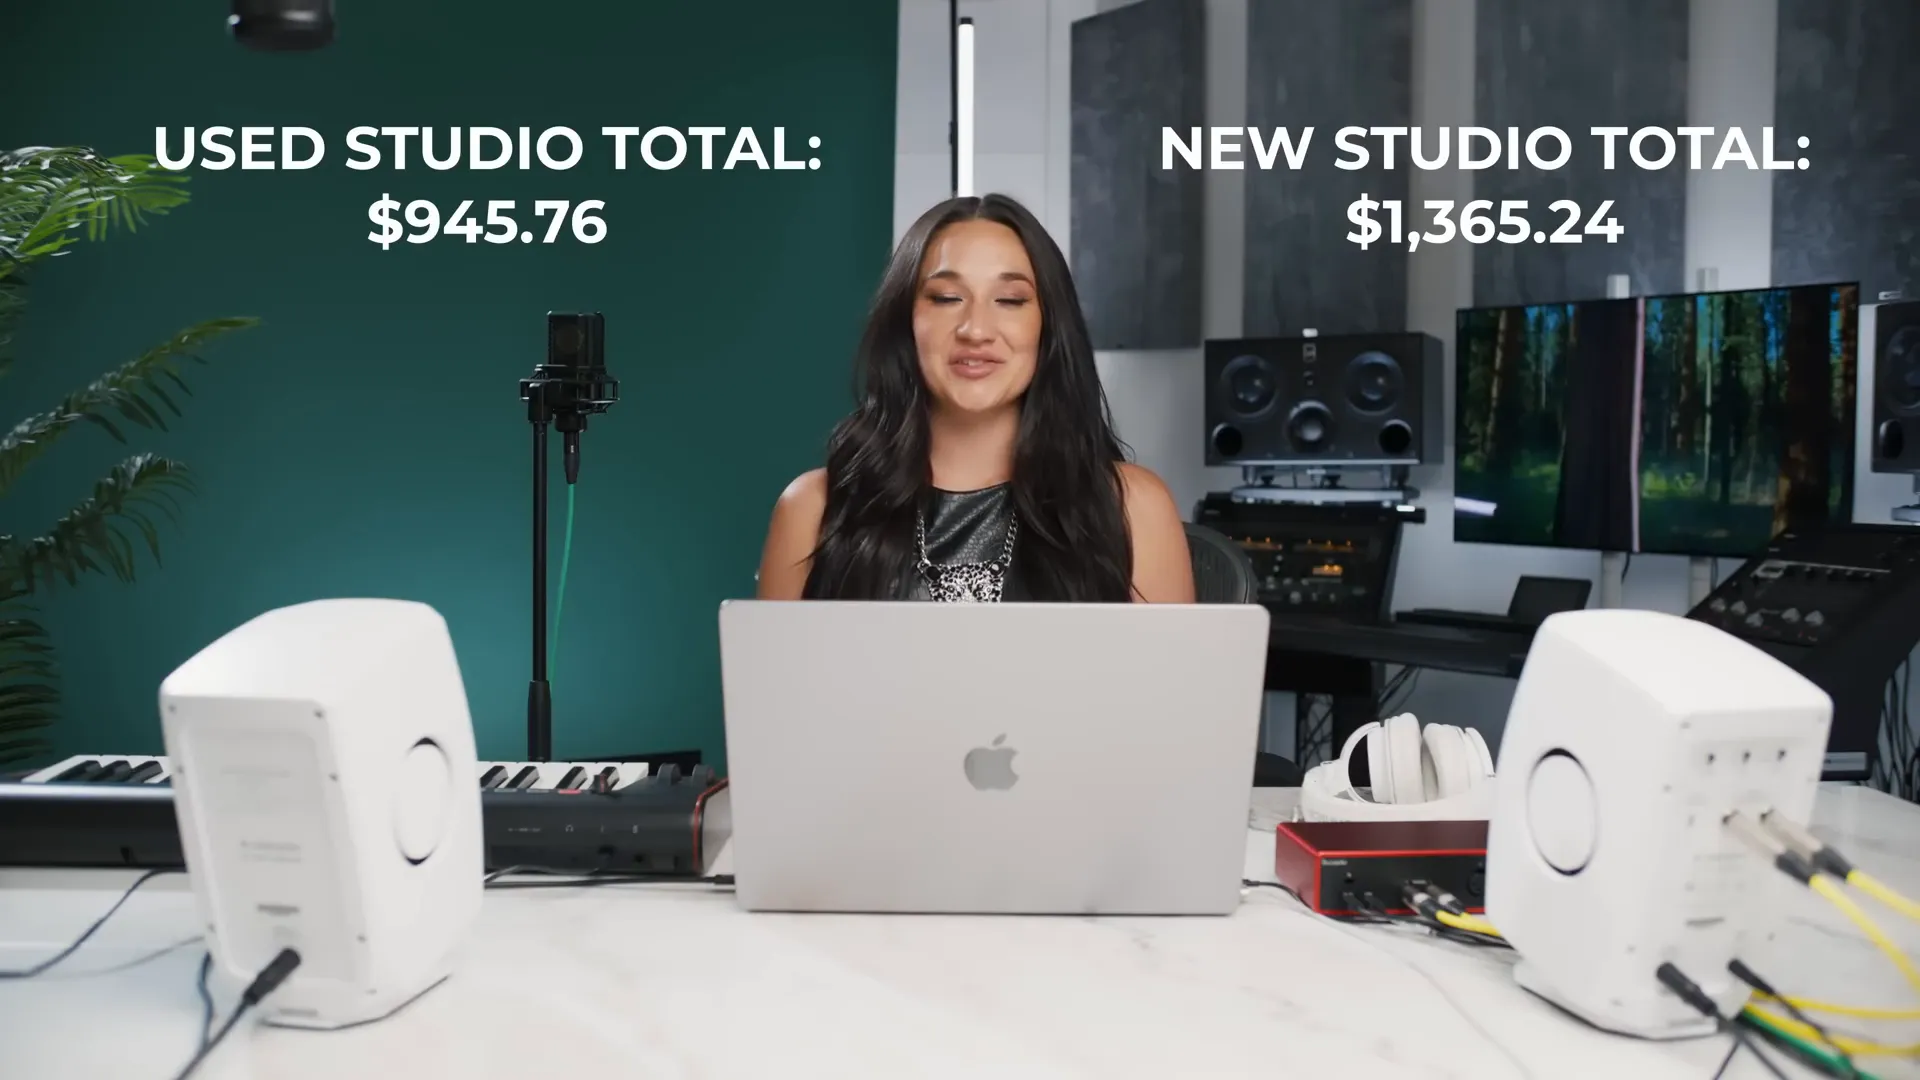
Now, let’s break down the costs of your home recording studio kit. Here’s a summary of what you can expect to spend:
Estimated Costs
- Computer: $1,200 (used MacBook Pro)
- Audio Interface: $140 (used Focusrite Scarlett 2i2)
- Microphone: $170 (used Lewitt LCT 440 Pure)
- Microphone Stand: $30 (Pyle Pro)
- Headphones: $150 (Audio Technica ATH-M50x)
- MIDI Controller: $60 (used IRIK Keys)
- Studio Monitors: $200 (used Yamaha HS5)
- Cables: $90 (Kinari Cables)
- DAW: $200 (Logic Pro)
When you tally these up, you’ll find that you can create a comprehensive home recording studio kit for around $2,000 if buying new. However, with strategic purchases and used gear, you can easily stay within your $1,000 budget. Always keep an eye out for deals!
FAQ
1. Do I really need acoustic treatment for my home studio?
While it’s not mandatory, proper acoustic treatment will significantly improve your sound quality. It’s worth investing in, especially if you plan on recording vocals and instruments regularly.
2. Can I use a USB microphone instead of an audio interface?
Yes, USB microphones can be convenient for beginners. However, using an audio interface with a traditional microphone typically yields better sound quality and flexibility.
3. How can I save money when building my home studio?
Look for used gear on platforms like eBay or Reverb. You can also consider refurbished equipment, which often comes at a discount while still being reliable.
4. What software do you recommend for beginners?
Logic Pro is my top recommendation for beginners. It’s user-friendly and comes with a comprehensive suite of stock plugins and instruments.
5. How important is it to invest in quality cables?
Quality cables are essential for maintaining good sound quality. Cheap cables can introduce noise and degrade your audio, so it’s best to invest in reliable options.

