!Let Us HELP YOU!
We have a lot of curated content on this blog.
Take this simple 20 second Quiz to Help You
Find The Exact Content You Are Looking For!
Making your first EDM beat might sound intimidating but it all starts with the right setup. Over 60 percent of beginners say they get stuck before finishing even one track. The real surprise is that most people fail not from lack of creativity but from missing a few basic steps at the very beginning.
Table of Contents
- Step 1: Set Up Your Digital Audio Workstation
- Step 2: Choose Your Primary Sounds And Instruments
- Step 3: Create A Basic Drum Pattern
- Step 4: Layer Melodies And Chords
- Step 5: Arrange Your Track Structure
- Step 6: Mix And Master Your EDM Beat
Quick Summary
| Key Point | Explanation |
| 1. Choose a user-friendly DAW | Opt for a digital audio workstation that is easy to use and tailored for electronic music production. |
| 2. Organize with project templates | Create templates for EDM with essential tracks to enhance workflow efficiency and save time during production. |
| 3. Layer sounds for depth | Combine multiple drum samples and unique sound sources to produce rich, textured tracks that stand out. |
| 4. Build emotional drum patterns | Develop compelling drum patterns focused on energy and momentum by varying timing and velocity for a natural feel. |
| 5. Mix for clarity and balance | Ensure distinct sonic spaces for each element through careful volume balancing and equalization, refining the overall mix. |
Step 1: Set Up Your Digital Audio Workstation
Launching your EDM beat creation journey starts with establishing a solid digital audio workstation (DAW) foundation. Your DAW is the central hub where musical creativity transforms into professional tracks, serving as the primary environment for composing, recording, editing, and mixing electronic dance music.
Choosing the right DAW matters significantly for your music production workflow. While multiple options exist like Ableton Live, FL Studio, Logic Pro, and Reason, each offers unique features tailored for electronic music production.
Below is a comparison table of popular Digital Audio Workstations (DAWs) mentioned, showing their main strengths for EDM production.
| DAW | User-Friendliness | EDM Production Features | Built-in Sounds/Samples |
| Ableton Live | Very high | Excellent for live and studio | Extensive, included |
| FL Studio | High | Pattern-based workflow | Large library, included |
| Logic Pro | Moderate | Advanced MIDI and plugins | Wide variety, included |
| Reason | Moderate | Modular, unique rack interface | Good, more add-ons available |
| Beginners should prioritize user-friendly interfaces with robust electronic music capabilities. |
Preparing your DAW involves several critical configuration steps. First, optimize your audio interface settings to ensure minimal latency and maximum sound quality. This means adjusting buffer sizes, sample rates, and input/output configurations. Most modern DAWs provide intuitive setup wizards that guide you through these technical parameters, making initial configuration straightforward.
Next, organize your workspace by creating dedicated project templates specifically for EDM beat production. Set up default track configurations with essential instrument channels like drums, basslines, leads, and effect returns. Customize color coding and track layout to streamline your creative process. A well-structured template saves considerable time and maintains consistent workflow efficiency.
Here is a checklist summarizing the key DAW and sound setup requirements to verify before starting your first EDM beat.
| Setup Task | Why It Matters |
| Optimize audio interface settings | Ensures minimal latency and best possible sound |
| Create an EDM project template | Saves time and streamlines your workflow |
| Install virtual instruments and plugins | Expands your available sounds and creative options |
| Organize your sample library | Makes finding and choosing sounds faster |
| Check system specs (RAM, CPU, SSD) | Prevents crashes and ensures smooth production |
Installing necessary virtual instruments and sound libraries is another crucial preparation stage. Look for high-quality sample packs and synthesizer plugins specializing in electronic dance music sounds. Many DAWs offer built-in libraries, but exploring third-party options can dramatically expand your sonic palette.
Finally, ensure your computer meets minimum system requirements for smooth music production. Adequate RAM, processor speed, and storage space are fundamental. Aim for at least 16GB RAM, a multi-core processor, and solid-state drive for optimal performance. Your digital audio workstation is now primed and ready for creating incredible EDM beats.
Step 2: Choose Your Primary Sounds and Instruments
Selecting the right sounds and instruments forms the sonic foundation of your EDM beat. This critical step transforms your digital audio workstation from an empty canvas into a vibrant musical landscape where rhythm, melody, and energy converge.
Electronic dance music thrives on unique sound design, requiring careful selection of synthesizers, drum machines, and sampled instruments. Synthesizers will be your primary sound generators, delivering everything from punchy basslines to soaring lead melodies. Popular software synthesizers like Massive, Serum, and Sylenth1 offer extensive preset libraries and deep customization options that allow you to craft signature sounds.
Your drum selection determines the rhythmic character of your track. Layering multiple drum samples creates depth and complexity. Consider combining electronic drum machine samples with acoustic drum hits to generate unique textures. Explore sample packs that offer one-shot drum hits, rex files, and multi-sampled percussion instruments specifically designed for electronic music production.
Stanford University’s electronic music research suggests exploring diverse sound sources beyond traditional electronic instruments. This might include field recordings, found sounds, or experimental audio samples that can be manipulated and integrated into your EDM tracks. Experiment with granular synthesis techniques to transform ordinary sounds into extraordinary musical elements.
WEBSITE RESOURCES FOR MUSICIANS
When selecting instruments, pay attention to timbre, frequency range, and how different sounds interact. A well-curated sound palette ensures your track maintains clarity and prevents frequency masking. Balance low-end elements like bass synthesizers with mid-range leads and high-frequency percussion to create a full, dynamic mix.
Remember that sound selection is an iterative process. Build a personal sample library by collecting sounds from various sources, recording your own unique samples, and continuously refining your sonic palette. Your goal is to develop a distinctive sound that sets your EDM beats apart from generic productions.
Step 3: Create a Basic Drum Pattern
Creating a compelling drum pattern forms the rhythmic backbone of your EDM track, establishing the fundamental groove that drives the entire composition. Your drum pattern will determine the energy, momentum, and emotional response of listeners.
Start by selecting a core tempo and time signature that matches your desired EDM subgenre. Most electronic dance music tracks range between 120 and 140 beats per minute, with house music typically sitting around 128 BPM, while techno and harder styles push closer to 140 BPM. Begin by programming a basic four-on-the-floor kick drum pattern that hits consistently on each quarter note, creating the foundational pulse.
Layer your kick drum with complementary percussion elements to add complexity and texture. Snare drums usually accent the second and fourth beats, providing rhythmic tension and release. Hi-hat patterns can introduce additional movement – consider using closed hi-hats for steady eighth or sixteenth note rhythms, and open hi-hats for periodic accent points that create dynamic variation.
Carnegie Hall’s Digital Music Production series recommends experimenting with subtle variations to prevent monotony. Implement slight timing variations and velocity changes to introduce human-like imperfections that make electronic beats feel more organic. This might involve slightly shifting some drum hits off the perfect grid or adjusting individual sample volumes to create a more natural, breathing rhythm.
Utilize your DAW’s MIDI sequencer to construct these patterns with precision. Most digital audio workstations offer grid-based drum programming interfaces that allow you to quickly place and manipulate drum samples. Experiment with different quantization settings to find the perfect balance between mechanical precision and natural groove.
Remember that drum programming is an iterative process. Listen critically, make incremental adjustments, and don’t be afraid to deconstruct and rebuild your pattern multiple times. A great drum pattern should feel both mathematically precise and emotionally engaging, serving as the heartbeat of your electronic dance music track.
Step 4: Layer Melodies and Chords
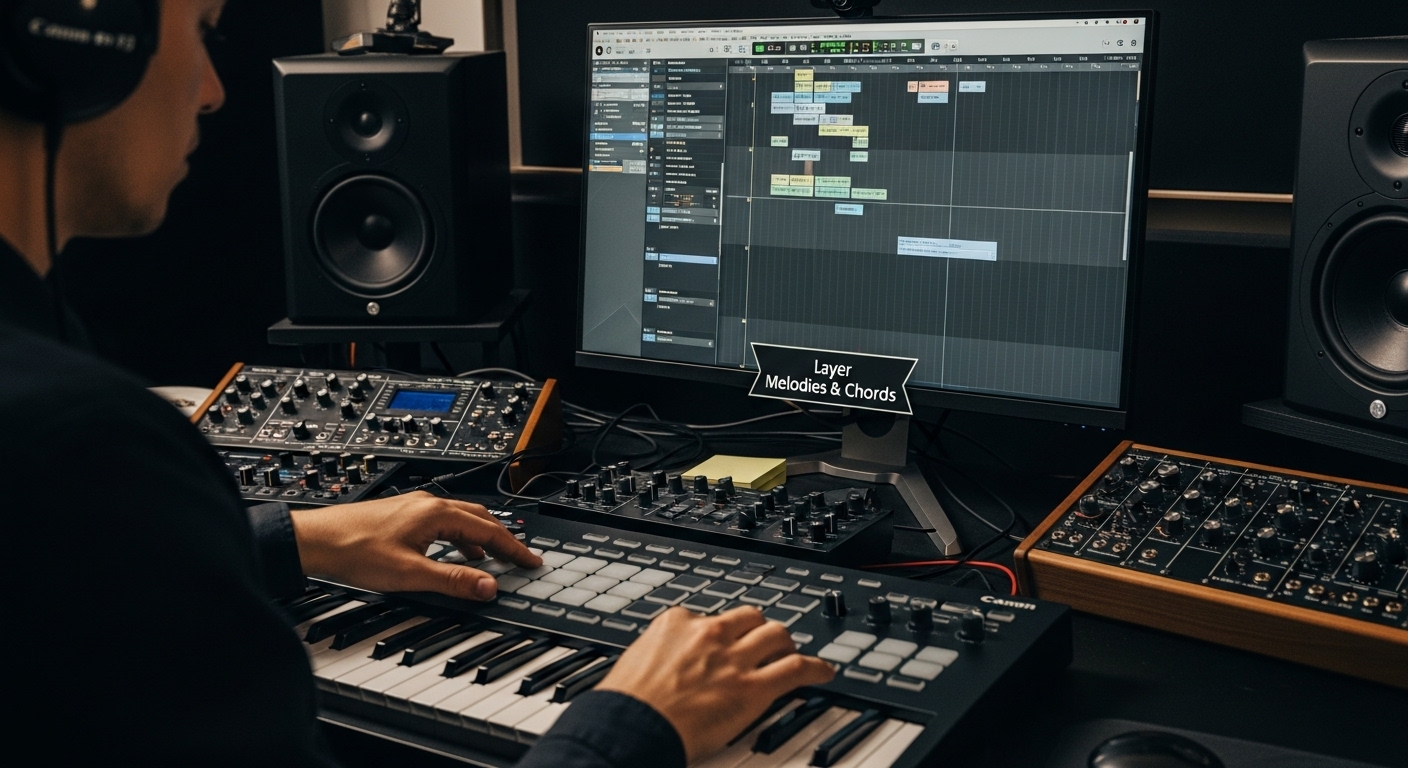
Layering melodies and chords transforms your drum pattern into a fully realized musical composition, adding harmonic depth and emotional complexity to your EDM track. This step is where your beat begins to tell a story, moving beyond rhythmic foundations into melodic expression.
Begin by establishing a compelling chord progression that provides harmonic context for your track. Most EDM genres rely on relatively simple chord structures with four to eight chord progressions that repeat throughout the composition. Choose a synthesizer or virtual instrument with rich, evolving sounds to create chord textures that breathe and change subtly over time.
When constructing melodies, focus on creating memorable hooks that complement your chord progression. Experiment with different synthesizer patches and lead sounds to find timbres that cut through the mix and capture listeners’ attention. Utilize techniques like arpeggiators to generate complex melodic patterns from simple chord structures, adding movement and energy to your track.
Springer’s music technology research suggests employing harmonic variation techniques to maintain listener interest. This might involve gradually modifying chord voicings, introducing countermelodies, or using side-chain compression to create rhythmic interactions between your melodic elements and underlying drum pattern.
Consider the frequency spectrum when layering melodies and chords. Ensure each musical element occupies a distinct sonic space to prevent frequency masking and maintain clarity. Use EQ techniques to carve out specific frequency ranges for different instruments, allowing each sound to breathe and contribute to the overall musical texture.
Remember that restraint is key in electronic music production. Not every moment needs maximum complexity. Some of the most powerful EDM tracks achieve their impact through carefully chosen, strategically placed melodic elements that create tension and release. Allow space between your musical phrases, letting each sound have room to resonate and create emotional impact.
Step 5: Arrange Your Track Structure
Arranging your track structure transforms isolated musical elements into a cohesive, compelling electronic dance music experience. This critical step determines how listeners will emotionally engage with your composition, creating anticipation, tension, and release throughout the track.
Develop a standard EDM arrangement framework that typically includes an intro, build-up, drop, breakdown, and outro. Each section serves a specific purpose in maintaining dance floor energy.
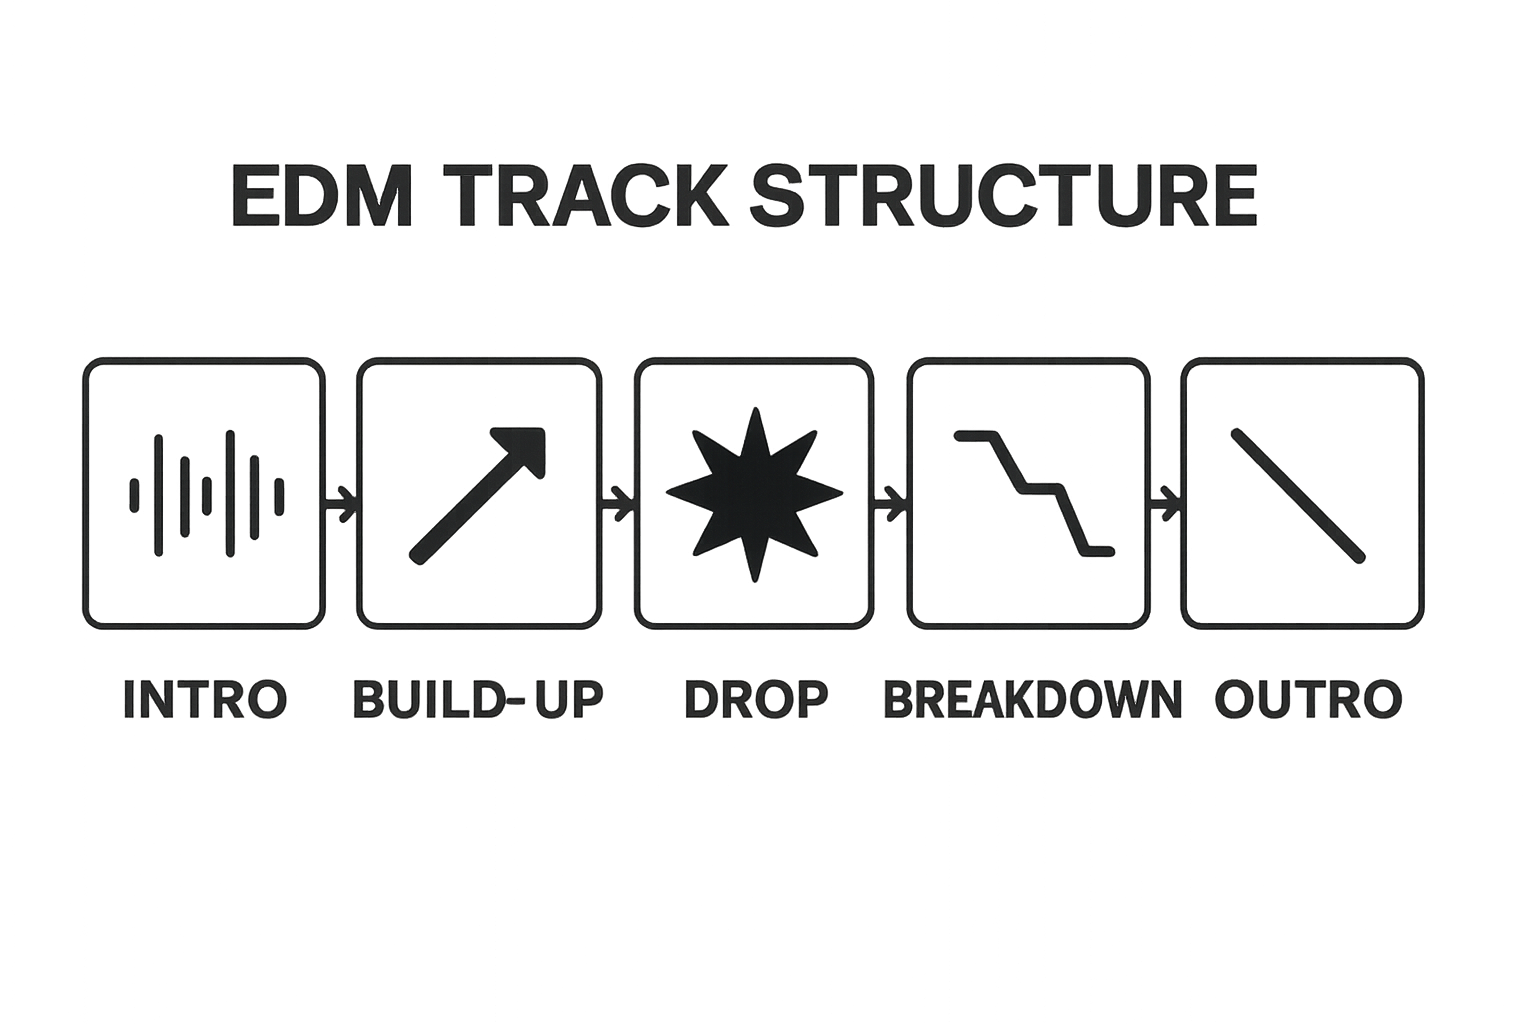 Begin with a minimal intro that gradually introduces elements, allowing DJs and listeners to smoothly mix or blend your track with others. Start sparse, introducing percussion and subtle melodic hints that suggest the musical journey ahead.
The build-up section is where tension dramatically increases. Incrementally layer sounds, use rising filter sweeps, and incorporate white noise risers to create anticipation. Progressively remove elements to create a sense of suspense before the track’s most explosive moment – the drop. During the drop, unleash your full sonic arsenal with powerful drum patterns, aggressive synthesizer sounds, and maximum rhythmic intensity.
Neural synchronization research in music suggests that listeners subconsciously anticipate structural changes. Capitalize on this by creating predictable yet surprising transitions between sections. Use classic EDM techniques like filter automation, volume swells, and strategic percussion mutes to signal upcoming musical shifts.
Consider creating multiple arrangement variations to provide flexibility for live performances and DJ sets. Develop extended and radio edit versions of your track, allowing different contexts for club play, streaming platforms, and live performances. Some producers create version with longer intros and outros specifically designed for DJ mixing.
Remember that arrangement is an art of balance. While following structural conventions, inject your unique creative personality. Listen critically to professional EDM tracks in your preferred subgenre, analyzing how they construct musical journeys. Your goal is to create a track that feels both familiar and excitingly original, keeping listeners moving and emotionally invested from start to finish.
Step 6: Mix and Master Your EDM Beat
Mixing and mastering transform your raw musical ideas into a professional, polished EDM track that sounds incredible across different playback systems. This final stage is where technical precision meets creative refinement, ensuring your beat sounds powerful and cohesive.
Start by balancing individual track volumes to create a clear, well-defined sonic landscape. Each instrument and percussion element should occupy its own frequency space without overwhelming other components. Use volume automation and gain staging techniques to maintain consistent levels throughout the track. Pay special attention to the relationship between kick drums and bass frequencies, as these elements often compete for sonic real estate in electronic dance music.
Apply strategic equalization to carve out precise frequency ranges for each sound. Use surgical EQ techniques to remove unwanted frequencies and enhance desirable tonal characteristics. This might involve cutting low-end mud from melodic elements, boosting high-mid frequencies in lead synthesizers, or creating subtle space between drum sounds by carefully adjusting their spectral content.
Learn more about why mastering is crucial for your beats, as it’s the final polish that makes professional tracks stand out. During the mastering phase, use multiband compression to control dynamic range, apply subtle stereo widening techniques, and ensure your track maintains consistent energy across different playback systems.
Utilize reference tracks from professional EDM producers in your preferred genre to benchmark your mix. Import these tracks into your DAW and compare their frequency balance, stereo image, and overall loudness against your production. This practice helps calibrate your ears and provides concrete targets for your mixing and mastering process.
Remember that mixing is an iterative process. Step away from your track periodically and return with fresh ears. Test your mix on multiple sound systems – studio monitors, headphones, car speakers, and smartphone speakers – to ensure consistent translation. The goal is a mix that sounds powerful and engaging, regardless of the listening environment.
Ready to Build Pro-Level EDM Beats Faster? Discover Exclusive Tools and Tutorials
Struggling to get your EDM beats sounding as powerful and polished as the pros? If you ever feel stuck picking the right virtual instruments, setting up your DAW, or mixing your final track so it punches through, you are not alone. Many producers run into these same challenges: organizing their studio setup, finding the most inspiring drum kits, and getting convincing results with their melodies and mixes. You want your beats to stand out, but technical barriers or gear limitations can slow you down.
Make your next creative breakthrough today by exploring our in-depth tutorials, unbeatable reviews, and step-by-step guides at How To Make Beats Blog. Not only will you find detailed advice on choosing your best audio gear and MIDI keyboards, but you’ll also unlock valuable resources on mixing and mastering for a truly professional finish. Thousands of beatmakers have upgraded their sound using our easy-to-understand approach. Don’t wait – elevate your EDM track production now. Start learning, creating, and showcasing beats people remember by heading to How To Make Beats Blog.
Frequently Asked Questions
How do I choose the right Digital Audio Workstation (DAW) for making EDM?
Selecting a DAW depends on your comfort level and specific needs. Beginners should look for user-friendly options like Ableton Live or FL Studio, which are designed with electronic music capabilities in mind.
What are the essential sounds and instruments needed for EDM production?
Key sounds include synthesizers for basslines and leads, as well as layered drum samples for depth. Consider using popular synths like Massive and Serum, and explore sample packs specifically designed for electronic music.
How can I create an engaging drum pattern for my EDM track?
Start with a solid four-on-the-floor kick drum pattern and layer it with complementary percussion elements like snares and hi-hats. Introduce subtle variations in timing and velocity to create an organic feel.
What should I focus on during the mixing and mastering process?
Focus on balancing track volumes, using EQ to enhance tonal characteristics, and applying multiband compression during mastering. Comparing your track to professional reference tracks can also help achieve a polished sound.

